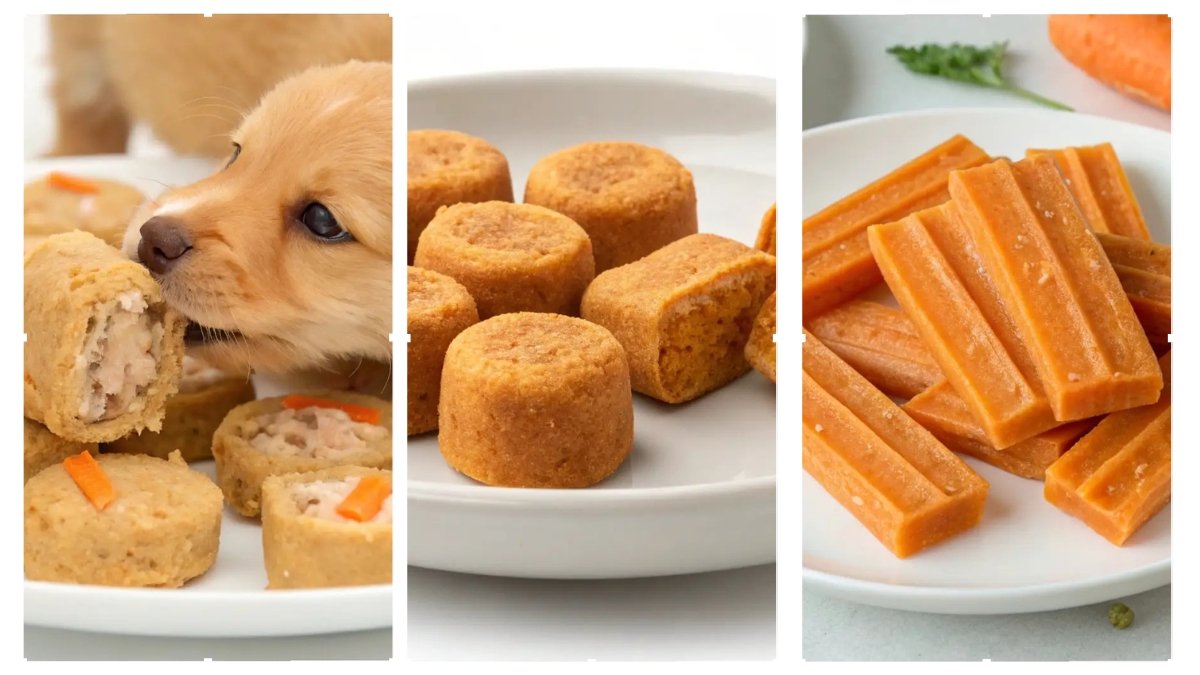
Raising a puppy is a wild ride, isn’t it?
There’s the joy of their endless energy and the worry when you realize just how much they’re relying on you for everything—especially nutrition.
I’ll admit, I didn’t always know the best way to fuel my pup’s growth. A few treats here and there were easy, but I didn’t realize how much they can actually impact development.
This post? It’s not about just filling up your puppy’s belly with snacks—it’s about giving them treats that build them up for the long haul.
If you want to help your pup grow strong and thrive, let’s talk about G5 nutrient-rich treats that make all the difference. Ready to nurture that little powerhouse?
Save this Post for Later! ⬇️

#1. Peanut Butter and Pumpkin Dog Biscuits: A Deliciously Safe Treat for Your Pup
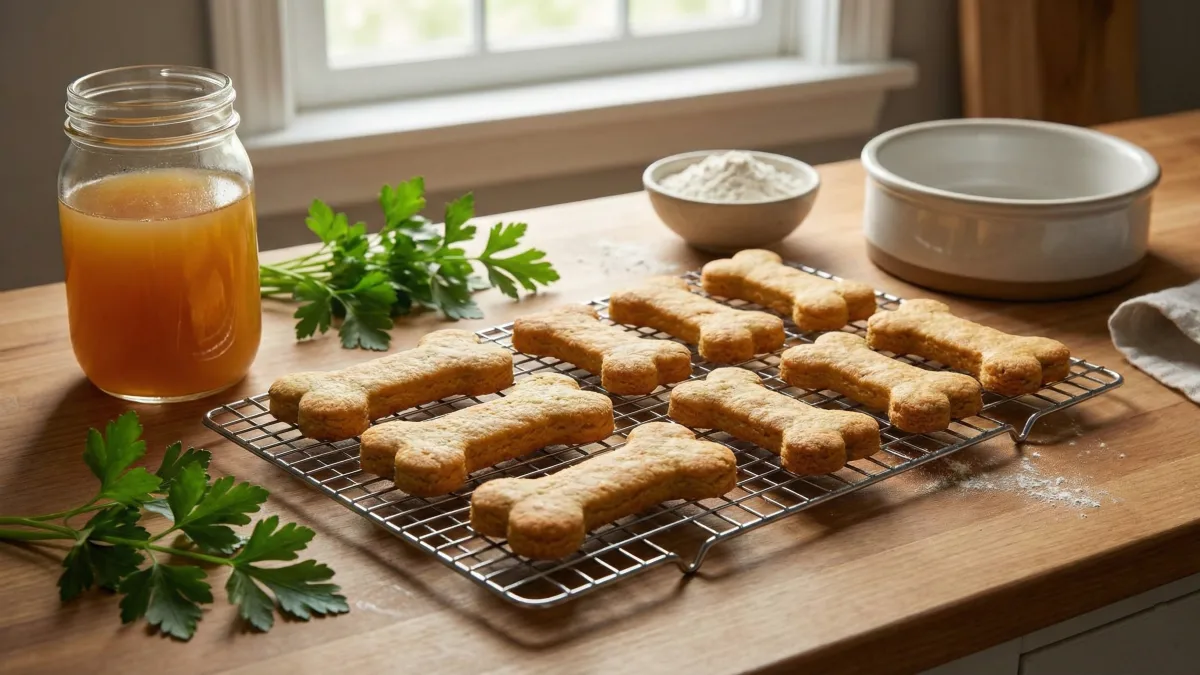
As a pet parent, we always want to provide the best for our furry friends, especially when it comes to their health and well-being.
Homemade dog treats are a fantastic way to ensure that your dog gets wholesome, nutritious snacks without the added preservatives and artificial ingredients found in many store-bought options.
That’s why I developed this simple yet incredibly tasty recipe for peanut butter and pumpkin dog biscuits.
My dog, Max, loves them, and I’ve seen him enjoy them at training sessions and even as an after-walk reward.
These treats are not only delicious but also offer health benefits that support digestion, energy, and overall health.
This recipe combines two beloved dog-safe ingredients: peanut butter and pumpkin. Not only are these ingredients tasty, but they also come with their own set of nutritional perks.
Pumpkin is known for its fiber content, which helps keep your dog’s digestive system healthy, while peanut butter provides healthy fats and protein.
Both ingredients are safe for dogs when used correctly, making these biscuits a great choice for daily treat time or special occasions.
Recipe Overview: Why These Biscuits Are a Must-Try for Your Pup
What makes these peanut butter and pumpkin dog biscuits so special? It’s all about the combination of flavors and the health benefits they bring to the table.
These biscuits are perfect for any dog—whether you’re using them for training, a quick snack, or a special treat to celebrate a special occasion.
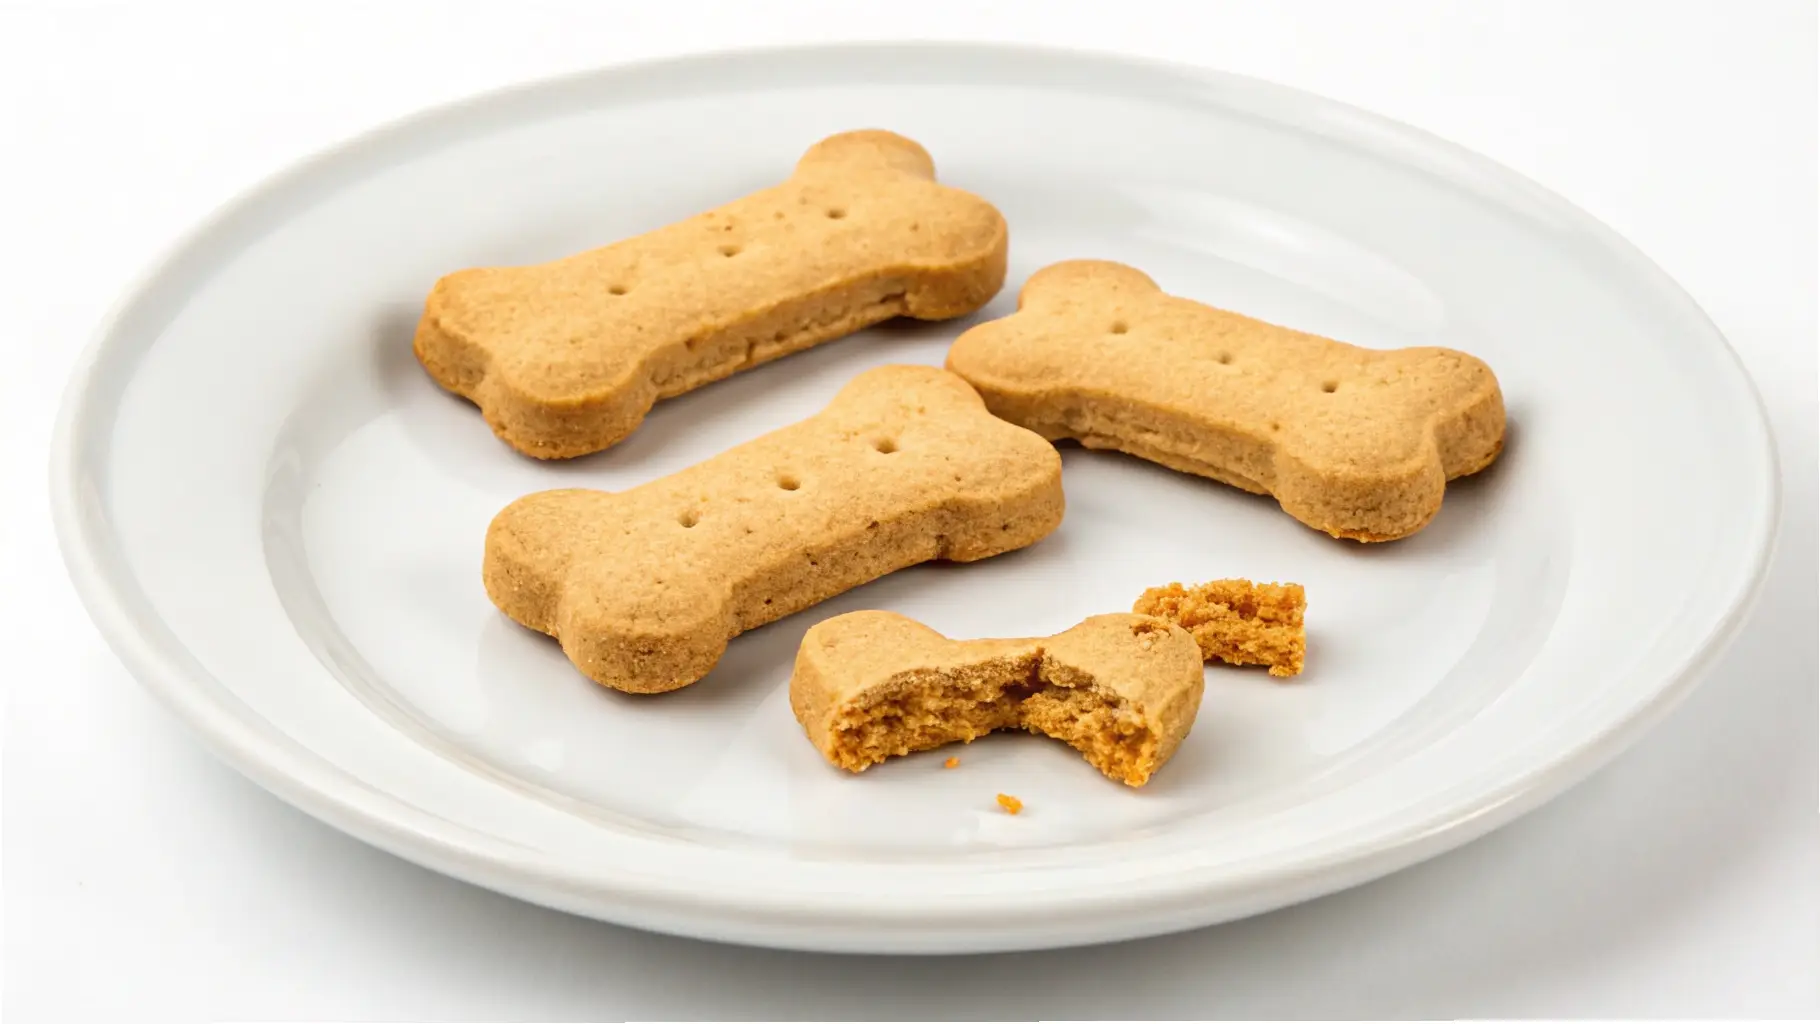
The texture is crisp, and they can easily be broken into smaller pieces for training purposes, making them a great option for reinforcing good behavior.
Plus, the best part? These treats are incredibly easy to prepare, with no complicated steps or long cooking times. Whether you’re a seasoned dog treat maker or a newbie in the kitchen, this recipe is designed to be quick and foolproof.
Making these treats is as easy as mixing together a few simple ingredients, rolling out the dough, and baking.
You’ll have a batch of these tasty biscuits ready in no time, making them a fantastic option for batch prepping ahead of a busy week.
The best part is that you can control exactly what goes into the treats, ensuring they are nutritious, safe, and aligned with your dog’s dietary needs.
These treats are not only great for rewarding good behavior but can also support your dog’s health, making them an all-around win!
Why You’ll Love This Recipe (Pet Parent Perspective)
If you’re considering making these treats, here’s why you’ll love it:
- Cost-effectiveness compared to store-bought: Homemade treats are often much more affordable than store-bought ones, and they allow you to control the quality of ingredients.
- Ingredient control and quality: You’ll know exactly what your dog is eating, avoiding any hidden preservatives or artificial sweeteners like xylitol, which can be toxic to dogs.
- Storage convenience: These treats store well in an airtight container, allowing you to prepare them in advance and have them ready whenever your dog needs a snack.
- Training effectiveness: The size of these biscuits is perfect for training sessions, and you can break them into smaller pieces for faster rewards.
- Portion control benefits: The recipe allows for easy portion control, ensuring that your dog doesn’t overeat.
Essential Information
- Prep Time: 10 minutes
- Cook Time: 25-30 minutes
- Total Time: 35-40 minutes
- Yield: Approximately 24 treats (depending on size)
- Shelf Life: Up to 2 weeks when stored in an airtight container at room temperature
- Storage Requirements: Store in an airtight container in a cool, dry place
- Equipment Needed: Mixing bowl, measuring cups, rolling pin, baking sheet, parchment paper or silicone baking mat, cookie cutters (optional)
Ingredients Section: Main Components
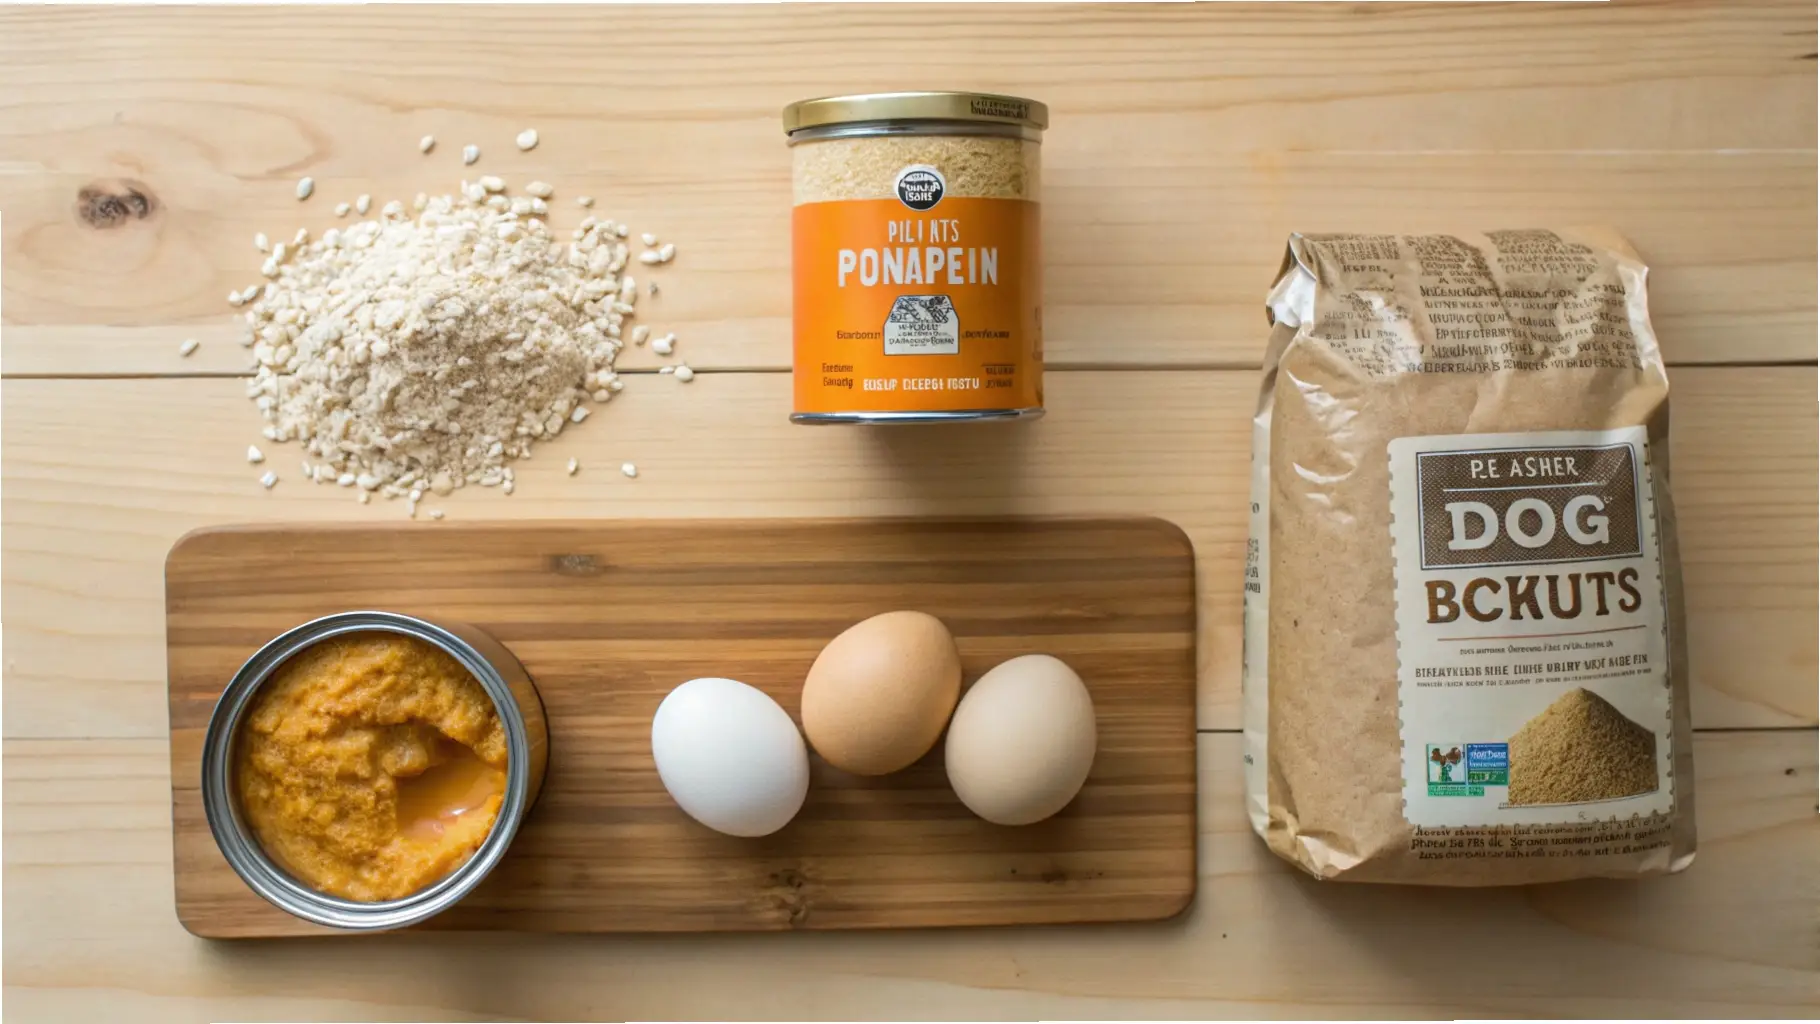
For this recipe, you’ll need the following ingredients:
- 1 cup canned pumpkin puree – Make sure it’s pure pumpkin without any added spices or sweeteners. Pumpkin is rich in fiber and helps with digestion.
- 1/2 cup peanut butter – Use natural peanut butter that contains no xylitol, a toxic sweetener to dogs. Peanut butter provides protein and healthy fats.
- 2 eggs – Eggs are an excellent source of protein and help bind the ingredients together.
- 2 1/2 cups oat flour – Oat flour is gentle on your dog’s stomach and is a great grain-free alternative. If needed, rice flour can be used as a substitute.
Expert Tips: Before You Begin
- Peanut Butter Choice: Always check the label to ensure your peanut butter doesn’t contain xylitol, which is highly toxic to dogs. Stick with natural peanut butter with no added sugar or artificial sweeteners.
- Proper Mixing: When mixing the dough, be sure to combine everything thoroughly. The dough should be stiff but still easy to roll. If it’s too sticky, you can add a little more oat flour.
- Dough Consistency: If the dough is too dry, add a tablespoon of water or unsweetened applesauce to bring it together. The right consistency will help form uniform biscuits.
- Consistency is Key: If you’re making different sizes for various dogs, try to keep the thickness of the dough consistent when rolling it out. This ensures that all biscuits cook evenly.
- Make it Fun: Use fun cookie cutters to create different shapes for special occasions, or simply roll the dough into small balls for a no-fuss option.
Instructions: How to Make Peanut Butter and Pumpkin Dog Biscuits
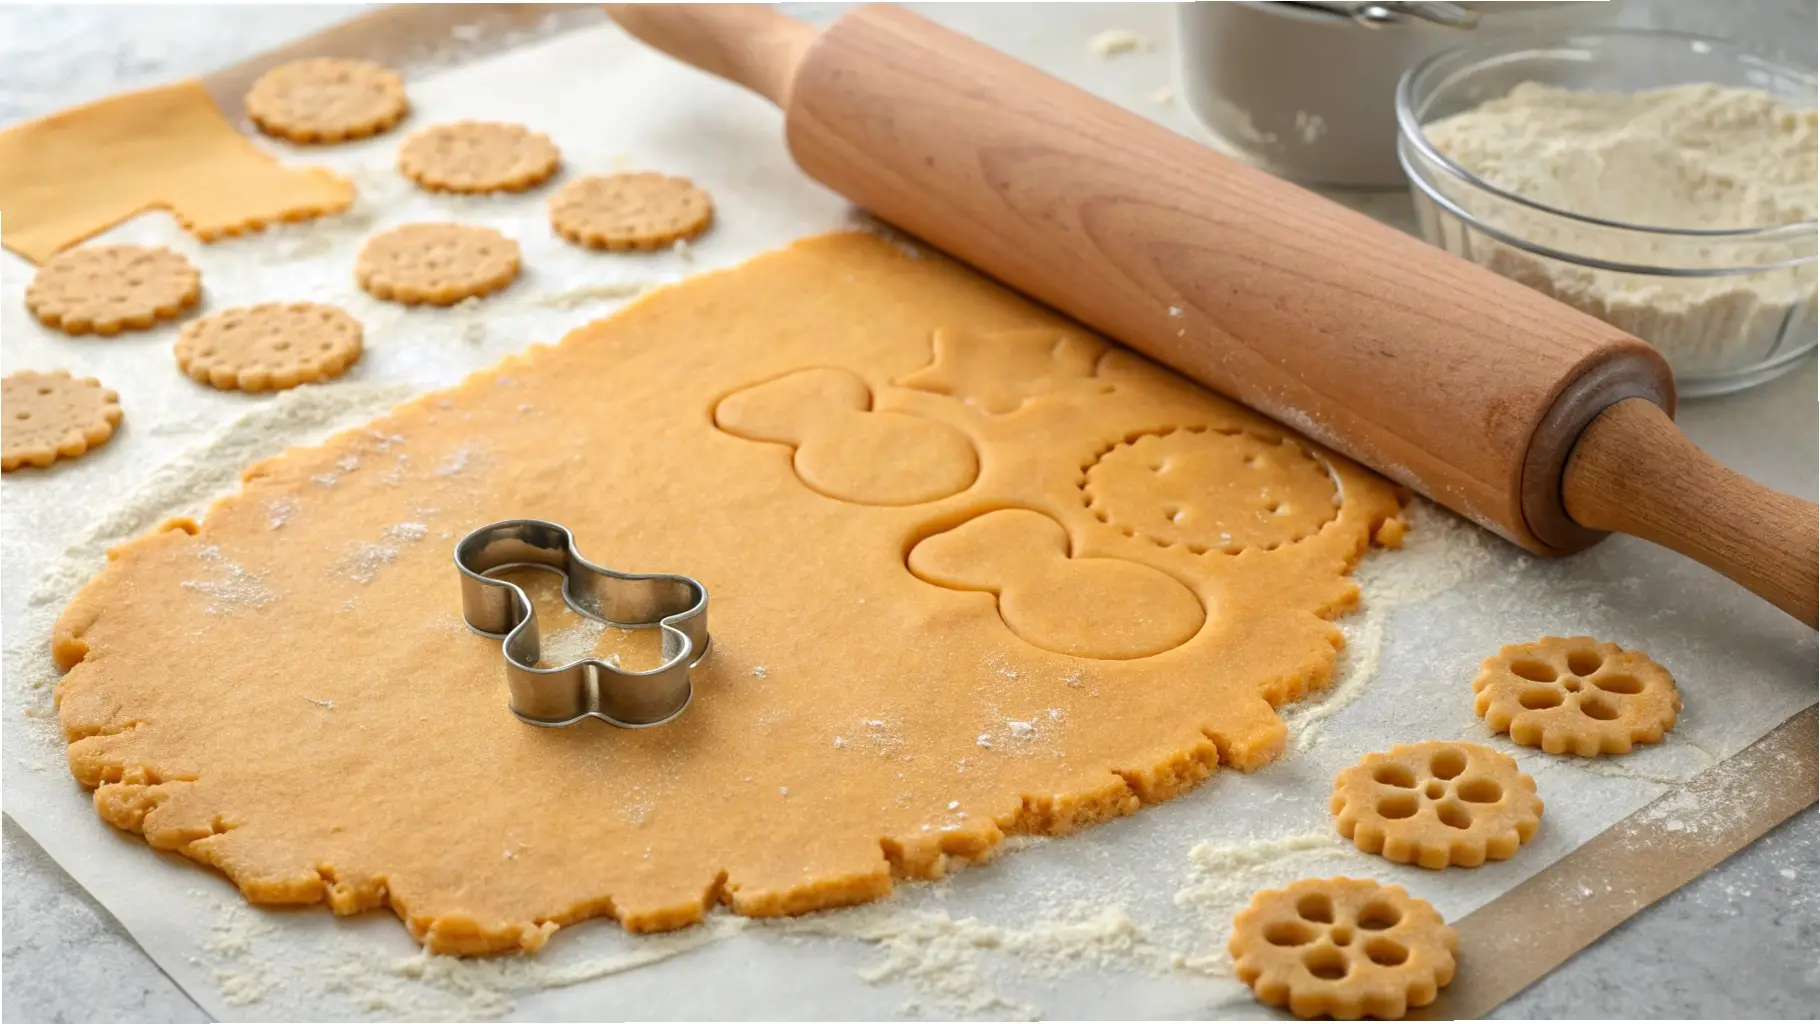
- Preheat your oven to 350°F (175°C). Line a baking sheet with parchment paper or a silicone baking mat.
- Combine wet ingredients: In a large mixing bowl, combine the pumpkin puree, peanut butter, and eggs. Stir well until smooth.
- Add the flour: Gradually add the oat flour to the wet mixture, stirring until a dough forms. If you’re using any optional add-ins like shredded carrots, mix them in at this point.
- Roll out the dough: On a floured surface, roll the dough to about 1/4-inch thickness.
- Cut the biscuits: Use a cookie cutter to shape the biscuits, or simply cut the dough into squares or rectangles with a knife.
- Bake: Place the biscuits on the prepared baking sheet and bake for 25-30 minutes or until golden brown and crispy.
- Cool and store: Allow the biscuits to cool completely before serving. Store them in an airtight container to keep them fresh.
Variations and Substitutions
If you’re looking to adjust the recipe to suit your dog’s specific dietary needs or preferences, there are several variations you can try:
- Grain-free options: Substitute the oat flour with coconut flour or rice flour to make the treats grain-free.
- Protein alternatives: Swap the peanut butter with almond butter or sunbutter if your dog has a peanut allergy.
- Soft treat variations: If your dog prefers softer treats, reduce the baking time by 5-10 minutes to keep them chewy.
Pro Tips and Success Secrets
- Ingredient selection: When selecting ingredients, always opt for high-quality, natural products. This ensures that you are giving your dog the healthiest treat possible.
- Batch preparation: These treats are perfect for batch preparation. Make a double batch and store them for later use.
- Storage optimization: To preserve freshness, store the treats in the fridge or freeze them for long-term storage.
Serving Guidelines
When it comes to serving, remember to adjust portion sizes based on your dog’s size and activity level. Small dogs should get smaller portions, while larger dogs can enjoy bigger treats.
Typically, limit to 1-2 biscuits per day to avoid overfeeding. These treats are great for reinforcing training, rewarding good behavior, or simply giving your dog a special snack after a walk.
Common Questions
- Can I store these treats in the freezer? Yes, you can freeze these treats for up to three months. Just place them in an airtight container or zip-top bag to keep them fresh.
- My dog is allergic to peanuts. Can I substitute? Absolutely! You can use almond butter or sunflower butter as a substitute. Just ensure they don’t contain added sugars or xylitol.
- How long will these treats last? When stored in an airtight container at room temperature, they should last about 2 weeks. You can extend their shelf life by refrigerating them.
- Can I adjust the recipe for a senior dog? Yes, you can make the biscuits softer by reducing the baking time slightly. Senior dogs may appreciate a softer treat, and this recipe can be adjusted to suit their needs.
#2. Homemade Peanut Butter & Sweet Potato Puppy Training Treats: A Nutritious Treat Your Puppy Will Love

As a pet parent, it’s always a joy to watch your puppy grow and learn new things. The right training treats can make all the difference, not only to encourage good behavior but also to support your furry friend’s development.
That’s why I wanted to share this simple, nutrient-rich recipe for peanut butter and sweet potato puppy training treats.
These treats aren’t just delicious; they’re packed with natural ingredients to give your pup the energy and nutrients they need to thrive during training sessions. Whether you’re potty training or teaching new commands, these treats will become your go-to reward.
What makes these treats even better is that they’re easy to make and full of ingredients that are not only safe but beneficial for your pup’s growth.
Peanut butter is a great source of healthy fats and protein, while sweet potatoes provide fiber and essential vitamins for digestive health.
These treats are perfect for any puppy, and the texture makes them ideal for quick training sessions—they’re soft, chewable, and just the right size for rewarding good behavior. If you’re looking for a healthy, homemade alternative to store-bought treats, this recipe is a win!
Recipe Overview: A Perfect Blend of Flavor and Nutrition
These Peanut Butter & Sweet Potato Puppy Training Treats are everything you could ask for in a dog treat. They are quick and simple to prepare, with minimal fuss in the kitchen, and best of all, they’re great for your puppy’s development.
The combination of peanut butter and sweet potato creates a soft, savory treat that’s easy for your puppy to chew, making it a great option for younger dogs still working on their teeth.
With just a handful of ingredients, these treats can be made in less than an hour, so you’ll always have a fresh batch ready to go.
Whether you’re training your pup to sit, stay, or come when called, these treats can help reinforce positive behaviors.
The natural ingredients offer plenty of health benefits as well, providing essential nutrients without the added preservatives found in many commercial treats.
It’s the perfect snack for any special occasion or just as a healthy reward during daily training. Plus, they store easily in an airtight container, so you can make a big batch and have them on hand whenever you need them.
Why You’ll Love This Recipe
As a pet parent, it’s reassuring to know exactly what’s going into the treats your puppy is eating. Here’s why this recipe is a must-try:
- Cost-Effective: These treats are a fraction of the cost compared to store-bought options, and you can make them in large batches.
- Ingredient Control: You get full control over what your puppy eats, so you know there are no artificial preservatives or harmful additives.
- Storage Convenience: Store these treats in an airtight container for easy access, and they’ll last up to a week. No need to worry about them going bad quickly.
- Training Effectiveness: Their soft texture makes them perfect for training, and you can easily break them into smaller pieces for portion control.
- Perfect for Multi-Dog Households: If you have more than one pup, this recipe scales easily, so you can make enough for everyone.
- Time-Saving: With just 30 minutes of prep time, you can have a fresh batch ready to go in no time.
Essential Information
Here’s everything you need to know to get started with this easy recipe:
- Prep Time: 10 minutes
- Cook Time: 20 minutes
- Total Time: 30 minutes
- Yield: 30-40 treats (depending on size)
- Size per Treat: Approximately 1 inch for small dogs, 1.5 inches for medium to large breeds
- Shelf Life: Up to 1 week when stored in an airtight container at room temperature
- Storage Requirements: Store in a cool, dry place, or refrigerate for longer freshness
- Equipment Needed: Mixing bowl, measuring cups and spoons, baking sheet, parchment paper or silicone mat
Ingredients: Nutritious and Puppy-Friendly
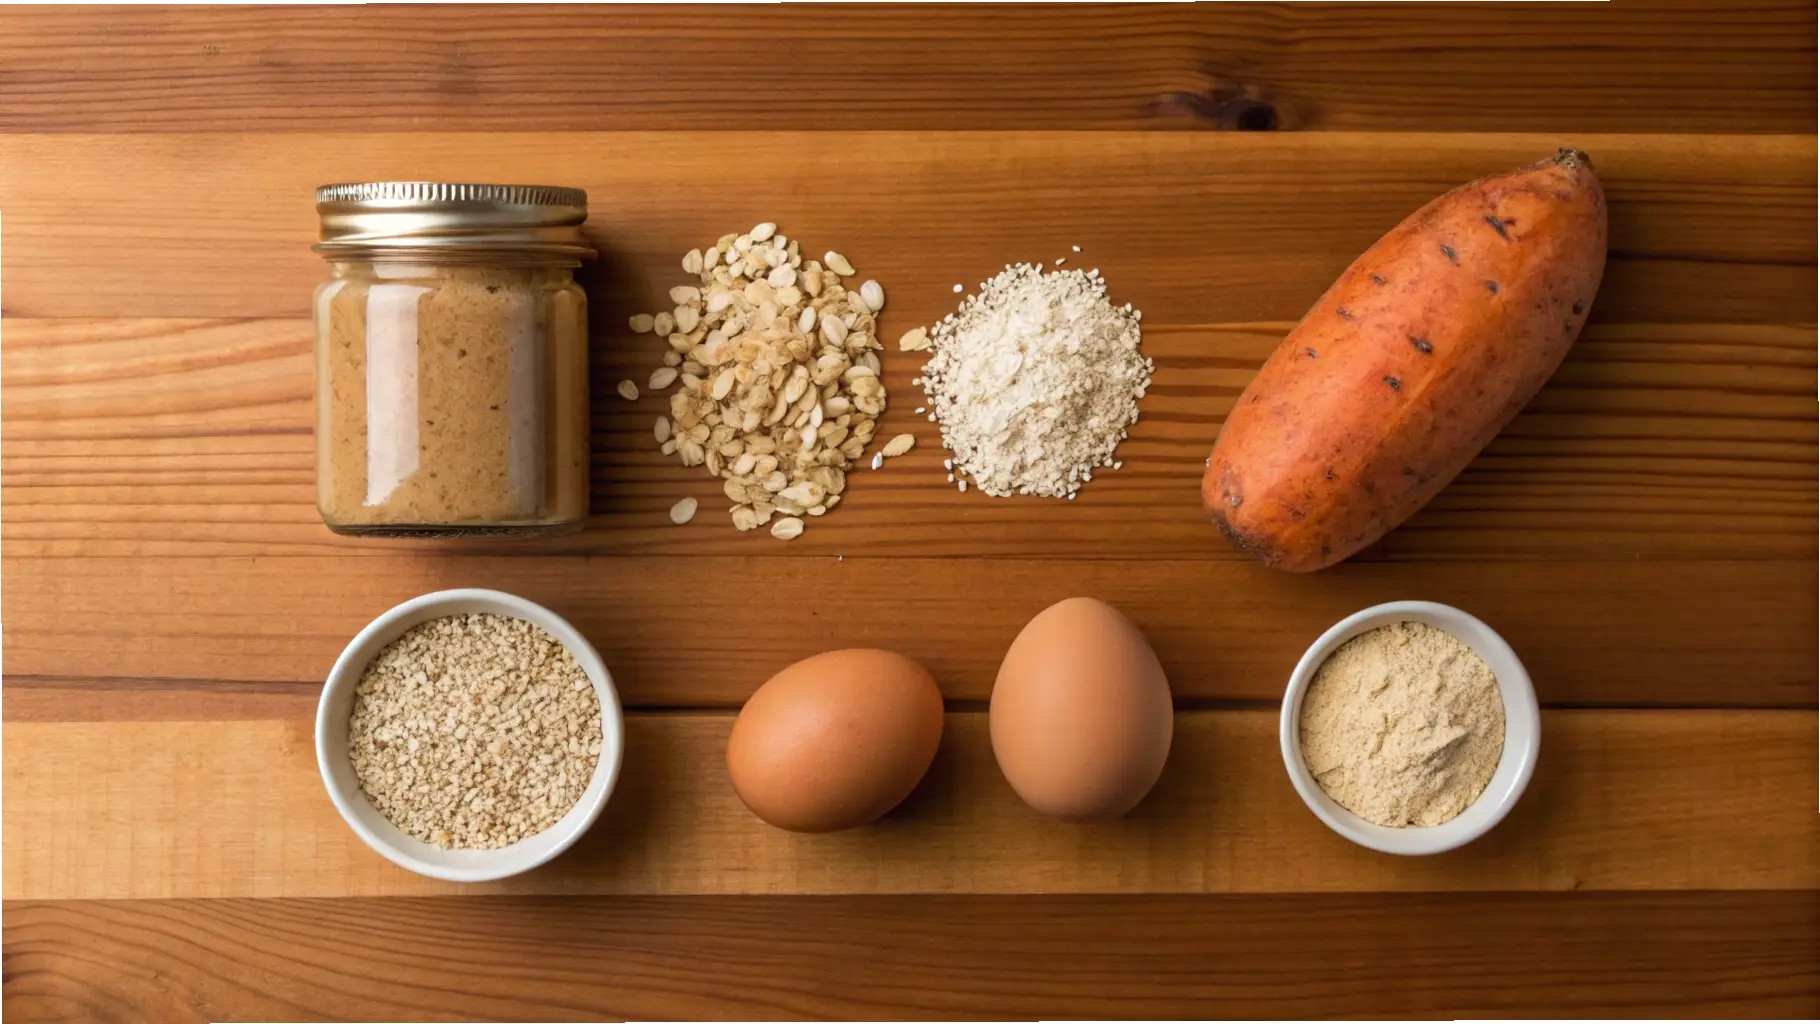
When making treats for your puppy, it’s important to select safe, nutritious ingredients that will support their health and development. Here’s what you’ll need for this recipe:
- Main Components:
- 1 cup whole wheat flour (or a grain-free alternative like oat flour for sensitive pups)
- 1/2 cup rolled oats
- 1/2 cup natural peanut butter (make sure it’s unsweetened and xylitol-free)
- 1/2 cup cooked and mashed sweet potato
- 1 egg
Each ingredient offers something beneficial: peanut butter provides healthy fats and protein for energy, while sweet potatoes are packed with fiber and beta-carotene for overall health. If your puppy has grain sensitivities, oat flour is a great substitute for whole wheat flour.
Always choose organic, natural peanut butter to avoid added sugar and toxic ingredients like xylitol, which can be harmful to dogs.
Expert Tips
Before you dive into the instructions, here are some helpful tips to ensure these treats turn out perfectly every time:
- Sweet Potato Tip: Make sure your sweet potatoes are well-cooked and mashed smoothly to avoid any chunks that might be hard for your puppy to chew.
- Peanut Butter Safety: Always check the peanut butter ingredients to ensure it does not contain xylitol. Even small amounts of xylitol can be toxic to dogs.
- Flour Substitutions: If you’re using a gluten-free or grain-free flour alternative, such as coconut flour or rice flour, be mindful that it may require slight adjustments to the recipe due to different absorbency levels.
Instructions
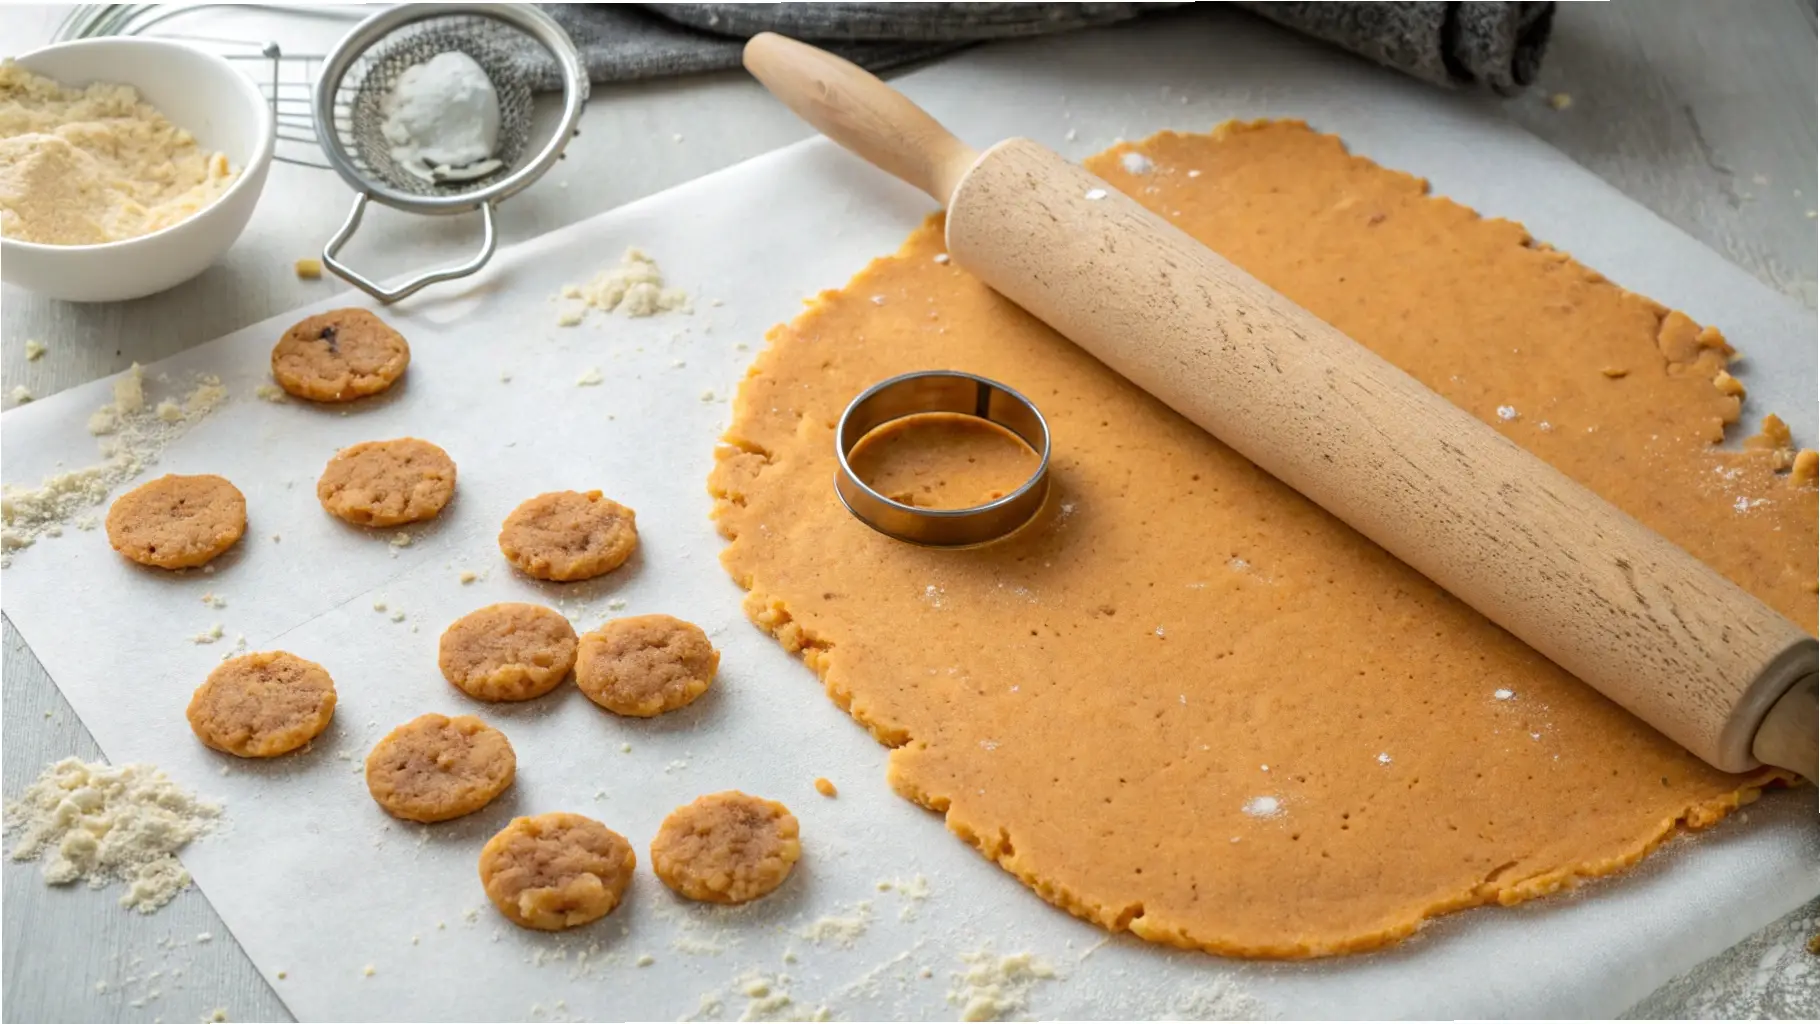
- Preheat the Oven: Set your oven to 350°F (175°C) and line a baking sheet with parchment paper or a silicone baking mat.
- Prepare the Dough: In a large mixing bowl, combine the whole wheat flour, rolled oats, and egg. Add in the mashed sweet potato and peanut butter, stirring until everything is well combined and forms a dough.
- Roll Out the Dough: Lightly flour your work surface and roll the dough out to about 1/4-inch thickness. If the dough is too sticky, you can lightly dust it with flour.
- Cut into Shapes: Use a small cookie cutter or knife to cut the dough into bite-sized pieces (about 1 inch for small dogs). Adjust the size based on your puppy’s breed and training needs.
- Bake: Place the cut dough on the prepared baking sheet and bake for 20 minutes, or until the treats are firm to the touch and lightly golden.
- Cool: Let the treats cool completely on a wire rack before serving or storing.
Variations and Substitutions
- Grain-Free Options: Use oat flour or coconut flour to make the treats grain-free. You may need to adjust the amount of liquid in the dough, as these flours tend to absorb more moisture.
- Protein Alternatives: You can swap the peanut butter with almond butter (ensure it’s unsweetened and xylitol-free) for a different flavor and added protein.
- Soft Treats for Puppies: If your puppy prefers softer treats, you can reduce the baking time slightly to ensure the treats stay chewy.
- Senior Dog Adaptations: For senior dogs who may have dental issues, make the treats a little softer by adding more sweet potato or using less flour.
Serving Guidelines
For proper portion control, serve these treats based on your dog’s size:
- Small Dogs: Break treats into smaller pieces or serve as is (1/2-inch pieces).
- Medium Dogs: Serve treats as 1-inch pieces.
- Large Dogs: Serve up to 1.5-inch pieces.
Training Use: These treats are ideal for rewarding good behavior during training sessions. Break them into small pieces for positive reinforcement.
Common Questions
How long will these treats last?
These treats can last up to a week when stored in an airtight container at room temperature. For longer storage, refrigerate them for up to 2 weeks.
Can I make these treats in advance?
Yes, you can batch prepare these treats and store them for later. Just make sure to store them in a cool, dry place or refrigerate for extended freshness.
Are these treats suitable for all breeds?
Yes, these treats can be adjusted based on your puppy’s size. Simply modify the treat size to suit small or large breeds.
#3. Chicken & Carrot Puppy Bites: A Savory, Nutritious Treat for Your Growing Pup
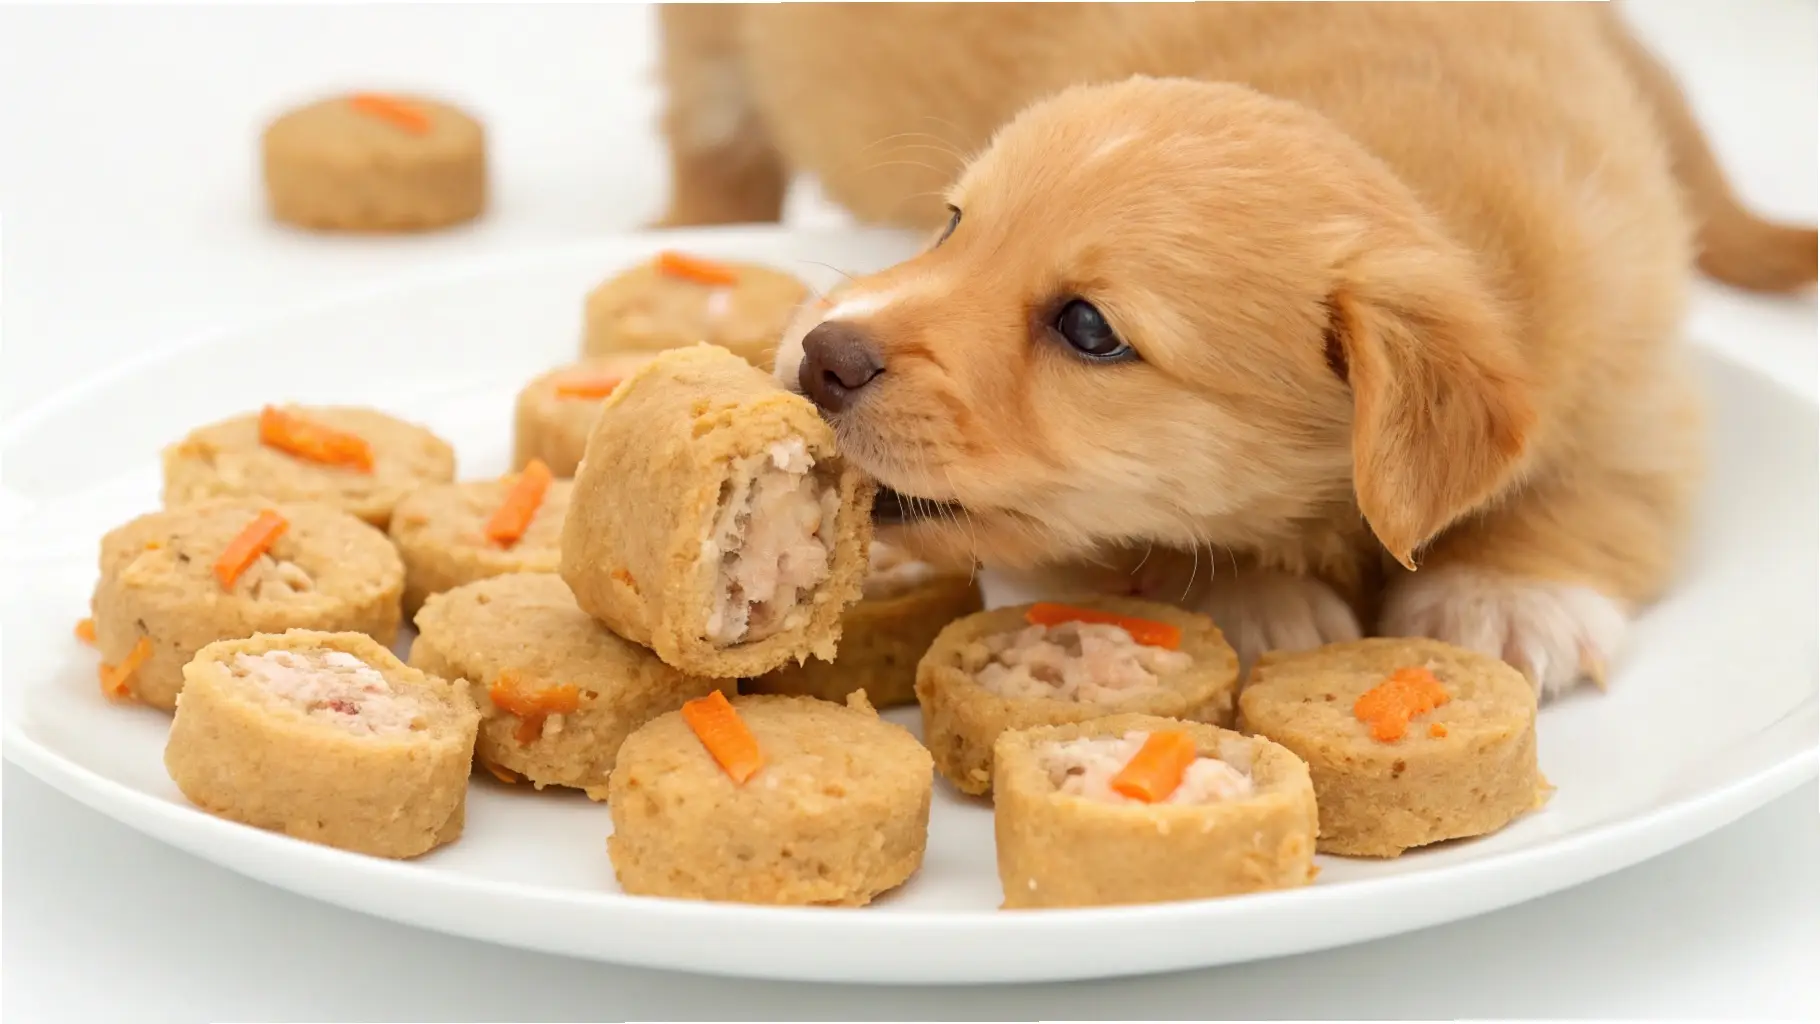
As a puppy parent, we all want to give our fur babies the best start in life, especially when it comes to their diet and development.
That’s why I’m excited to share this recipe for Chicken & Carrot Puppy Bites—a tasty and wholesome treat that’s perfect for supporting your puppy’s growth and training needs.
These treats are packed with protein and essential vitamins that will help your puppy stay strong and healthy as they grow, making them an ideal addition to their daily routine. They’re simple to prepare, and your puppy will love the savory flavor!
I created this recipe because I wanted a healthy, homemade alternative to store-bought puppy treats. The chicken provides high-quality protein, while carrots are loaded with beta-carotene and fiber, which are great for your puppy’s vision and digestion.
The soft texture makes them easy for little mouths to chew, and their bite-size shape is perfect for training or snacking between meals. These treats will soon become a staple in your treat jar, offering not only taste but also the nutrients your puppy needs to thrive.
Recipe Overview: Nutritious & Puppy-Approved
These Chicken & Carrot Puppy Bites are a fantastic option for pet parents looking to support their puppy’s development. With a combination of lean chicken, carrots, and a touch of healthy fats, these treats provide a balanced snack to fuel your puppy’s energy needs.
Their soft, chewy texture makes them easy to break into smaller pieces for training or quick rewards. They’re quick to make and can be stored for later use, so they’re perfect for batch cooking. Best of all, they’re suitable for puppies of all sizes, making this a versatile and universally loved recipe in your dog’s treat rotation.
Whether you’re using them for training, rewarding good behavior, or just as a fun snack, these puppy bites are sure to keep your dog happy and healthy.
Plus, they’re free of any unnecessary additives or preservatives, so you can feel confident knowing exactly what your puppy is eating. With minimal preparation and cooking time, this is one treat you’ll want to make again and again.
Why You’ll Love This Recipe
As a pet parent, you’ll appreciate the simplicity and benefits of these Chicken & Carrot Puppy Bites. Here’s why they’re such a great addition to your puppy’s treat repertoire:
- Cost-Effective: Making these treats at home is much more affordable than buying pre-packaged puppy treats, and you know exactly what’s going into them.
- Nutrient-Rich: With chicken providing essential protein and carrots offering vitamins A and C, these treats are packed with nutrients that will support your puppy’s development.
- Perfect for Training: Their soft texture makes them ideal for breaking into small pieces during training sessions, and their savory taste will keep your puppy motivated.
- Customizable for Size: Whether you have a tiny pup or a larger breed, you can easily adjust the size of the treats to suit your dog’s needs.
- Simple Preparation: With just a few basic ingredients and quick steps, you’ll have a batch of homemade treats ready in no time.
Essential Information
Here’s everything you need to know to get started with these tasty, nutrient-rich Chicken & Carrot Puppy Bites:
- Prep Time: 10 minutes
- Cook Time: 15-20 minutes
- Total Time: 25-30 minutes
- Yield: 30-35 treats (depending on size)
- Size per Treat: 1 inch for small dogs, 1.5-2 inches for medium to large breeds
- Shelf Life: Up to 1 week when stored in an airtight container at room temperature
- Storage Requirements: Store in a cool, dry place or refrigerate for longer shelf life
- Equipment Needed: Mixing bowl, measuring cups and spoons, baking sheet, parchment paper or silicone mat
Ingredients: Simple, Whole Ingredients Your Puppy Will Love
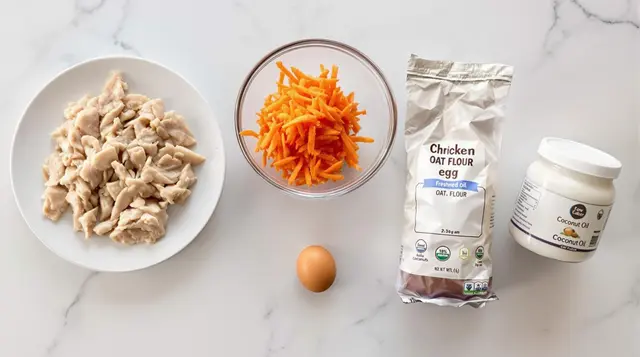
This recipe uses only the best, natural ingredients to ensure your puppy gets the nourishment they need:
- Main Components:
- 1 cup cooked chicken breast, shredded
- 1/2 cup grated carrots
- 1/2 cup oat flour (can substitute with rice flour for gluten-free options)
- 1 egg
- 2 tablespoons coconut oil (or olive oil for a healthier fat alternative)
Each ingredient plays a vital role in supporting your puppy’s health. Chicken provides lean protein, which is essential for muscle growth, while carrots offer vitamins and fiber to promote eye health and digestion. Oat flour is gentle on sensitive tummies, and coconut oil adds a healthy fat boost that supports skin and coat health. Together, these ingredients make for a perfect treat that’s both delicious and nutritious.
Expert Tips
Before diving into the preparation, here are some pro tips to make sure these treats come out just right:
- Chicken Preparation: Use boneless, skinless chicken breast for a leaner treat. Shred the chicken into small, manageable pieces so it mixes well into the dough.
- Carrot Grating: Grate the carrots finely so they can be evenly distributed throughout the dough. Large pieces might make it harder for your puppy to chew.
- Flour Alternatives: If you’re using a gluten-free flour, be sure to adjust the amount of liquid to get the right consistency for the dough, as different flours absorb moisture differently.
Instructions
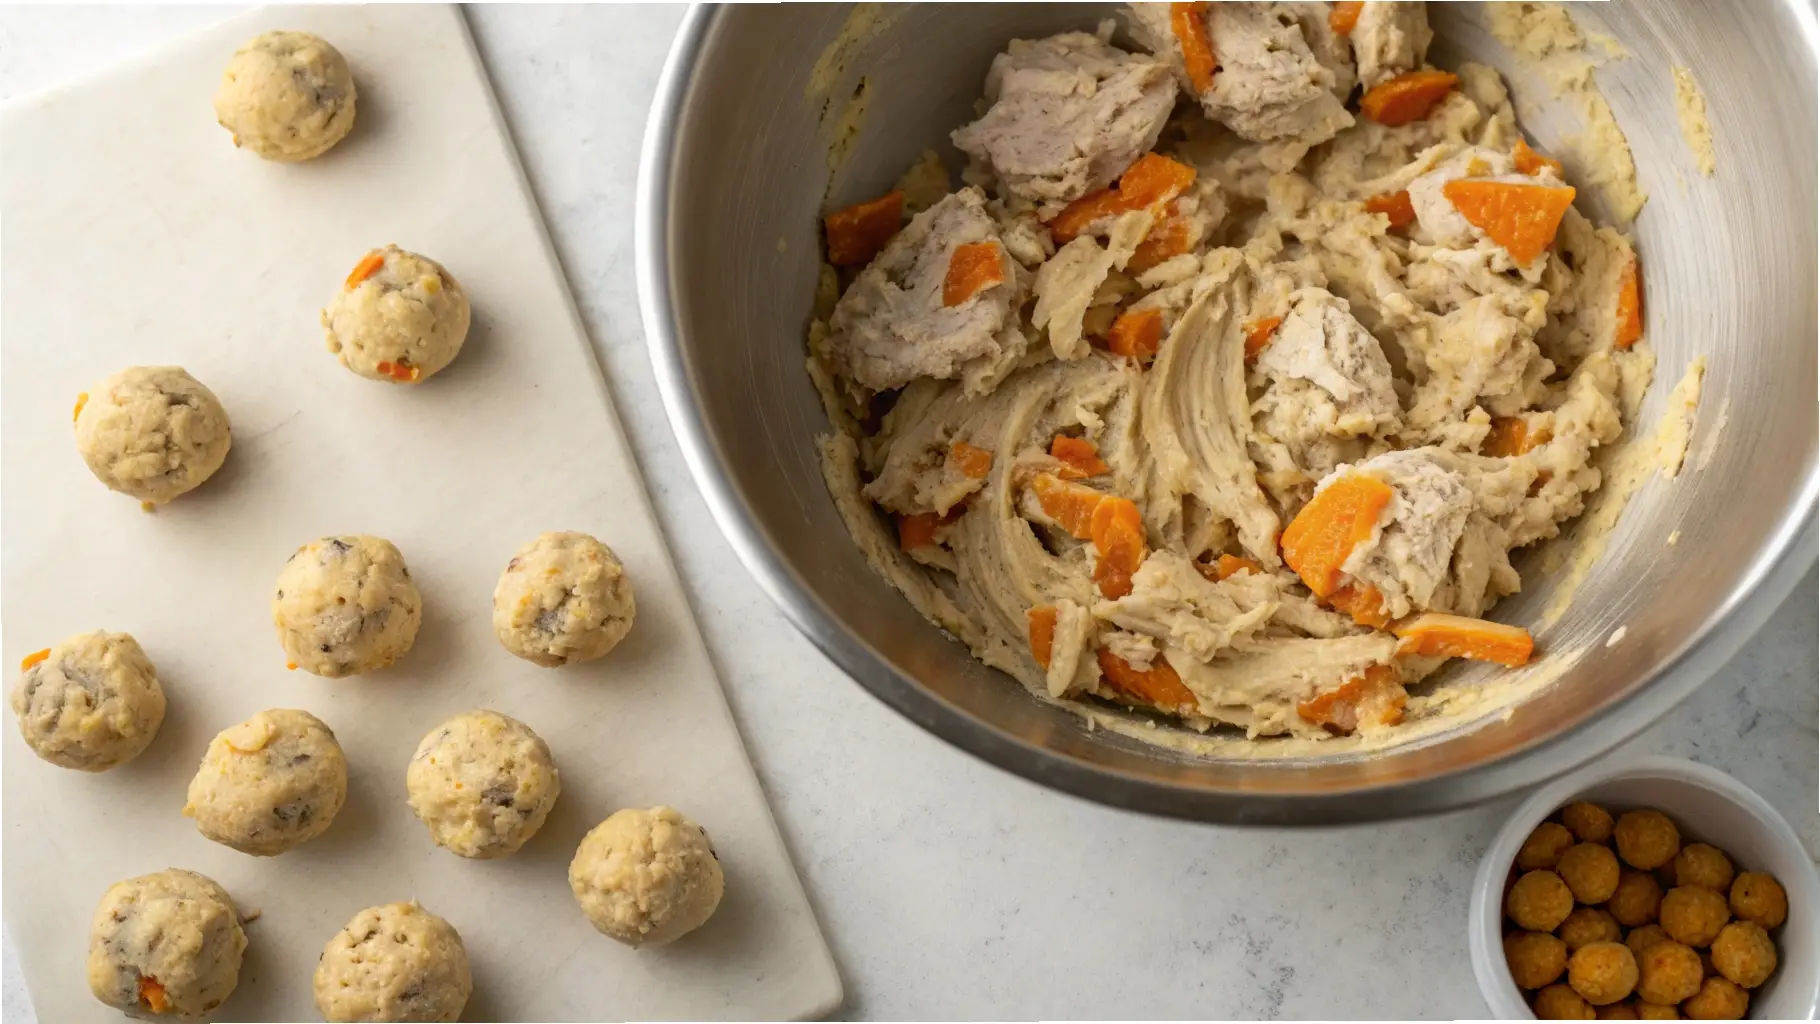
- Preheat the Oven: Set your oven to 350°F (175°C) and line a baking sheet with parchment paper or a silicone mat to prevent sticking.
- Prepare the Chicken: Cook the chicken breast thoroughly and shred it into small pieces. Let it cool slightly before adding it to the mix.
- Combine Ingredients: In a large mixing bowl, combine the shredded chicken, grated carrots, oat flour, egg, and coconut oil. Stir until everything is fully incorporated and forms a dough.
- Shape the Treats: Roll the dough into small balls or shape with cookie cutters to create fun, bite-sized shapes. You can adjust the size based on your dog’s breed and preference.
- Bake: Arrange the shaped treats on the prepared baking sheet and bake for 15-20 minutes, or until they’re firm and lightly golden.
- Cool Completely: Allow the treats to cool completely before serving or storing.
Variations and Substitutions
- Grain-Free Options: Substitute oat flour with rice flour, chickpea flour, or coconut flour to create a grain-free version of these treats. Just keep in mind that different flours may require minor adjustments to the moisture content of the dough.
- Protein Alternatives: You can swap the chicken for cooked turkey or beef if you prefer variety in your puppy’s diet.
- Vegetable Add-Ins: Try adding other puppy-safe veggies like peas or sweet potatoes for an extra nutritional boost.
Serving Guidelines
For serving, follow these recommendations based on your puppy’s size:
- Small Dogs: Serve 1/2-inch treats for tiny puppies or break larger treats into small pieces.
- Medium Dogs: Serve 1-inch treats for an ideal portion.
- Large Dogs: Serve 1.5-inch treats or break into larger portions as needed.
Training Use: These treats are perfect for training sessions. Their soft texture makes them easy to break into smaller pieces for quick rewards.
Common Questions
Can I make these treats in advance?
Absolutely! These treats can be made ahead of time and stored in an airtight container for up to a week at room temperature. For longer storage, refrigerate them for up to two weeks.
Are these treats suitable for all puppies?
Yes, this recipe is suitable for puppies of all sizes. Simply adjust the size of the treats based on your puppy’s breed and age.
Can I freeze these treats?
Yes, you can freeze these treats for up to 3 months. Just make sure they’re stored in a freezer-safe container, and thaw them as needed.
#4. Peanut Butter & Banana Puppy Biscuits: A Tasty, Healthful Treat for Growing Pups
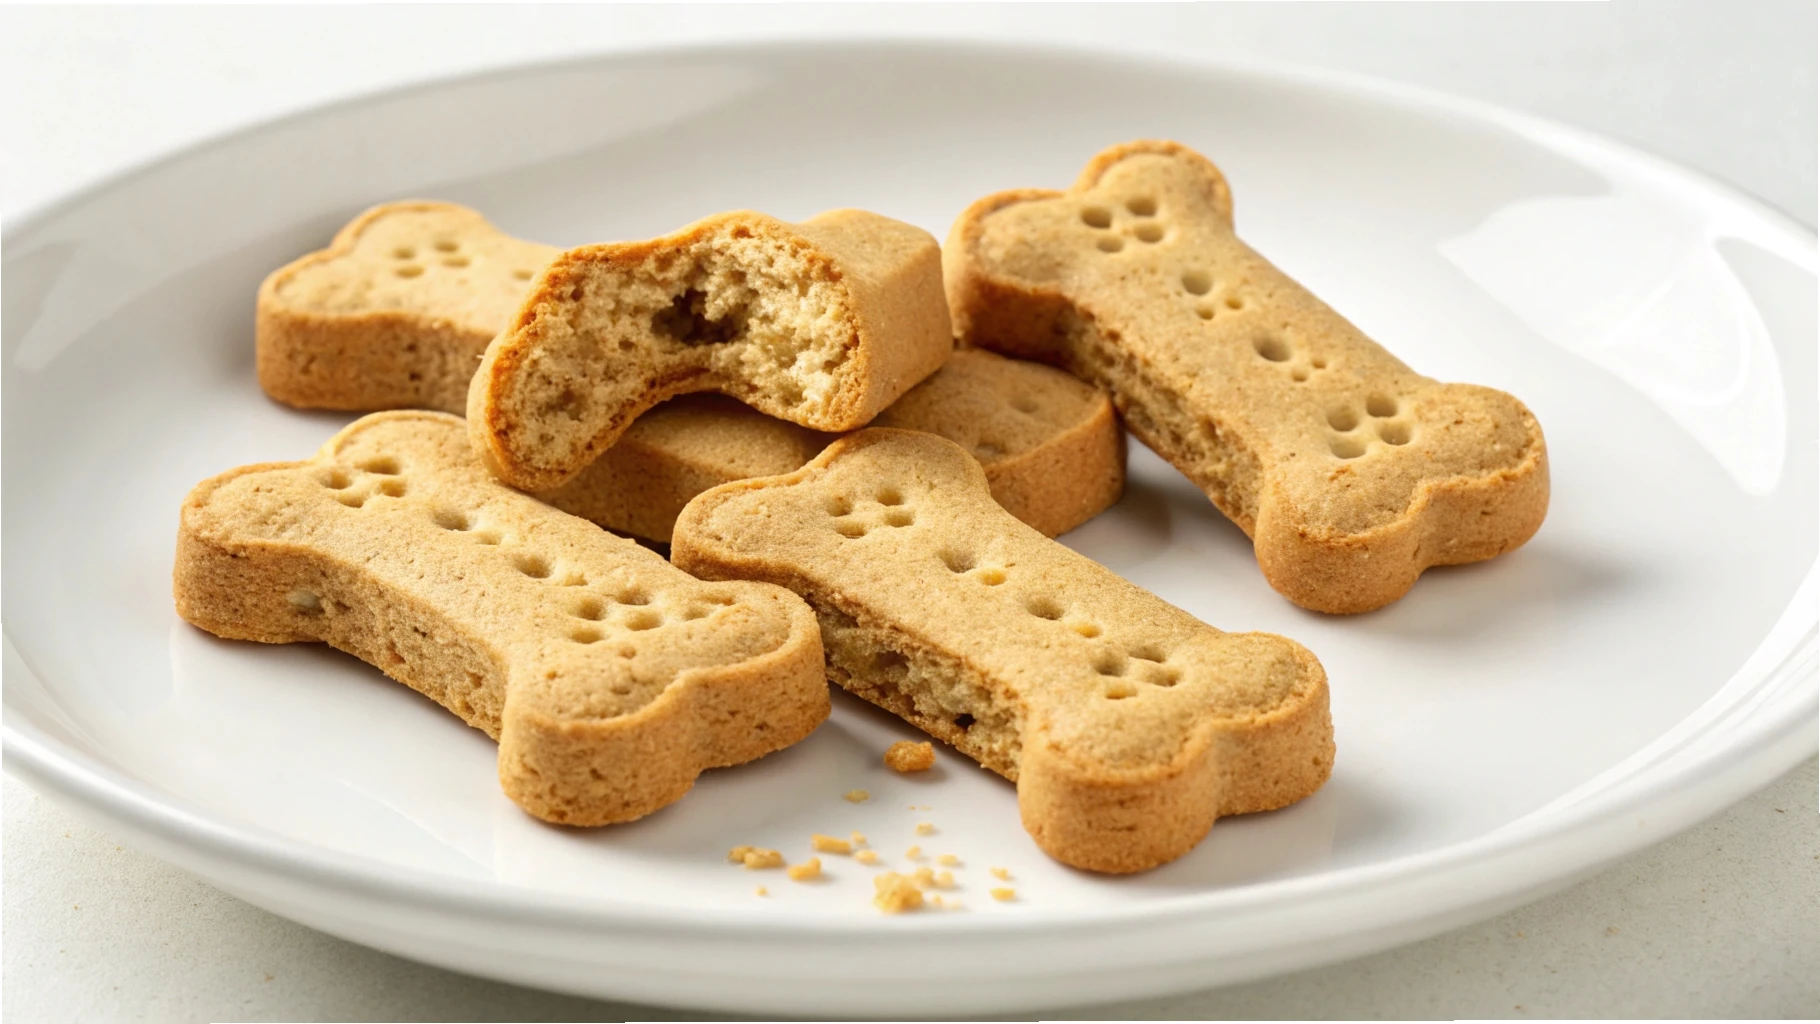
Every puppy deserves a treat that supports their growth, development, and health, and these Peanut Butter & Banana Puppy Biscuits are just what your little one needs!
Packed with protein, potassium, and healthy fats, these treats will fuel your puppy’s energy while supporting their muscular and cognitive development.
I crafted this recipe to ensure that it’s not only delicious but also safe and nutritious, providing your growing puppy with all the benefits they deserve.
Bananas are a great source of potassium and fiber, which support digestion and overall health, while peanut butter offers protein and healthy fats for muscle development.
The addition of oat flour makes the biscuits gentle on the tummy, perfect for a growing pup’s delicate digestive system. The best part? These biscuits are incredibly easy to make, and your puppy will be drooling as soon as the aroma fills the kitchen.
Recipe Overview: Wholesome, Flavorful, and Puppy-Approved
These Peanut Butter & Banana Puppy Biscuits are an ideal snack for puppies in their developmental stages.
Not only are they full of essential nutrients, but they also boast a satisfying texture that’s crunchy enough for your pup to enjoy, yet soft enough for teething puppies to nibble on.
This recipe is perfect for batch preparation, making it easy to have a supply of treats ready for training sessions, rewarding good behavior, or just giving your pup a tasty, nutritious snack.
Quick to whip up and full of flavor, these treats are a must-try for any dog parent looking to give their puppy the best start in life.
They are perfect for a puppy’s early training sessions and will become a favorite in your dog’s treat jar in no time. Plus, they’re free from artificial additives and preservatives, giving you peace of mind knowing exactly what your puppy is eating.
Why You’ll Love This Recipe
Here’s why you’ll want to keep these Peanut Butter & Banana Puppy Biscuits in your puppy’s treat rotation:
- Affordable & Homemade: Making these treats at home is far more cost-effective than buying expensive store-bought puppy biscuits, and you control every ingredient!
- Nutrient-Dense: Bananas are rich in potassium and vitamins, while peanut butter provides protein and healthy fats to support your puppy’s muscle development.
- Training-Friendly: These biscuits are a great size for training and can be broken into smaller pieces for quick rewards during learning sessions.
- Free of Additives: You won’t find any fillers or preservatives in these homemade biscuits. Just pure, puppy-friendly goodness.
- Easy to Store: These treats can be stored for up to a week at room temperature or refrigerated for extra freshness, making them convenient for regular use.
Essential Information
Before getting started, here are some key details to ensure success with your treats:
- Prep Time: 10 minutes
- Cook Time: 20-25 minutes
- Total Time: 30-35 minutes
- Yield: 20-25 biscuits (depending on size)
- Size per Biscuit: Approximately 1.5 inches (adjustable for different dog sizes)
- Shelf Life: Up to 1 week at room temperature or 2 weeks when refrigerated
- Storage Requirements: Store in an airtight container at room temperature or refrigerate for longer shelf life
- Equipment Needed: Mixing bowl, measuring spoons, rolling pin, cookie cutters, baking sheet, parchment paper
Ingredients: Simple, Healthy Ingredients for Your Puppy

This recipe uses just a handful of ingredients that provide all the nutrients your puppy needs to thrive:
- Main Components:
- 1 ripe banana, mashed
- 1/2 cup natural peanut butter (make sure it’s xylitol-free)
- 1 1/2 cups oat flour (or rice flour for grain-free)
- 1 egg
- 1 tablespoon honey (optional, for sweetness)
Each ingredient has been selected for its nutritional value. Bananas offer natural sugars for a quick energy boost and fiber to aid digestion.
Peanut butter is rich in healthy fats and protein, both of which are crucial for muscle growth and cognitive development.
The egg adds additional protein, and oat flour is gentle on your puppy’s digestive system. Together, these ingredients form a perfect balance of nutrients for your puppy’s development.
Expert Tips
Here are some helpful tips to ensure you get the best results from this recipe:
- Use Natural Peanut Butter: Be sure to use peanut butter that does not contain xylitol, as this ingredient is toxic to dogs. Look for a natural, unsweetened peanut butter for the healthiest option.
- Banana Ripeness: The riper the banana, the sweeter and more flavorful it will be. Overripe bananas are also easier to mash, making them a great addition to the dough.
- Flour Options: If your puppy has food sensitivities, you can use alternative flours like rice flour or coconut flour. Keep in mind that coconut flour absorbs more moisture, so you might need to adjust the wet-to-dry ingredient ratio slightly.
- Adjusting Biscuit Size: Make sure to adjust the size of the biscuits depending on your puppy’s breed and chewing ability. Small breed puppies will benefit from smaller, softer biscuits, while larger breeds can handle slightly bigger and crunchier ones.
Instructions
- Preheat the Oven: Preheat your oven to 350°F (175°C) and line a baking sheet with parchment paper for easy cleanup.
- Mash the Banana: In a mixing bowl, mash the ripe banana until it’s smooth with no large chunks. This will create the base for the dough.
- Combine Wet Ingredients: Add the peanut butter, egg, and honey (if using) to the mashed banana and stir until fully combined.
- Add the Flour: Gradually stir in the oat flour, mixing until a dough forms. You may need to add a bit more flour if the dough is too sticky, but be careful not to add too much.
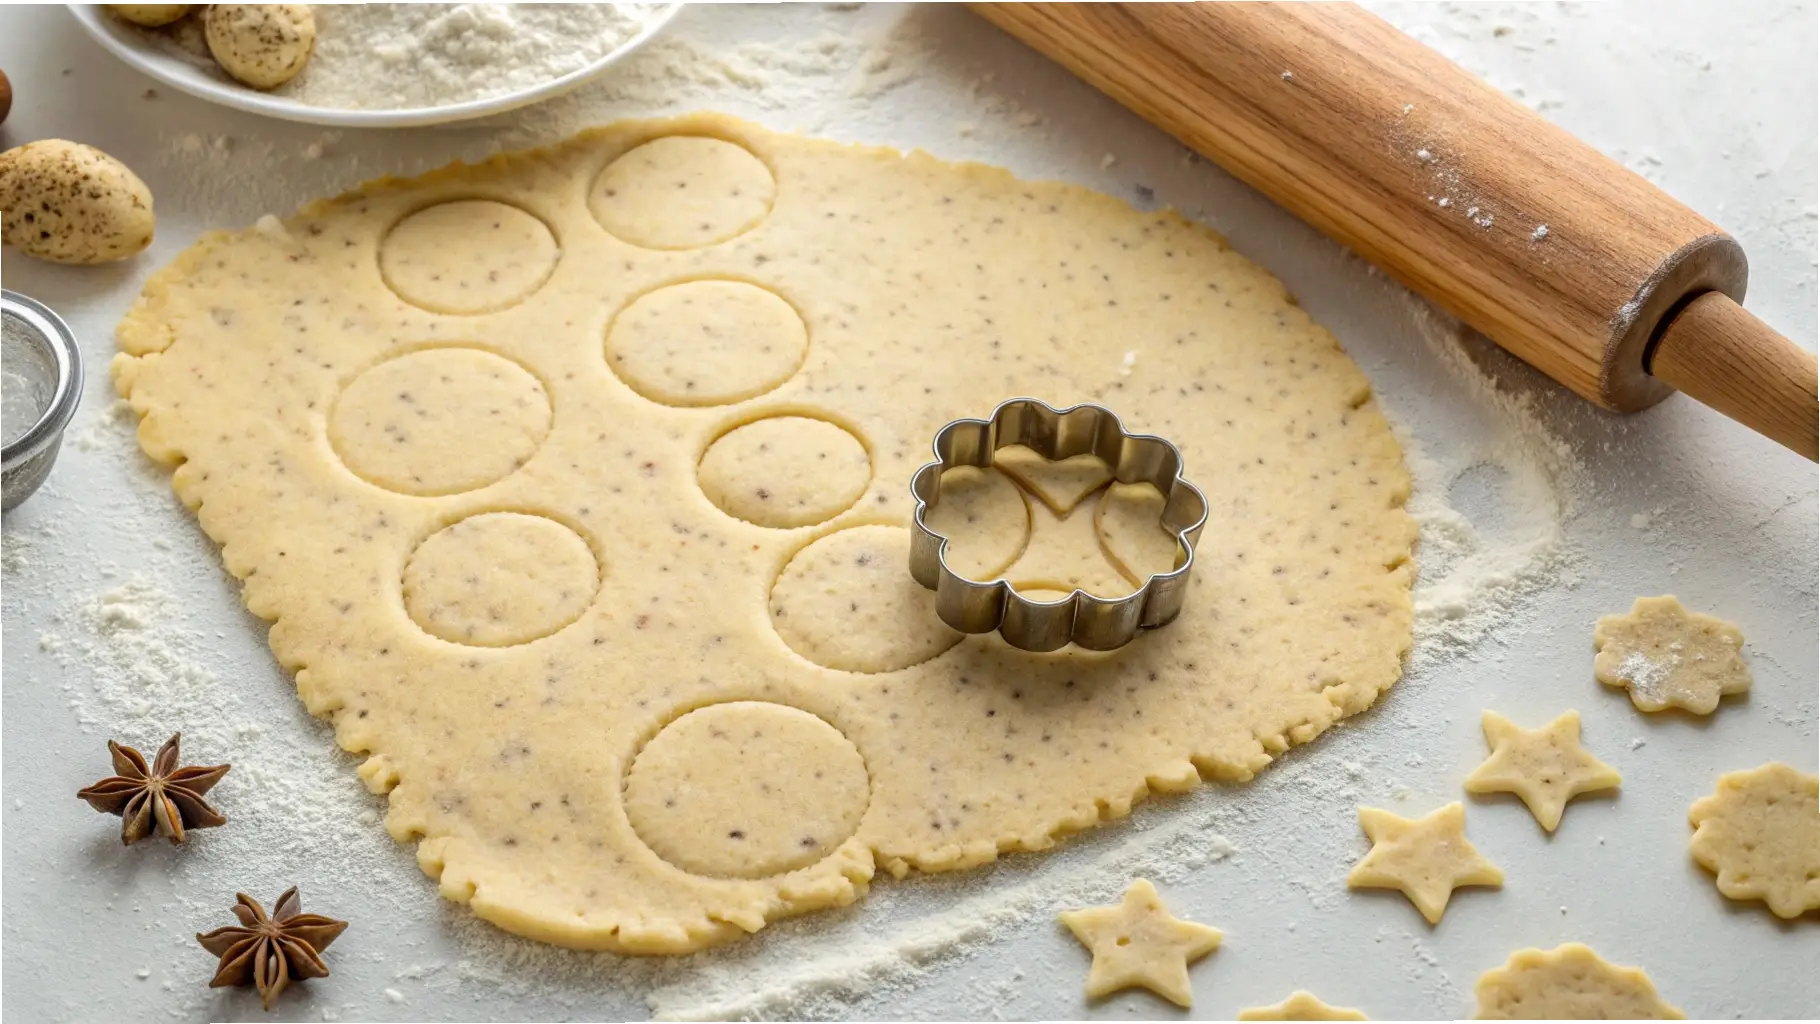
- Roll Out the Dough: Place the dough on a lightly floured surface and roll it out to about 1/4 inch thick. Use a cookie cutter to cut the dough into shapes, or simply cut into squares with a knife.
- Bake the Biscuits: Place the biscuits on the prepared baking sheet and bake for 20-25 minutes or until the edges are golden brown and the biscuits are firm.
- Cool Completely: Let the biscuits cool completely before serving them to your puppy or storing them.
Variations and Substitutions
- Grain-Free: Swap oat flour with coconut flour or chickpea flour for a completely grain-free treat.
- Peanut Butter Alternatives: If your puppy is allergic to peanuts, you can try almond butter or cashew butter (again, make sure it’s unsweetened and xylitol-free).
- Banana Alternatives: If your puppy doesn’t like bananas, you can substitute them with sweet potato puree for a similar texture and a sweet, nutritious flavor.
Serving Guidelines
For serving, follow these recommendations based on your puppy’s size and development:
- Small Dogs: Serve 1/2-inch biscuits or break larger ones into smaller pieces for easier consumption.
- Medium Dogs: Offer 1 to 1.5-inch biscuits for an ideal size and portion.
- Large Dogs: Serve 2-inch biscuits, or break them into larger portions as needed.
Training Use: These treats are perfect for training! Their crunchy texture helps satisfy your puppy’s chewing instincts, while the flavor will keep them motivated to learn new commands.
Common Questions
Can I use a different type of flour?
Yes! You can substitute oat flour with other flours like coconut flour or rice flour if your puppy has specific dietary needs. Just be sure to adjust the flour amount to get the right dough consistency.
How should I store these treats?
Store your Peanut Butter & Banana Puppy Biscuits in an airtight container at room temperature for up to one week. For longer storage, refrigerate them, or freeze them for up to 3 months.
Are these biscuits safe for all puppies?
Yes! These treats are safe for puppies of all breeds and sizes. Just adjust the size of the biscuits depending on your dog’s chewing ability.
#5. Sweet Potato & Carrot Puppy Chews: A Delicious and Nutritious Treat

As a pet parent, nothing beats the joy of seeing your puppy grow strong and healthy, and providing them with treats that fuel their development is a great way to support their journey.
These Sweet Potato & Carrot Puppy Chews are not only mouthwatering but are packed with essential nutrients to promote healthy growth, digestion, and overall well-being.
Made with simple, wholesome ingredients, these chews provide the perfect balance of vitamins, minerals, and fiber to support your puppy’s development at every stage.
Sweet potatoes are an excellent source of fiber, which aids in digestion, while carrots are rich in beta-carotene, which supports vision and immune health.
Both ingredients are gentle on your puppy’s tummy, making this recipe an ideal treat for sensitive dogs.
The chews are easy to prepare and can be stored for days, making them a go-to option for training or snacking. Plus, your puppy will love their chewy texture, making them a perfect way to keep your pup entertained!
Recipe Overview: Healthy, Chewy, and Full of Flavor
These Sweet Potato & Carrot Puppy Chews are designed to be both nutritious and satisfying for your growing pup.
The chewy texture is ideal for puppies who are teething, helping to soothe their gums while providing a tasty snack.
The combination of sweet potatoes and carrots delivers a healthy dose of vitamins, fiber, and antioxidants, making these chews perfect for promoting strong muscles, healthy eyes, and a shiny coat.
Not only are these chews delicious, but they’re also simple to make. With minimal preparation and only a few ingredients, you’ll have a batch ready in no time.
Whether you’re rewarding your puppy for good behavior or using them for training, these chews will become an essential part of your dog’s treat rotation.
Why You’ll Love This Recipe
Here’s why these Sweet Potato & Carrot Puppy Chews should be your go-to recipe for your pup:
- Nutritious & Delicious: Sweet potatoes are packed with fiber, vitamins, and minerals, while carrots are a fantastic source of beta-carotene and antioxidants, all of which support your puppy’s growth and health.
- Great for Training: The chewy texture keeps your puppy engaged, making them a wonderful option for training sessions or rewarding positive behavior.
- Simple & Affordable: This homemade treat is not only easy to make but also cost-effective compared to store-bought chews, and you control the quality of the ingredients.
- Safe for Sensitive Stomachs: Both sweet potatoes and carrots are gentle on your puppy’s digestive system, making them a great option for puppies with food sensitivities or allergies.
Essential Information
Before diving into the recipe, here are the key details to keep in mind for your Sweet Potato & Carrot Puppy Chews:
- Prep Time: 15 minutes
- Cook Time: 30-35 minutes (plus cooling time)
- Total Time: 45-50 minutes
- Yield: Approximately 12-15 chews (depending on size)
- Size per Chew: Approximately 2 inches in length (can be adjusted for different dog sizes)
- Shelf Life: Up to 1 week at room temperature, or 2 weeks when refrigerated
- Storage Requirements: Store in an airtight container at room temperature, or refrigerate for extra freshness
- Equipment Needed: Baking sheet, parchment paper, mixing bowl, rolling pin, cookie cutters (optional)
Ingredients: Wholesome & Puppy-Friendly Components

This recipe uses only a few ingredients that provide the essential nutrients your puppy needs to thrive:
- Main Components:
- 1 medium sweet potato, cooked and mashed
- 1/2 cup finely grated carrots
- 1 cup oat flour (or a grain-free alternative like rice flour)
- 1 egg
- 1 tablespoon coconut oil (optional, for added moisture and flavor)
Sweet potatoes are rich in fiber, which aids in digestion, and are full of vitamins A and C, both essential for immune function and overall health.
Carrots add beta-carotene for eye health and antioxidants to support your puppy’s immune system. The oat flour is gentle on your puppy’s digestive system, while the egg helps bind everything together and adds a protein boost.
Coconut oil, though optional, can help improve skin health and give the chews a delicious flavor that pups love.
Expert Tips
Here are a few tips to make sure your Sweet Potato & Carrot Puppy Chews turn out perfectly every time:
- Perfectly Cooked Sweet Potato: Make sure the sweet potato is fully cooked and mashed until smooth. If there are any large chunks, the dough may be too lumpy and difficult to work with.
- Use Fresh Carrots: Grate the carrots fresh for the best flavor and nutritional content. You can also steam them lightly to soften them, making them easier to incorporate into the dough.
- Flour Options: If your puppy has dietary restrictions, you can swap the oat flour for coconut flour or rice flour. Just be aware that coconut flour absorbs moisture more, so you may need to adjust the quantity.
- Chewy Texture: To get that chewy texture, make sure you don’t overbake the treats. The goal is for them to dry out and harden just enough to give your puppy something to chew on, but not become overly crunchy.
Instructions
- Preheat the Oven: Preheat your oven to 350°F (175°C) and line a baking sheet with parchment paper for easy cleanup.
- Prepare the Sweet Potato: Wash and peel the sweet potato, then cook it by boiling or microwaving it until soft. Mash the sweet potato until it’s smooth and free of lumps.
- Mix Wet Ingredients: In a large bowl, combine the mashed sweet potato, grated carrots, egg, and coconut oil (if using). Stir until everything is well combined.
- Add the Flour: Gradually stir in the oat flour (or alternative flour) until a dough forms. If the dough is too sticky, add a little more flour until it reaches a workable consistency.
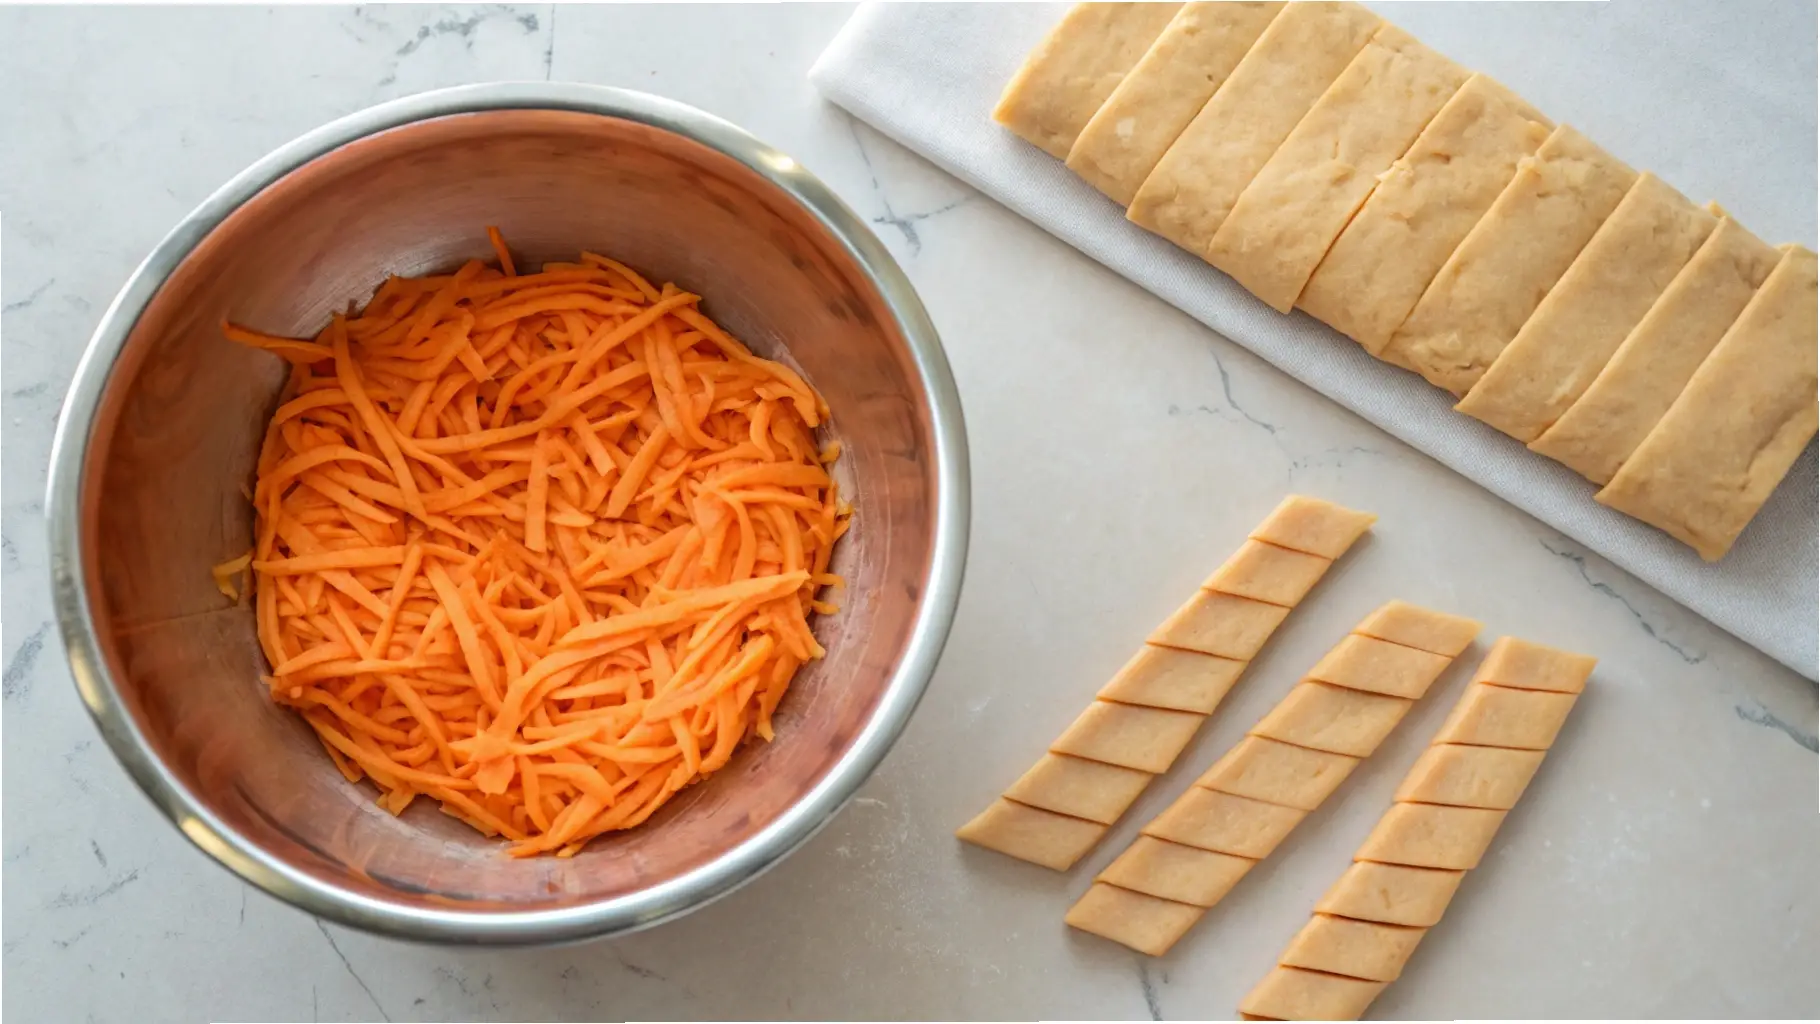
- Roll Out the Dough: Place the dough on a lightly floured surface and roll it out to about 1/4 inch thick. Use a cookie cutter to cut the dough into shapes or cut it into strips for chews.
- Bake the Chews: Place the cut dough onto the prepared baking sheet and bake for 30-35 minutes, or until the edges start to turn golden brown and the chews are firm.
- Cool Completely: Allow the chews to cool completely before serving them to your puppy or storing them.
Variations and Substitutions
- Grain-Free: Use rice flour or coconut flour in place of oat flour for a grain-free option. You might need to adjust the flour ratio to achieve the right dough consistency.
- Protein Boost: Add a spoonful of natural peanut butter or a scoop of protein powder to the dough for an extra boost of protein that supports your puppy’s muscle development.
- Larger Chews: If you have a larger breed puppy, you can make the chews bigger or bake them a bit longer to achieve a harder, chewier texture.
Serving Guidelines
When serving these Sweet Potato & Carrot Puppy Chews, portion them based on your puppy’s size:
- Small Dogs: Serve smaller, bite-sized pieces or break larger chews into smaller portions to prevent choking.
- Medium Dogs: Offer 2-inch chews for a nice balance of size and chew time.
- Large Dogs: Larger puppies may enjoy a longer chew, or you can break the treats in half to make them more manageable.
Training Use: These chews are great for training because they’re chewy and will keep your puppy occupied, but they’re also small enough to be used as quick rewards during training sessions.
Common Questions
Can I use other vegetables?
Yes! You can experiment with other veggies like peas, sweet corn, or zucchini if your puppy likes them. Just make sure to mash or grate them before incorporating them into the dough.
Can I make these chews softer?
To make softer chews, bake them for a shorter time or reduce the baking temperature slightly. The longer you bake them, the chewier and firmer they will become.
How should I store these chews?
Store the chews in an airtight container at room temperature for up to a week. For longer freshness, keep them in the fridge.

