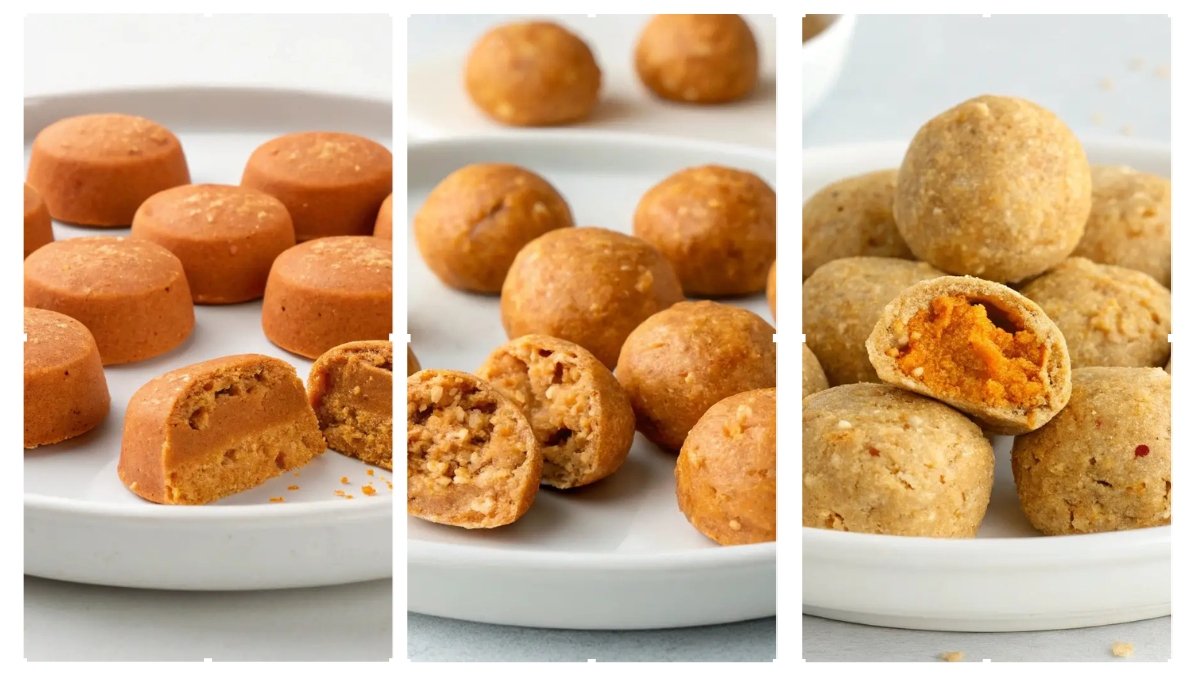
Let’s be honest—nothing gets a dog’s tail wagging faster than peanut butter.
Or maybe it’s pumpkin. Actually, scratch that. It’s both.
And if you’re anything like me, you love spoiling your pup, but the idea of turning your kitchen into a full-on bakery? Yeah… not happening. I’ve tried. Flour everywhere. A questionable batch that even my dog gave side-eye. Lesson learned.
That’s why no-bake treats are a game changer. No ovens, no complicated steps—just simple, wholesome ingredients that come together in minutes.
So, if you’re ready to whip up something drool-worthy without breaking a sweat, I’ve got three easy recipes that’ll have your dog sitting, staying, and maybe even doing a happy dance.
Let’s get mixing!
Save this Post for Later! ⬇️
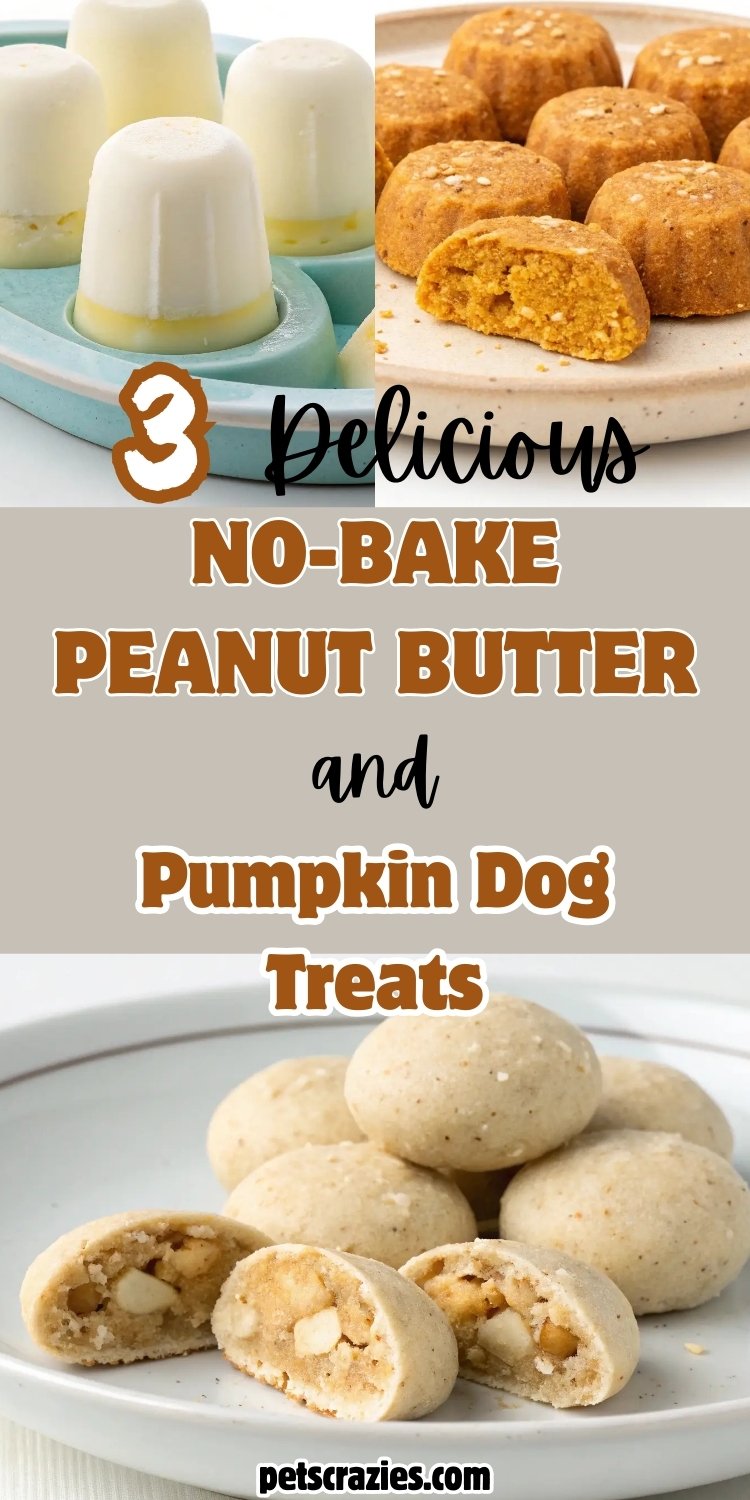
#1. No-Bake Peanut Butter and Pumpkin Dog Treats: A Healthy, Easy Snack for Your Pup
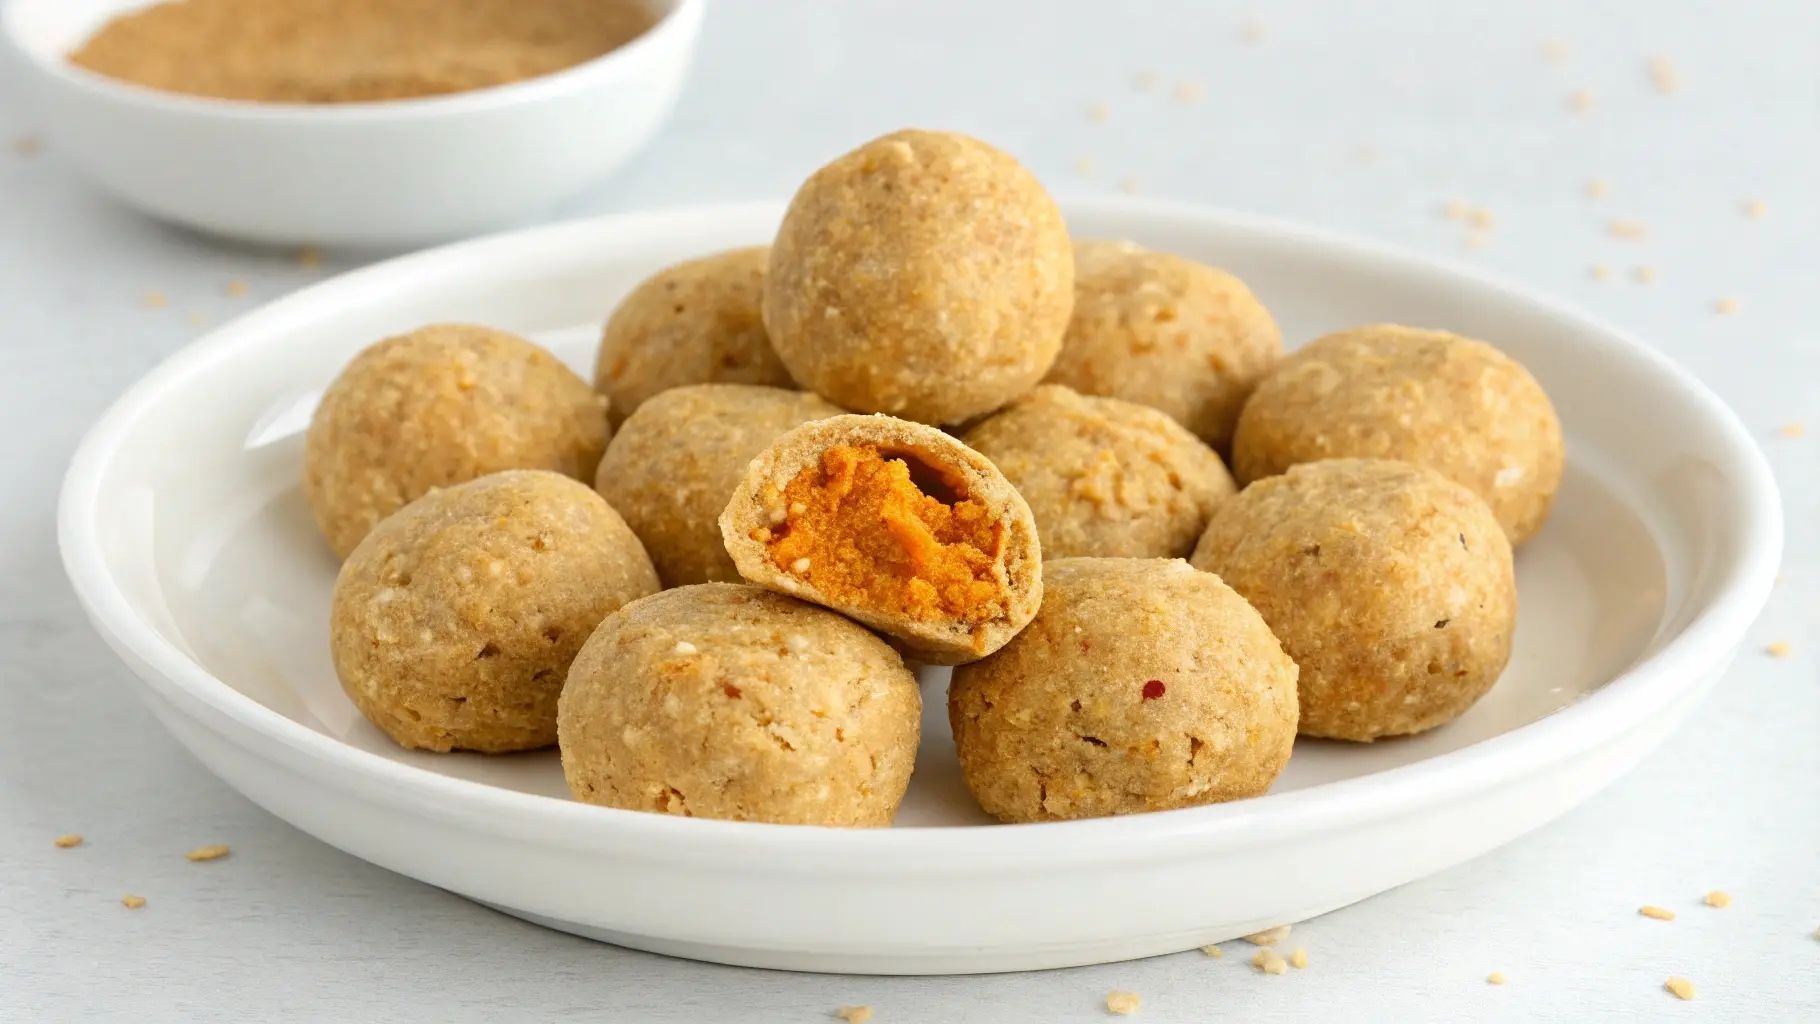
There’s nothing quite like seeing your dog’s tail wag with excitement when they know a treat is coming their way. As a dog parent, I love making homemade treats because I know exactly what’s going into them.
That’s why I created these No-Bake Peanut Butter and Pumpkin Dog Treats—they’re quick, nutritious, and perfect for pups of all ages.
I first tried these treats when my dog started having digestive issues, and I needed something gentle yet delicious.
Not only did he love them, but they also helped keep his tummy happy. Plus, with just three simple ingredients, they’re incredibly easy to make.
If your dog loves peanut butter as much as mine does, they’re in for a real treat. These bite-sized, no-bake snacks are soft, making them perfect for training, rewarding, or even as a small meal topper.
Plus, they’re grain-inclusive but still gentle on sensitive stomachs. Whether you’re a seasoned DIY dog treat maker or new to the world of homemade pet goodies, this recipe is a must-try!
Why You’ll Love These No-Bake Treats
Making your own dog treats has plenty of benefits, and these peanut butter and pumpkin treats check all the right boxes. They’re:
- Cost-effective – Store-bought treats can be pricey, especially if you’re looking for high-quality, limited-ingredient options. These homemade treats cost a fraction of the price.
- Made with controlled, high-quality ingredients – You know exactly what’s going into your dog’s treats, ensuring they are free from harmful additives.
- Super easy to make – No baking required, and they take less than 15 minutes of active prep time.
- Convenient for storage – They keep well in the fridge for up to 5 days and can be frozen for longer storage.
- Perfect for training – Small, soft, and easy to chew, making them ideal for quick rewards.
- Great for multi-dog households – Easily scalable to make bigger batches to keep all your pups happy.
Essential Recipe Information
- Prep Time: 10 minutes
- Setting Time: 1 hour
- Total Time: 1 hour 10 minutes
- Yield: Approximately 15 bite-sized balls
- Size per Treat: 1-inch ball (adjustable based on dog size)
- Shelf Life: 5 days in the fridge, 1 month in the freezer
- Storage: Keep refrigerated or frozen in an airtight container
Equipment Needed
Making these treats requires minimal equipment, making them even easier to whip up in no time. You’ll need:
- A large mixing bowl for combining ingredients
- A measuring cup and spoon for accuracy
- A spoon or spatula for mixing
- A cookie scoop (optional, but helps create uniform treat sizes)
- Parchment paper to prevent sticking when setting the treats
- An airtight storage container to keep them fresh
If you don’t have a cookie scoop, you can use your hands to roll the mixture into bite-sized balls. Just be sure to wash your hands thoroughly afterward, as peanut butter can get sticky!
Ingredients (Main Components)
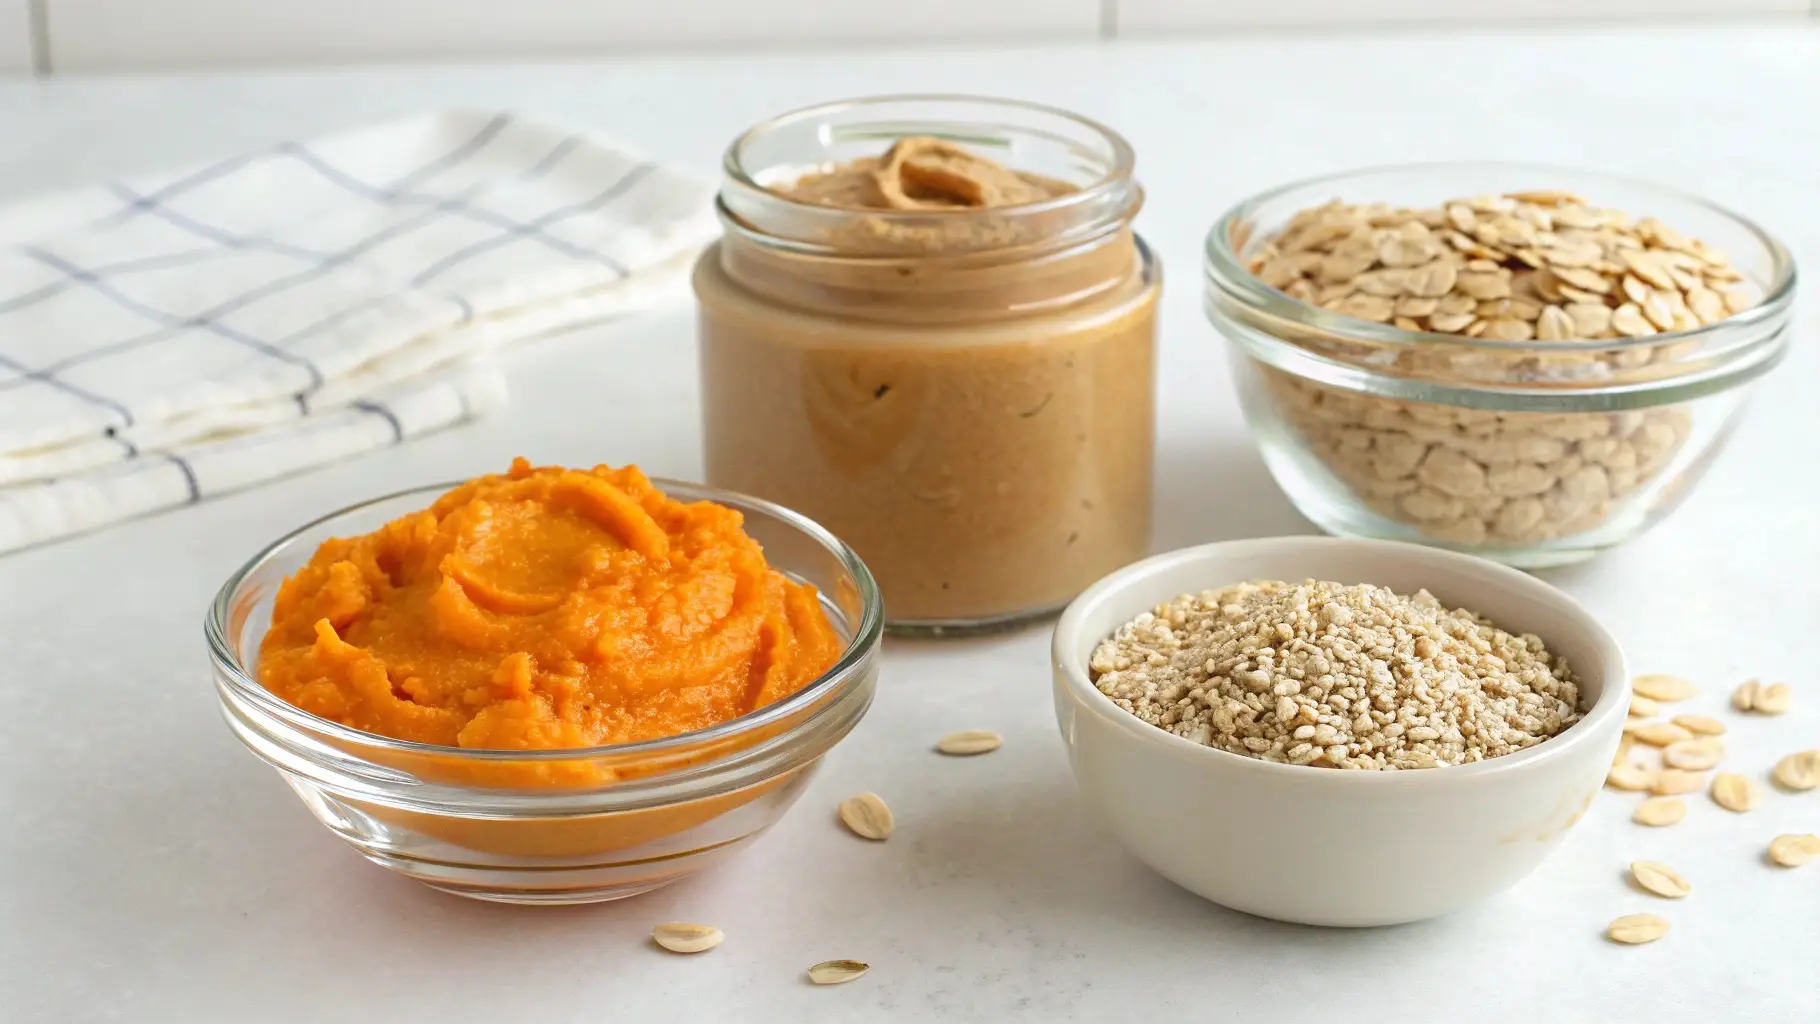
- 1 cup (240g) pure pumpkin puree (Make sure it’s 100% pumpkin, NOT pumpkin pie filling, which contains sugars and spices that can be harmful to dogs.)
- ½ cup (120g) natural peanut butter (Ensure it’s xylitol-free, as xylitol is toxic to dogs.)
- 2½ cups (200g) rolled oats (Oats are a good source of fiber and gentle on digestion.)
- Optional: ¼ cup (60ml) honey (Adds natural sweetness but should be used in moderation.)
- Optional: 1 teaspoon (2.6g) cinnamon (Ceylon cinnamon is safe in small amounts and may provide anti-inflammatory benefits.)
Expert Tips Before You Start
Before diving into the preparation, here are a few essential tips to ensure these treats turn out perfectly every time:
- Use natural peanut butter. Some brands add artificial sweeteners like xylitol, which is toxic to dogs. Always double-check the label.
- Adjust the consistency as needed. If the mixture is too dry, add a little more peanut butter. If too sticky, sprinkle in more oats.
- For extra crunch, blend the oats first. This gives a finer texture if your dog prefers a smoother consistency.
- Store properly. These treats need to be kept in the fridge since they contain fresh pumpkin and peanut butter.
Instructions: Step-by-Step Guide
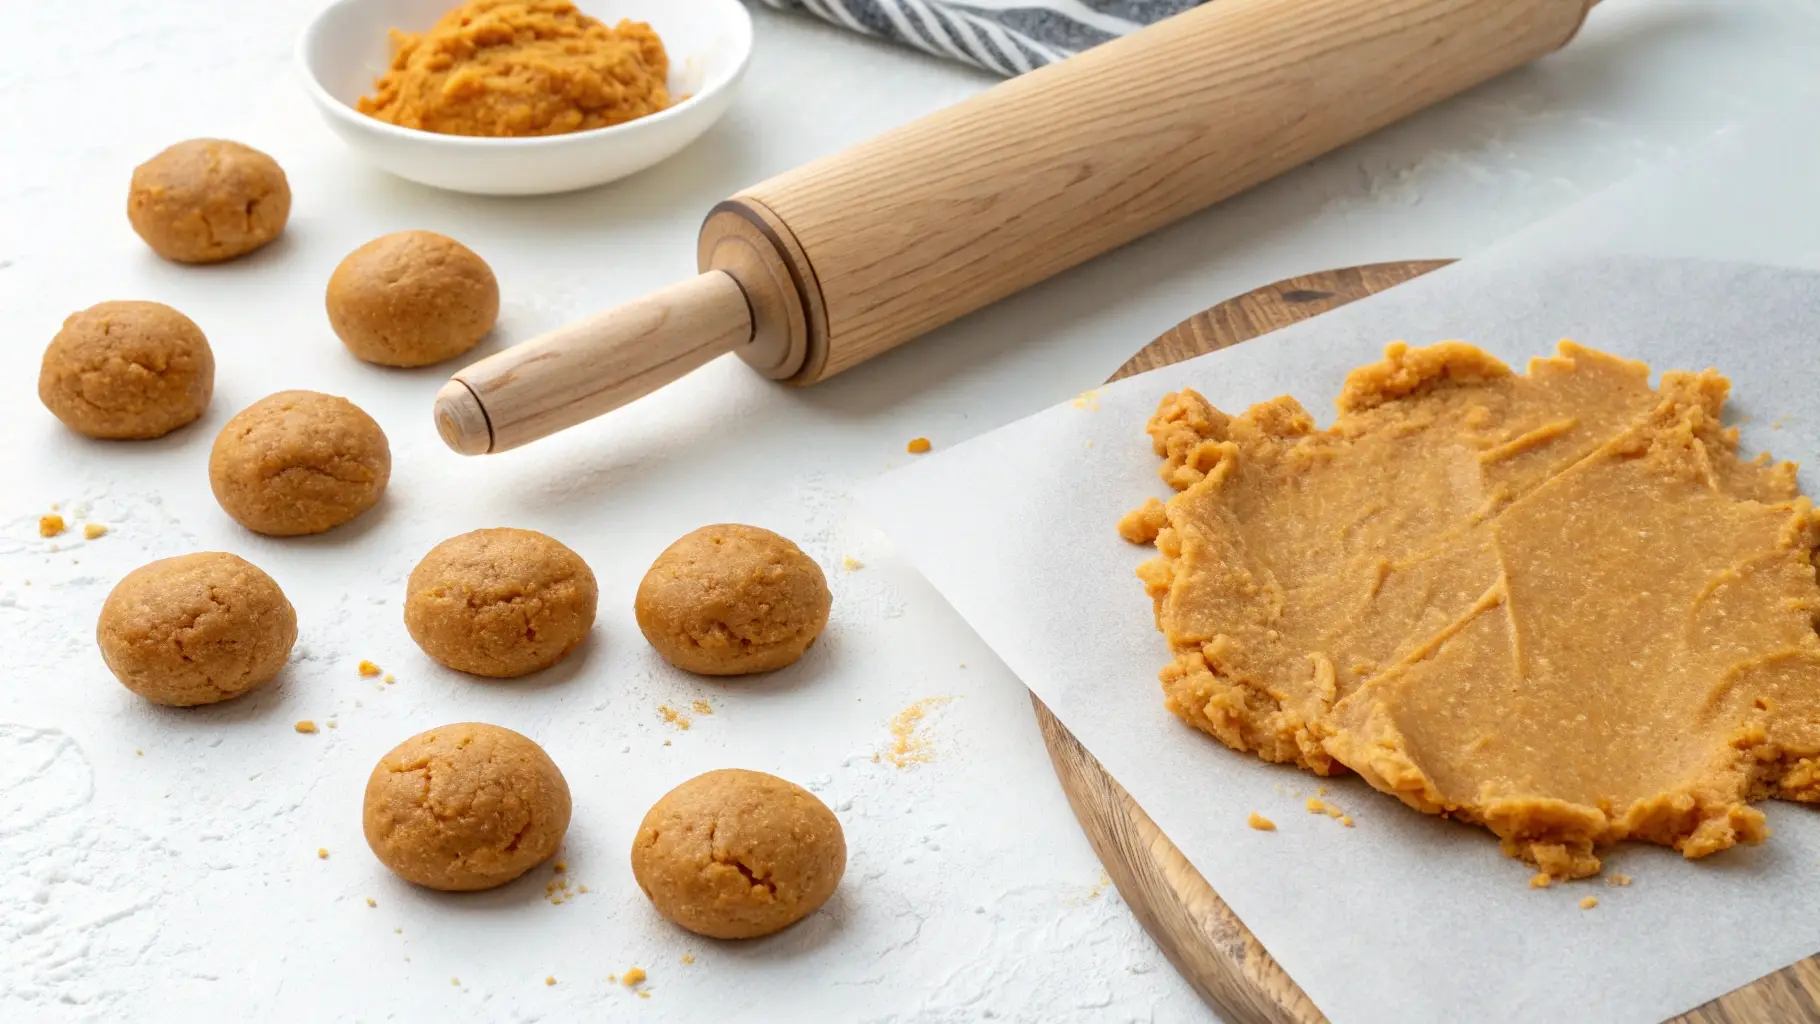
- Mix the ingredients – In a large mixing bowl, combine the pumpkin puree, peanut butter, and oats. Stir until well combined. If adding honey or cinnamon, mix those in as well.
- Shape the treats – Scoop out small portions and roll into 1-inch balls using your hands or a cookie scoop.
- Set the treats – Place the treats on a parchment-lined tray and refrigerate for at least an hour to firm up.
- Store and serve – Once set, transfer the treats to an airtight container and store them in the fridge or freezer. Give them to your dog as a reward, training treat, or a small snack!
Variations and Substitutions
If your dog has specific dietary needs, this recipe is highly adaptable. Here are some easy modifications:
- Grain-Free Alternative: Swap oats for coconut flour or almond flour for a grain-free version.
- Protein Boost: Add a spoonful of plain Greek yogurt for extra protein and probiotics.
- Soft Treat Version: Blend the oats into a fine powder for a smoother, softer treat texture.
- Senior-Friendly Modification: Use a little warm water to soften the oats before mixing for easier chewing.
Serving Guidelines
Portioning is essential to avoid overfeeding. Here’s a quick guide:
- Small dogs (under 15 lbs): ½ treat per day
- Medium dogs (15-50 lbs): 1 treat per day
- Large dogs (50+ lbs): 1-2 treats per day
Since these are homemade treats, they should only make up about 10% of your dog’s daily caloric intake.
Storage and Freshness Tips
To keep these treats fresh and safe for your dog:
- Refrigerate: Store in an airtight container for up to 5 days.
- Freeze: Freeze for up to a month in a sealed container. Let them sit for a few minutes before serving if frozen.
Common Questions & Troubleshooting
Can I use quick oats instead of rolled oats? Yes! Quick oats will make the texture slightly different but are still perfectly fine for dogs.
What if the treats crumble too much? Try adding a little more peanut butter to help them hold together better.
Can I bake these treats instead? These are designed as no-bake treats, but if you prefer a firmer texture, you can bake them at 300°F for about 10 minutes.
#2. No-Bake Peanut Butter and Pumpkin Dog Treats – A Soft & Chewy Delight for Your Pup!
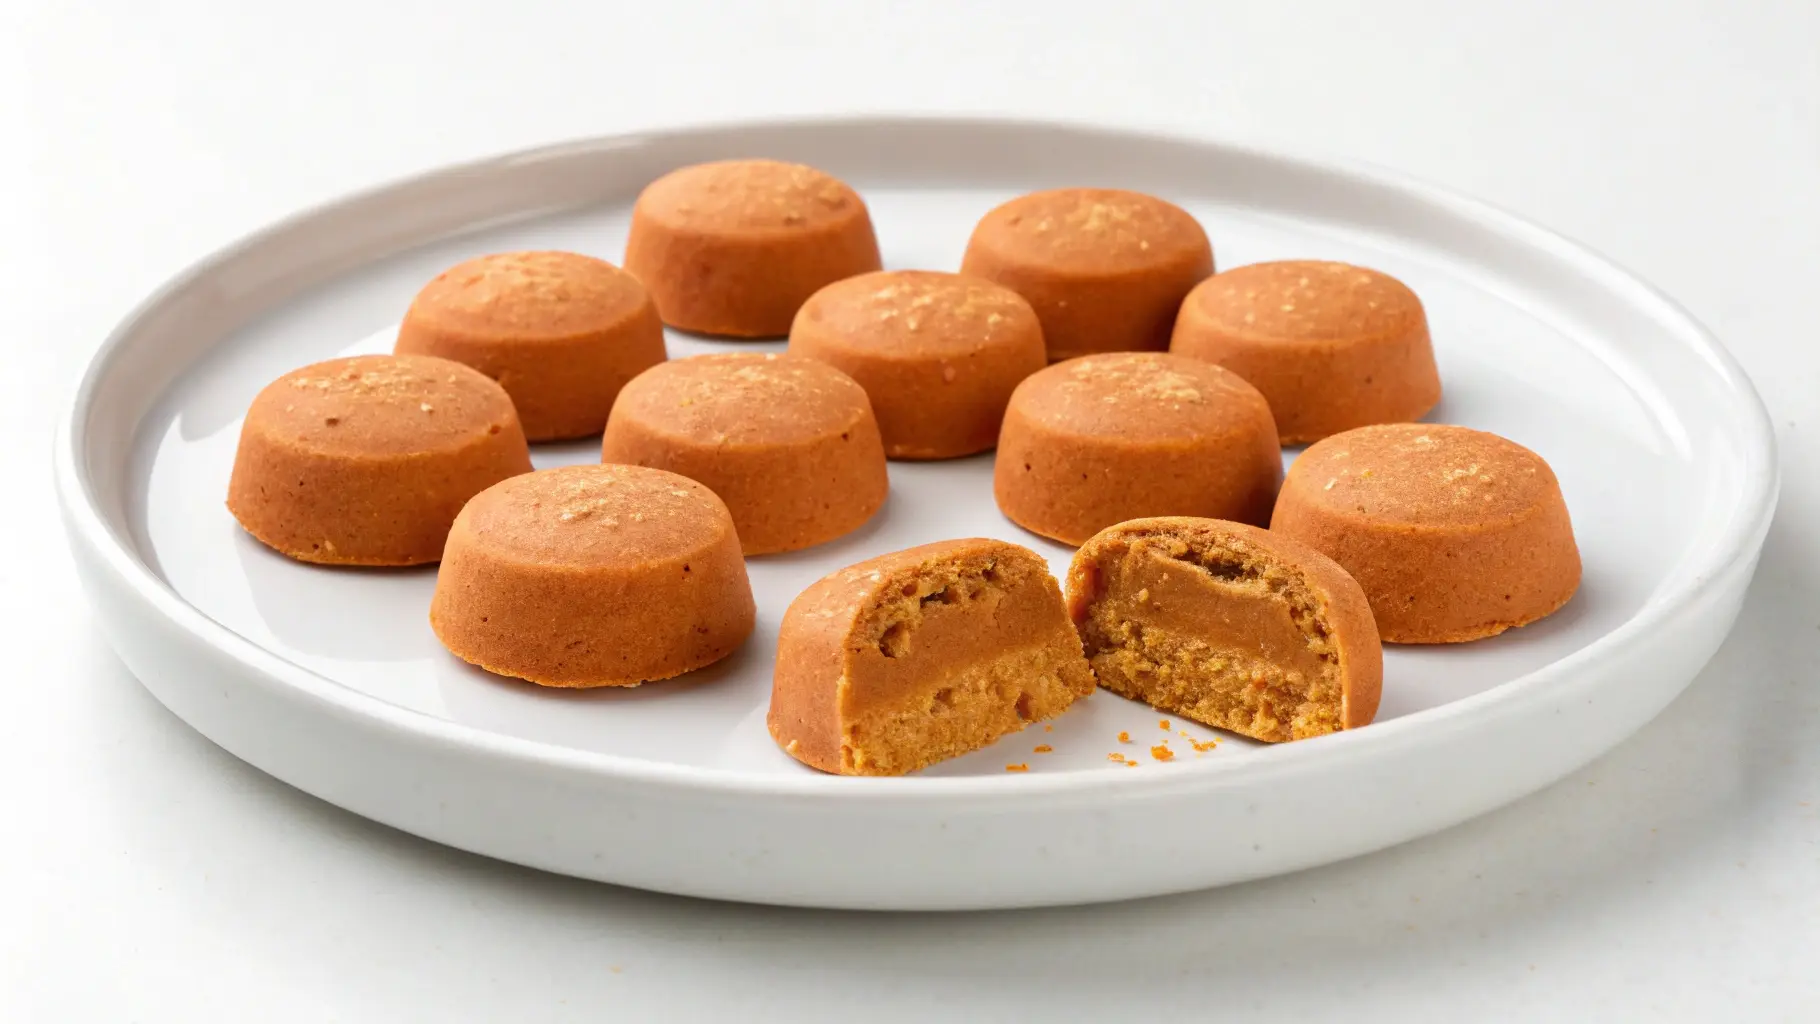
Every dog deserves a delicious and nutritious treat, and what better way to spoil your furry friend than with homemade No-Bake Peanut Butter and Pumpkin Dog Treats?
These treats are soft, chewy, and packed with wholesome ingredients, making them perfect for dogs of all ages, including puppies, seniors, and those with sensitive teeth.
When I first made these for my dog, I was looking for something quick, healthy, and easy to make. Store-bought treats often contain preservatives and artificial ingredients, so I wanted something homemade and natural.
My dog absolutely loves the combination of peanut butter and pumpkin, and I love that these treats are nutritious, affordable, and customizable.
These no-bake treats require minimal effort—just mix, shape, and chill! Whether you’re looking for training treats, a quick snack, or a fun way to bond with your pup, this recipe is a must-try.
Why You’ll Love This Recipe
Making your own dog treats has never been easier! Here’s why this recipe is a game-changer:
- No baking required – Just mix, roll, and refrigerate!
- Cost-effective – Homemade treats are much cheaper than store-bought ones.
- Only 5 simple ingredients – No preservatives, fillers, or artificial flavors.
- Soft and chewy – Great for puppies, senior dogs, and dogs with dental issues.
- Perfect for training – Can be broken into small, bite-sized pieces.
- Long-lasting – Store in the fridge for up to a week or freeze for up to a month!
Essential Information
Here’s everything you need to know before making these easy no-bake treats:
- Prep Time: 10 minutes
- Setting Time: 1 hour (refrigerator)
- Total Time: 1 hour 10 minutes
- Yield: About 20 small treats
- Treat Size: Small, bite-sized (adjust as needed)
- Shelf Life: 7 days in the fridge, 30 days in the freezer
- Storage Requirements: Keep refrigerated or frozen for longer freshness
Equipment Needed
You don’t need any fancy tools for this recipe! Here’s what you’ll need:
- Mixing bowl – To combine all the ingredients.
- Measuring cups and spoons – For precise ingredient portions.
- Mixing spoon or spatula – To help blend everything smoothly.
- Cookie scoop or tablespoon (optional) – To ensure uniform treat sizes.
- Parchment paper – To prevent sticking.
- Airtight storage container – For keeping treats fresh.
No cookie scoop? No problem! You can roll the treats by hand into small balls.
Ingredients – Healthy & Dog-Safe

This recipe uses only 5 simple, natural ingredients:
- 1 cup (240g) pumpkin puree – Use pure pumpkin with no added sugar or spices.
- ½ cup (120g) natural peanut butter – Ensure it is xylitol-free as xylitol is toxic to dogs.
- 2 cups (160g) oat flour – You can make your own by blending rolled oats into a fine powder.
- ¼ cup (85g) unsweetened applesauce – Adds moisture and a touch of natural sweetness.
- 1 teaspoon (2.6g) ground flaxseed (optional) – Adds healthy omega-3 fatty acids for a shiny coat.
Ingredient Benefits:
Pumpkin is great for digestion, peanut butter provides healthy fats and protein, oat flour is gentle on sensitive stomachs, and applesauce adds a touch of sweetness without refined sugar.
Expert Tips Before You Begin
Before you start, keep these tips in mind to ensure the best results:
- Check your peanut butter – Always ensure it’s xylitol-free and made from just peanuts.
- Use fresh pumpkin puree – Avoid pumpkin pie filling, which contains spices unsafe for dogs.
- Adjust consistency if needed – If the mixture is too wet, add a little more oat flour. If it’s too dry, add a splash of water or extra applesauce.
- Customize for training treats – Make smaller portions for training rewards and larger ones for snack-sized treats.
- Store properly – These treats need to be refrigerated since they contain fresh ingredients.
Step-by-Step Instructions

Step 1: Mix the Ingredients
In a large mixing bowl, combine pumpkin puree, peanut butter, applesauce, and ground flaxseed. Stir well until everything is fully incorporated.
Gradually add the oat flour, mixing continuously until a dough forms. The texture should be soft but not sticky.
Step 2: Shape the Treats
Using a cookie scoop or tablespoon, scoop small portions and roll them into bite-sized balls. If you prefer, you can flatten them slightly for a different texture.
Step 3: Set the Treats
Place the shaped treats on a parchment-lined tray and refrigerate for at least 1 hour until firm.
Step 4: Serve & Store
Once firm, transfer the treats to an airtight container. Store in the refrigerator for up to 7 days or freeze for up to 30 days for longer storage.
Variations & Substitutions
If your dog has special dietary needs, here are some easy modifications:
Dietary Adaptations
- Grain-free version – Replace oat flour with coconut flour or quinoa flakes.
- Nut-free alternative – Swap peanut butter for sunflower seed butter.
- Low-fat option – Reduce peanut butter by half and replace with mashed banana.
Special Needs Modifications
- For senior dogs – Add a bit of water or broth for extra softness.
- For puppies – Make the treats extra small for easy chewing.
- For large dogs – Roll into bigger portions for a satisfying snack.
Serving Guidelines & Storage Tips
It’s important to feed treats in moderation. Here’s how to portion them:
- Small dogs (under 20 lbs): 1 small treat per day.
- Medium dogs (20-50 lbs): 1-2 treats per day.
- Large dogs (50+ lbs): 2-3 treats per day.
For training, break the treats into smaller bite-sized pieces.
Storage Tips:
Freeze for up to 30 days. Simply thaw before serving.
Refrigerate in an airtight container for up to 7 days.
#3. No-Bake Peanut Butter and Pumpkin Dog Treats – A Super Easy and Healthy Dog Snack!
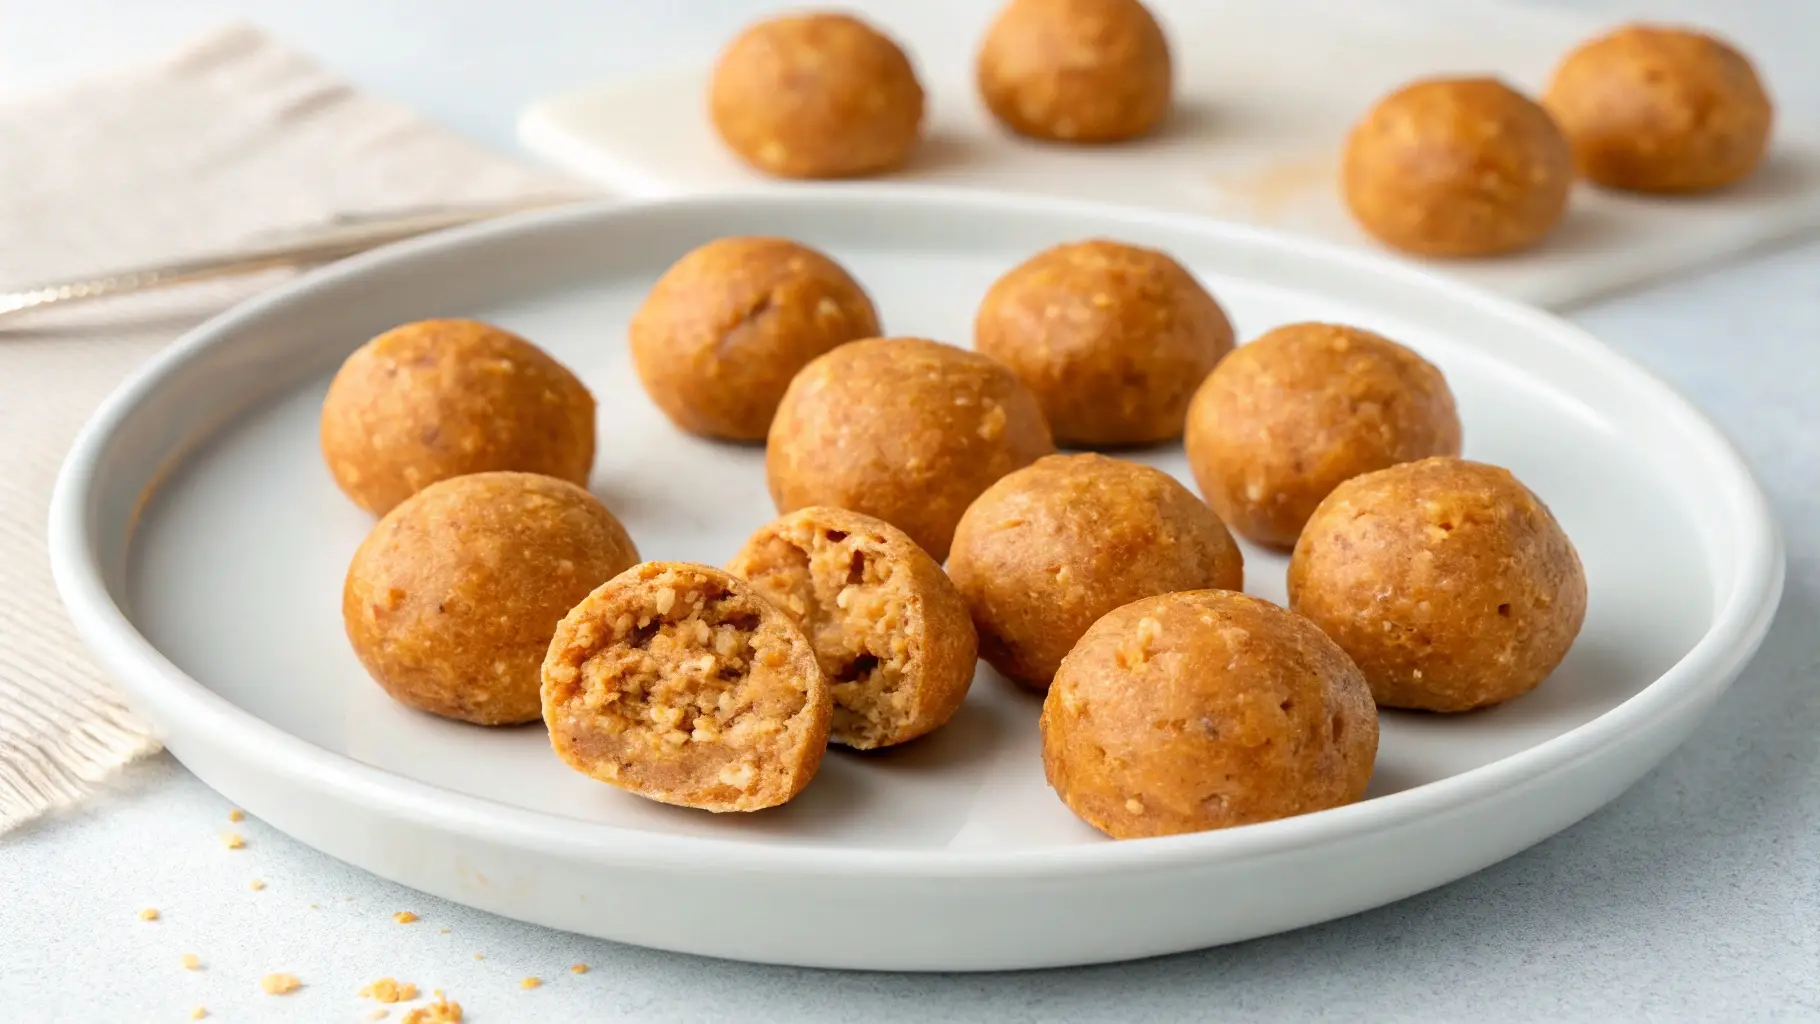
There’s nothing like seeing your pup’s excitement when you bring out their favorite treat! But finding a healthy, natural, and preservative-free dog treat at the store can be challenging.
That’s why I love making these No-Bake Peanut Butter and Pumpkin Dog Treats—they’re quick, easy, and packed with nutrition that’s great for dogs of all sizes and ages.
I started making these treats when I realized that many store-bought options contained unnecessary fillers, preservatives, and artificial flavors.
I wanted something wholesome, safe, and homemade—and these soft, chewy, and irresistibly delicious no-bake dog treats were the perfect solution!
These are great as training treats, an afternoon snack, or a way to spoil your dog without worrying about unhealthy ingredients.
With just a handful of nutrient-rich, dog-friendly ingredients, you can make a batch of these treats in under 15 minutes. Your pup will love them, and you’ll love knowing exactly what’s going into their snacks!
Why You’ll Love This Recipe
This recipe is a game-changer for pet parents who want healthy, homemade treats for their dogs. Here’s why:
- No oven required – Just mix, shape, and refrigerate!
- 5 simple, wholesome ingredients – No additives or artificial flavors.
- Soft and chewy – Perfect for puppies, senior dogs, and dogs with dental issues.
- Rich in fiber and healthy fats – Supports digestion and overall health.
- Perfect for training – Can be broken into smaller pieces.
- Long-lasting storage – Store in the fridge or freezer for fresh treats anytime!
Essential Recipe Information
Before making these no-bake dog treats, here’s a quick overview:
- Prep Time: 10 minutes
- Setting Time: 1 hour (refrigerator)
- Total Time: 1 hour 10 minutes
- Yield: About 20 treats (depending on size)
- Treat Size: Bite-sized (adjustable based on dog size)
- Shelf Life: 7 days in the fridge, 30 days in the freezer
- Storage Requirements: Keep refrigerated or frozen for freshness
Equipment Needed
You don’t need any fancy kitchen tools for this recipe! Just a few basics:
- Mixing bowl – To combine all ingredients.
- Measuring cups and spoons – For accurate portions.
- Mixing spoon or spatula – Helps blend ingredients smoothly.
- Cookie scoop or tablespoon (optional) – For uniform treat sizes.
- Parchment paper – To prevent sticking.
- Airtight storage container – Keeps treats fresh longer.
No cookie scoop? No problem! You can roll the treats by hand into small balls.
Ingredients – Simple & Nutritious

This recipe includes only 5 wholesome ingredients, each offering great benefits for dogs:
- 1 cup (240g) pumpkin puree – Supports digestion and is packed with fiber.
- ½ cup (120g) unsweetened peanut butter – Provides protein and healthy fats. Ensure it’s xylitol-free!
- 2 cups (160g) ground oats (oat flour) – A great gluten-free source of energy.
- ¼ cup (85g) mashed banana – Adds natural sweetness and essential vitamins.
- 1 teaspoon (2.6g) coconut oil – Supports skin and coat health.
Ingredient Benefits:
Pumpkin helps with digestion, peanut butter provides protein, oats are great for energy, bananas are full of potassium, and coconut oil keeps your pup’s coat shiny!
Expert Tips Before You Start
To ensure your treats turn out perfect every time, follow these expert tips:
- Always check peanut butter labels – Some contain xylitol, which is toxic to dogs.
- Use fresh pumpkin puree – Avoid pumpkin pie filling, which has added sugars and spices.
- Adjust texture as needed – If the dough feels too sticky, add more oat flour. If it’s too dry, add a little extra banana.
- Make mini treats for training – If using for training, roll them into smaller sizes so they’re easier to handle.
- Store properly – Since these treats are fresh, they should always be kept in the fridge or freezer.
Step-by-Step Instructions
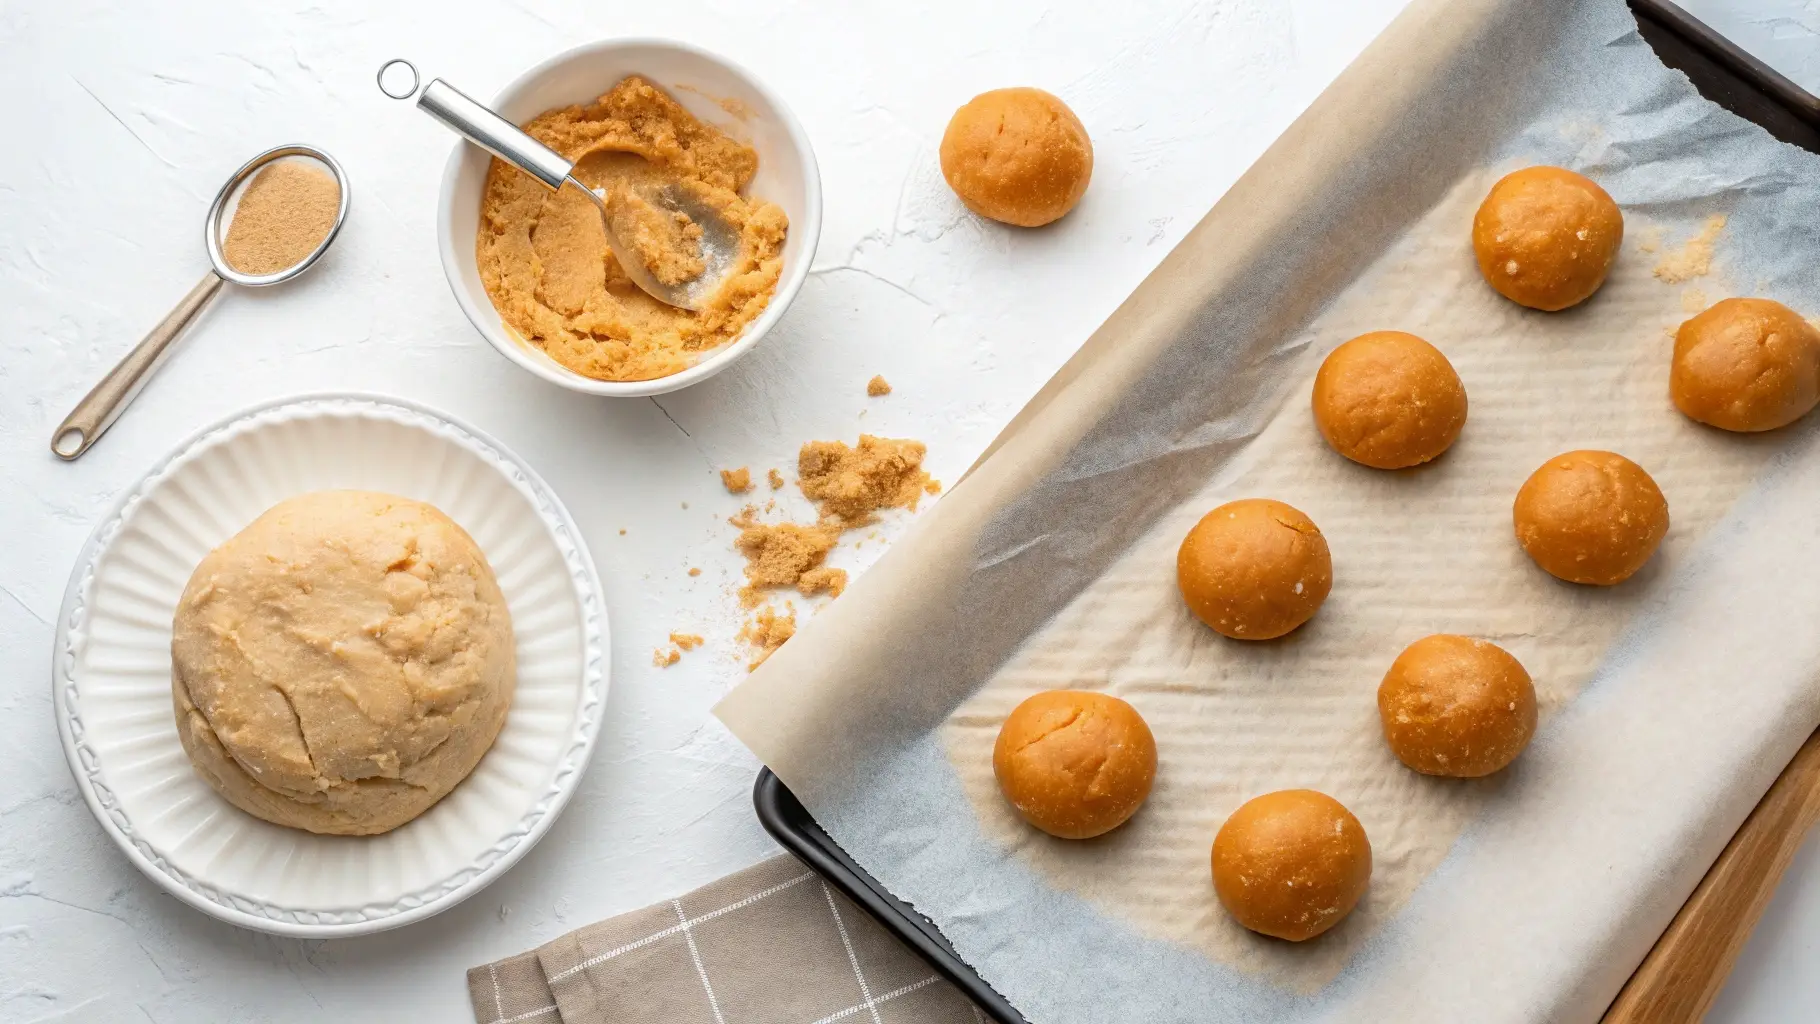
Step 1: Mix the Ingredients
In a large mixing bowl, combine pumpkin puree, peanut butter, mashed banana, and coconut oil. Stir until well blended.
Gradually add ground oats, mixing continuously until a soft dough forms. The consistency should be slightly sticky but easy to shape.
Step 2: Shape the Treats
Using a cookie scoop or your hands, roll the mixture into small, bite-sized balls. If you prefer, flatten them slightly for a different texture.
Step 3: Set the Treats
Place the treats on a parchment-lined tray and refrigerate for at least 1 hour until firm.
Step 4: Serve & Store
Once firm, transfer the treats to an airtight container. Keep them refrigerated for up to 7 days or freeze for up to 30 days for long-term storage.
Variations & Substitutions
Every dog has different dietary needs! Here are some easy modifications to suit your pup:
Dietary Adaptations
- Grain-free alternative – Replace oat flour with coconut flour or quinoa flakes.
- Nut-free version – Swap peanut butter for sunflower seed butter.
- Extra fiber boost – Add a teaspoon of ground flaxseed for extra digestion support.
Special Needs Modifications
- For senior dogs – Add a little water or broth for extra softness.
- For puppies – Make the treats extra small for easy chewing.
- For large dogs – Roll into bigger portions for a satisfying snack.
Serving Guidelines & Storage Tips
It’s important to feed treats in moderation. Here’s how to portion them:
- Small dogs (under 20 lbs): 1 small treat per day.
- Medium dogs (20-50 lbs): 1-2 treats per day.
- Large dogs (50+ lbs): 2-3 treats per day.
For training, break the treats into smaller bite-sized pieces.
Storage Tips:
- Refrigerate in an airtight container for up to 7 days.
- Freeze for up to 30 days. Simply thaw before serving.

