Watching your new dog look at you with sad eyes from behind metal bars can break your heart. This is the hardest part of being a pet parent. You start viewing the space as a cage. This creates deep emotional guilt.
But here is the catch. Dogs do not feel guilt the way humans do. Modern behaviorists like Susan Garrett explain that dogs simply react to your current tone. When you act sad, your dog gets anxious. You need a better way.
This guide shows you exactly how to crate train a dog using simple methods. You will learn a positive reinforcement approach to transform the crate into your dog’s favorite sanctuary. Whether you are crate training a puppy or an adult rescue, these 10 steps work.
1. Change Your Mindset About the Cage
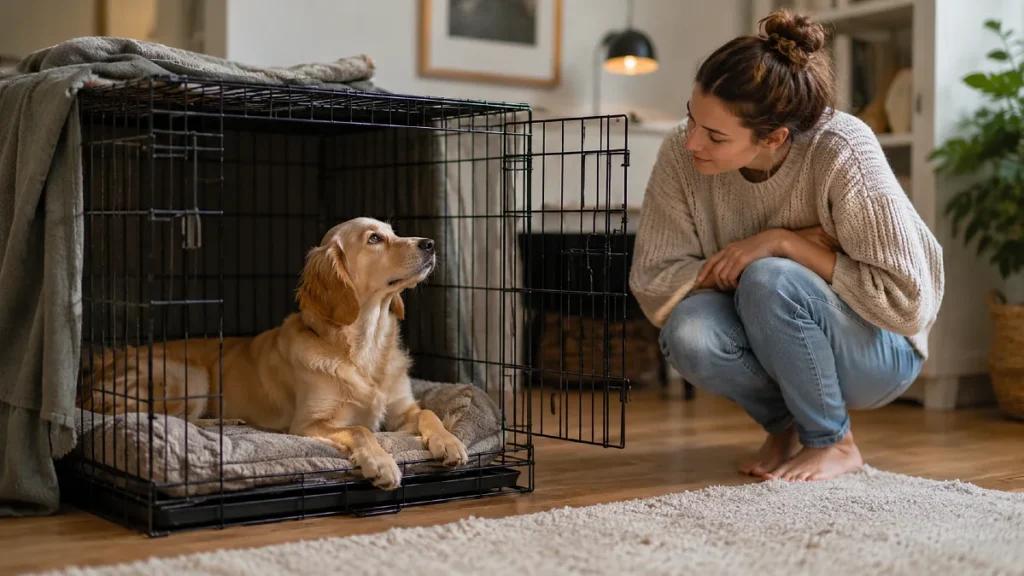
A common mistake is thinking you are locking your dog in a prison. You are not. Dogs have a natural den instinct. They seek out small spaces when they feel tired or scared. You need to differentiate between a safe space and a punishment zone.
Never use the crate as punishment. When done correctly, positive reinforcement crate training reduces anxiety during vet visits. It makes travel safer. It also speeds up injury recovery because the dog already feels calm in their own space.
Before you start training, you must drop the human guilt. Your dog will follow your lead. Do not move to Step 2 until you view the crate as a helpful tool.
2. Choose the Exact Right Crate Size
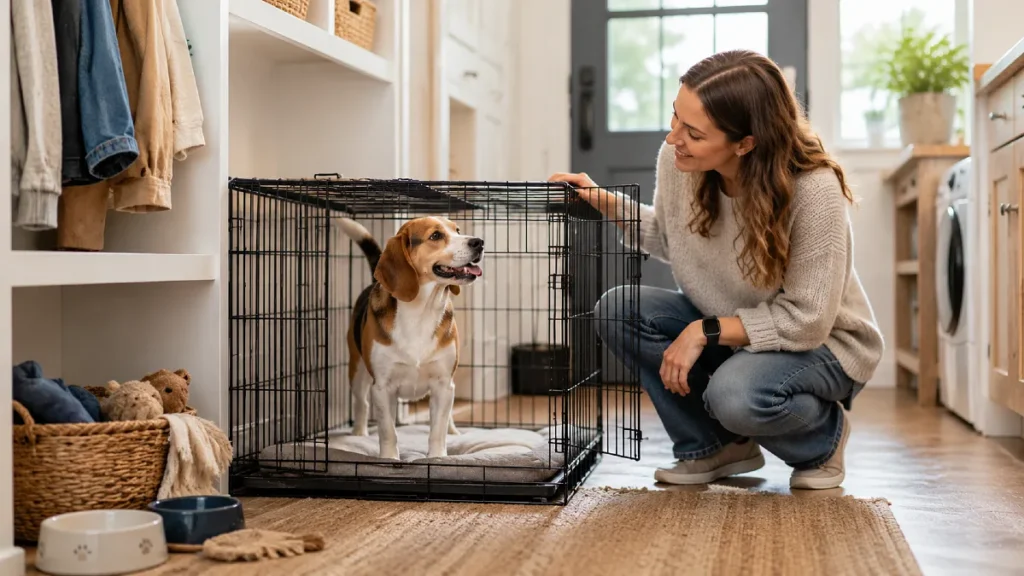
People often buy a massive crate thinking the dog wants more room. This backfires completely. If the space is too big, your dog will use one corner as a bathroom and sleep in the opposite corner.
The dog must be able to stand up completely. They need to turn around comfortably. They must also be able to lie flat on their side. Wire crates are generally preferred over enclosed airline crates for everyday home use. They provide much better airflow and visibility.
Wire crates with dividers are highly recommended. A divider lets you expand the space as your puppy grows.
| Dog Size | Recommended Crate Length | Example Breeds |
| Small | 24 inches | Pug, Chihuahua |
| Medium | 36 inches | Beagle, Corgi |
| Large | 42 inches | Labrador, Boxer |
Do not move to Step 3 until you have a perfectly sized wire crate.
3. Set Up a High Value Den Environment
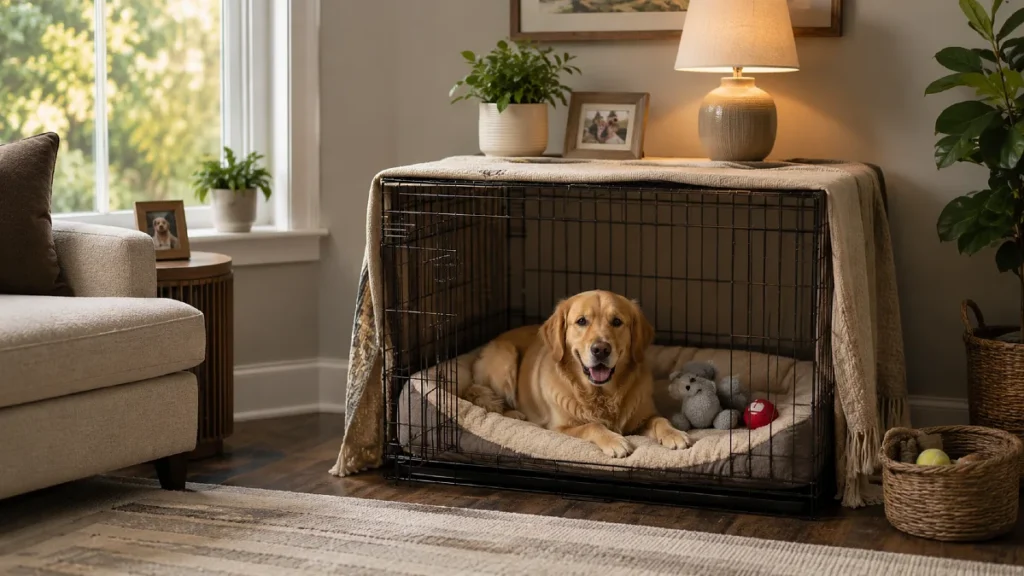
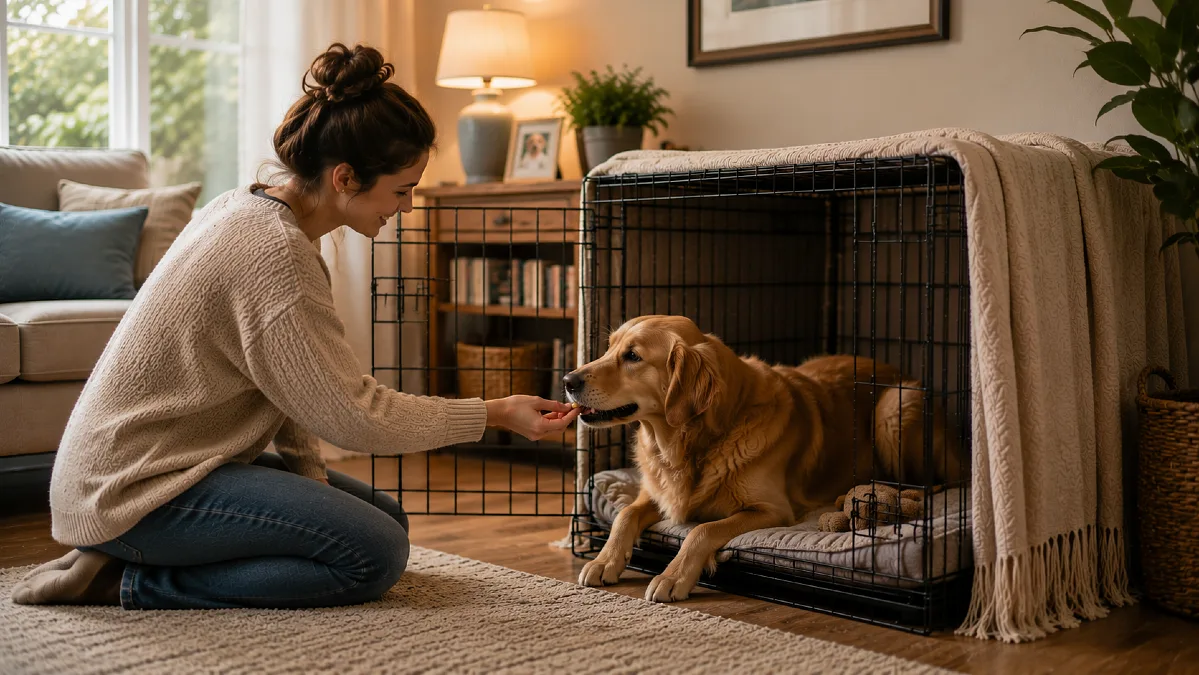
Placing the crate in a dark basement is a huge mistake. Dogs are social animals. They want to be near their family. Put the crate in a family centric room like the living room. Cover the top with a blanket to simulate a secure den.
Here are the specific supplies you need:
- A heavy duty wire crate
- A comfortable fitted bed
- A light blanket for the top
- High value training treats
- A heartbeat simulating plush toy for anxious puppies
Make this spot the most comfortable place in the house. Do not move to Step 4 until the setup is complete.
4. Introduce the Crate with the Door Open
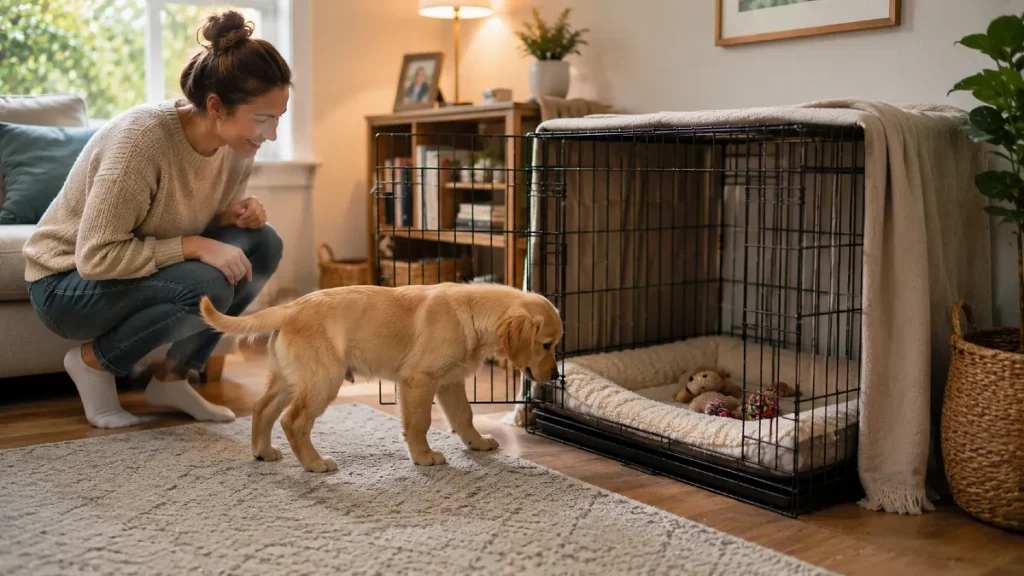
Many owners force their dog inside on the very first day. This creates instant panic. You must fix the door securely open so it does not accidentally swing and scare them.
Let your dog explore the new furniture at their own pace. Throw a few toys inside. The RSPCA advises that this step alone can take anywhere from a few minutes to several days. Patience is absolutely required.
Do not push or pull your dog. Let their natural curiosity take over. Give them gentle praise when they sniff the floor inside. Do not move to Step 5 until your dog steps inside without hesitation.
5. Serve Every Meal Inside the Crate
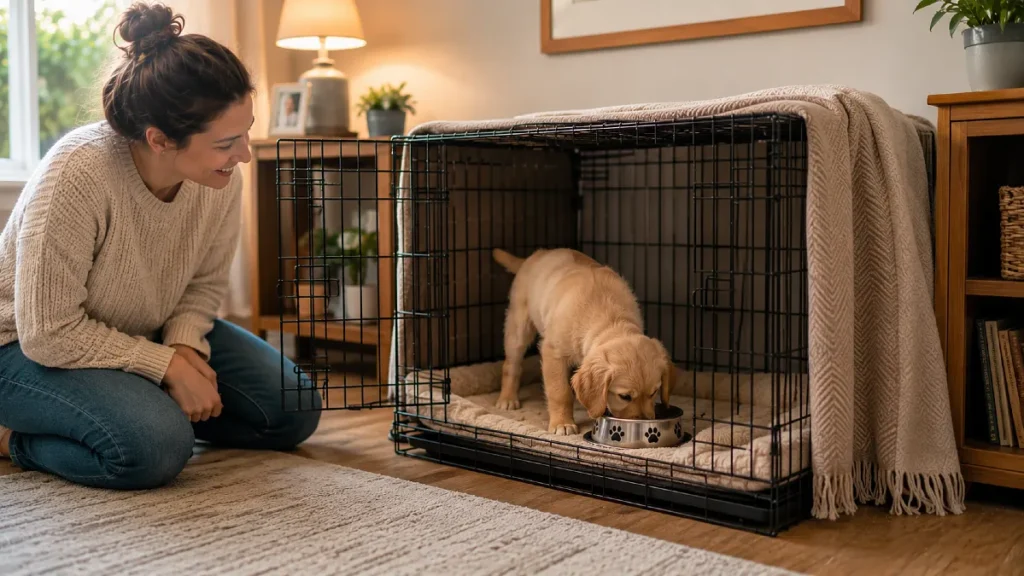
Skipping this step makes training take twice as long. Food builds the strongest positive association in a dog’s brain. You want them to think great things happen in this specific spot.
Start by placing their food bowl just inside the door. Let them eat with their back legs outside. Over the next several meals, gradually move the bowl further to the back.
If they seem nervous, move the bowl forward again. This builds immense confidence. Now your dog is comfortably eating inside the crate. Do not move to Step 6 until your dog eats at the very back with zero fear.
6. Master the Drop and Walk Treat Method
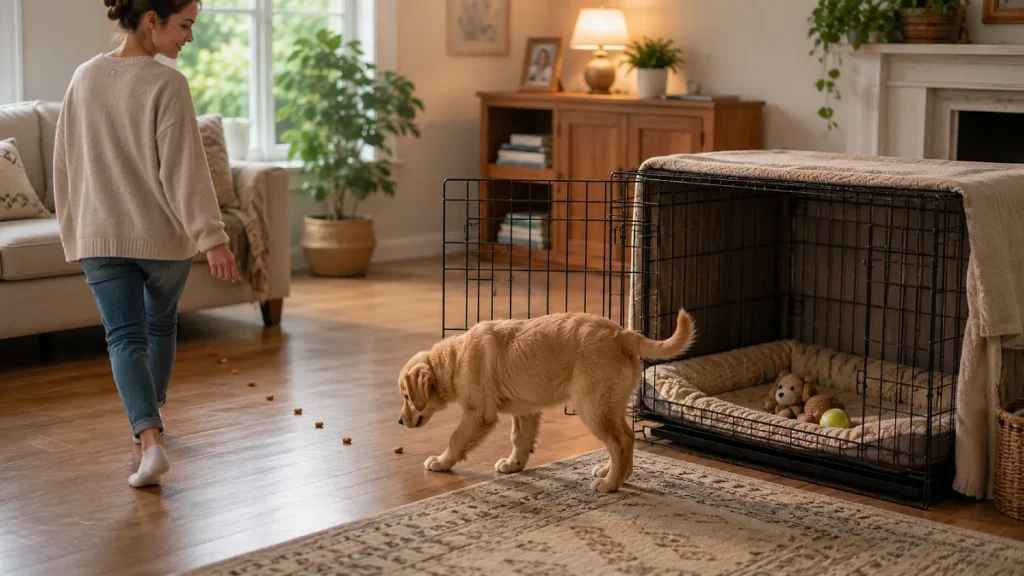
Dogs get bored easily when training feels like work. You need to make the crate feel magical. When your dog is not looking, randomly drop high value treats inside.
Walk away completely. When they wander in later, they will find a magic treat waiting for them. This creates a powerful desire to check the area throughout the day.
They begin choosing to visit the crate on their own. You are removing your emotion and pressure from the equation. Do not move to Step 7 until your dog randomly checks their bed for treats.
7. Close the Door for One Minute at a Time
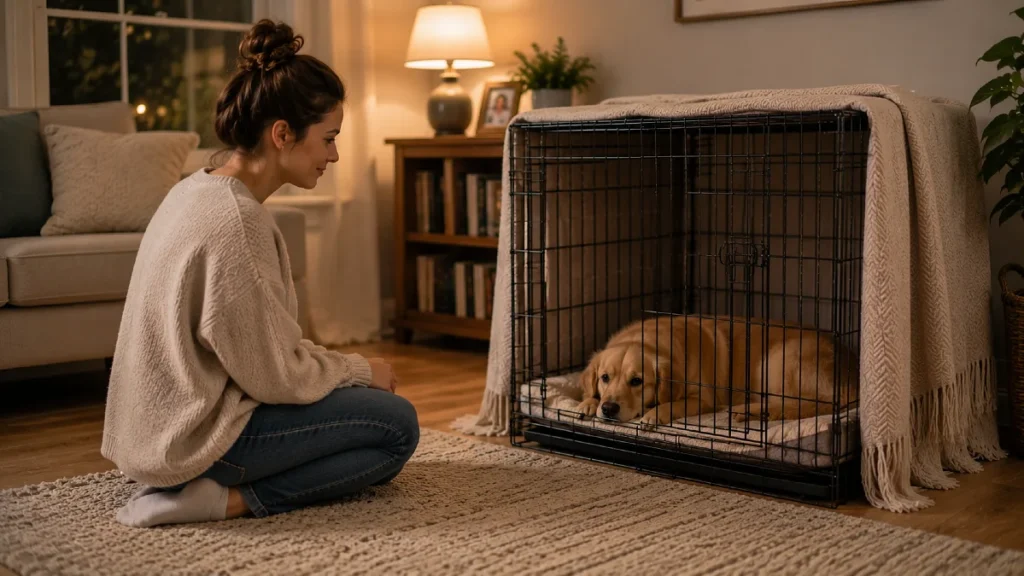
Shutting the door for an hour right away will ruin your progress. You must start small to stop dog crying in crate. Once your dog is confidently eating at the back of the crate, gently close the door.
Do not latch it yet. Open the door the exact second they finish eating. They should realize the door closing is no big deal.
Over the next week, leave the door closed for one minute after they finish eating. Then try two minutes. Gradually extend the time while you sit quietly next to them. If they whine, you went too fast. Do not move to Step 8 until they can sit quietly with the door closed for five minutes.
8. Ignore the Whining But Recognize Panic
The hardest part of crate training is listening to them cry. There is a big difference between protest whining and actual panic. Protest whining sounds like an annoyed toddler. Panic involves frantic digging, heavy panting, or biting the metal bars.
Never open the door while they are actively whining. Doing so trains them that making noise equals freedom. This reinforces the exact behavior you want to stop.
Wait for three to five seconds of total silence before releasing them. You can use a pet camera to monitor whining without physically entering the room. This prevents them from seeing you and whining louder. Do not move to Step 9 until your dog can settle down on their own.
9. Create a Realistic Crate Schedule
Leaving a dog locked up all day is cruel. No dog should live in a crate for 16 hours a day. You must create a fair and realistic crate training schedule.
The golden rule from the ASPCA for puppies is simple. They can hold their bladder for one hour per month of age.
| Puppy Age | Maximum Time in Crate |
| 2 Months | 2 Hours |
| 3 Months | 3 Hours |
| 4 Months | 4 Hours |
| Adult Dog | 4 to 5 Hours |
Explicit warning: Never use the crate as a time out punishment space. The area must remain entirely neutral or positive. A stuffed puzzle toy works great here.
Try freezing peanut butter inside a KONG toy. Only give it to them when they are resting inside. Do not move to Step 10 until you have a clear daily schedule.
10. Graduate to Leaving the House Guilt Free
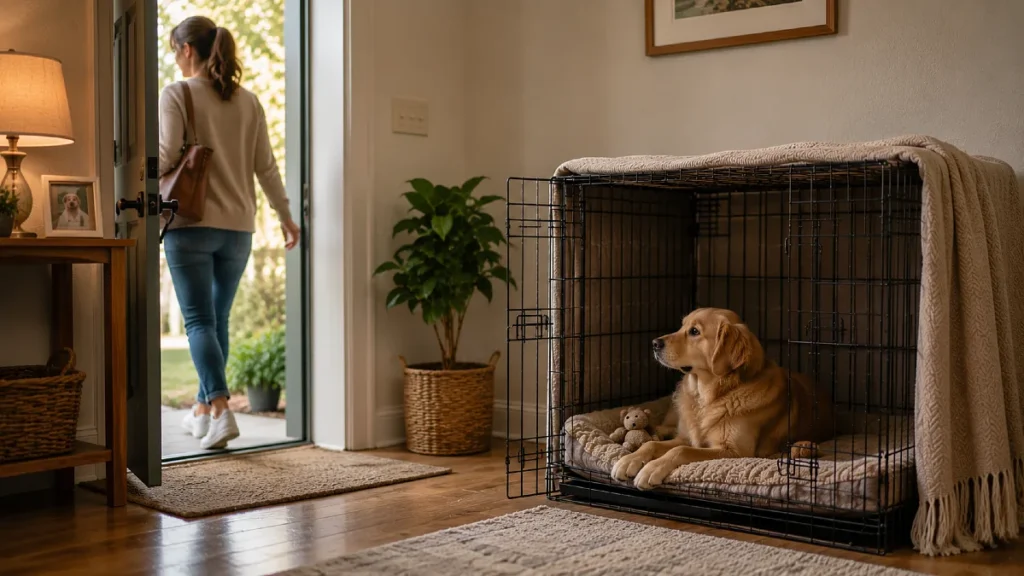
People often ruin their hard work by throwing a massive goodbye party. Dramatic exits create severe separation anxiety. You need to practice leaving the room for short intervals of five to ten minutes.
When you return, ignore the dog for two minutes. Keep your entrances and exits incredibly boring. This teaches the dog that your departure is not a big deal.
Eventually, you can leave the house completely. You will know they are safe. They will know you are coming back. You have successfully created a happy environment.
Conclusion
Changing your view on canine confinement changes everything. Crate training is an act of love that provides deep security. It is never a prison sentence.
By taking things slowly and using positive rewards, you eliminate the stress for both of you. You protect your dog from chewing dangerous items while you are away. You also give them a quiet retreat when the house gets too loud.