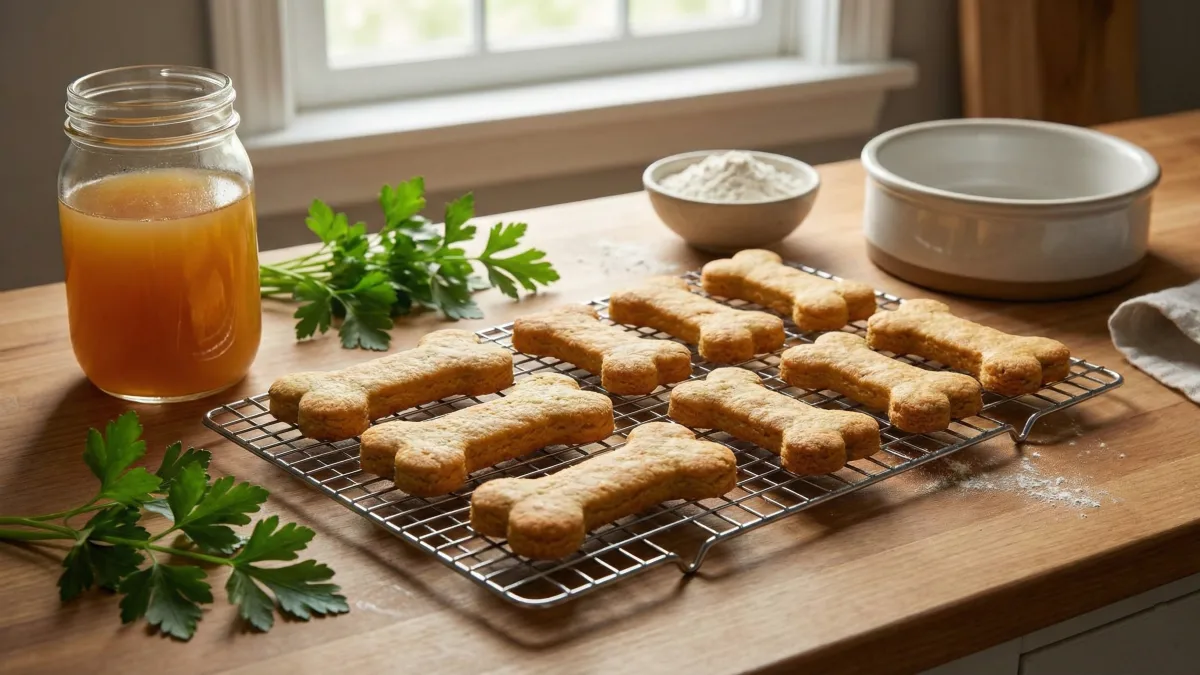
I’ll admit it—I used to roll my eyes at the whole “gut health” craze. Probiotics? Fermented foods? Sounded like another wellness trend for humans, not dogs.
Then came Bella’s endless belly issues: the gurgling sounds at 2 a.m., the sad eyes when her food didn’t sit right, the mountain of vet visits. I was desperate. And guess what finally helped? Fermented food.
It wasn’t magic—just science and a little patience. If you’re tired of seeing your pup struggle, I get it. These recipes? They’re more than just meals.
They’re relief, joy, and maybe even a few extra tail wags. Ready to give your dog’s gut the love it deserves? Let’s get started.
Save this Post for Later! ⬇️

#1. Coconut Milk Yogurt (Dairy-Free Probiotic Treat for Dogs)
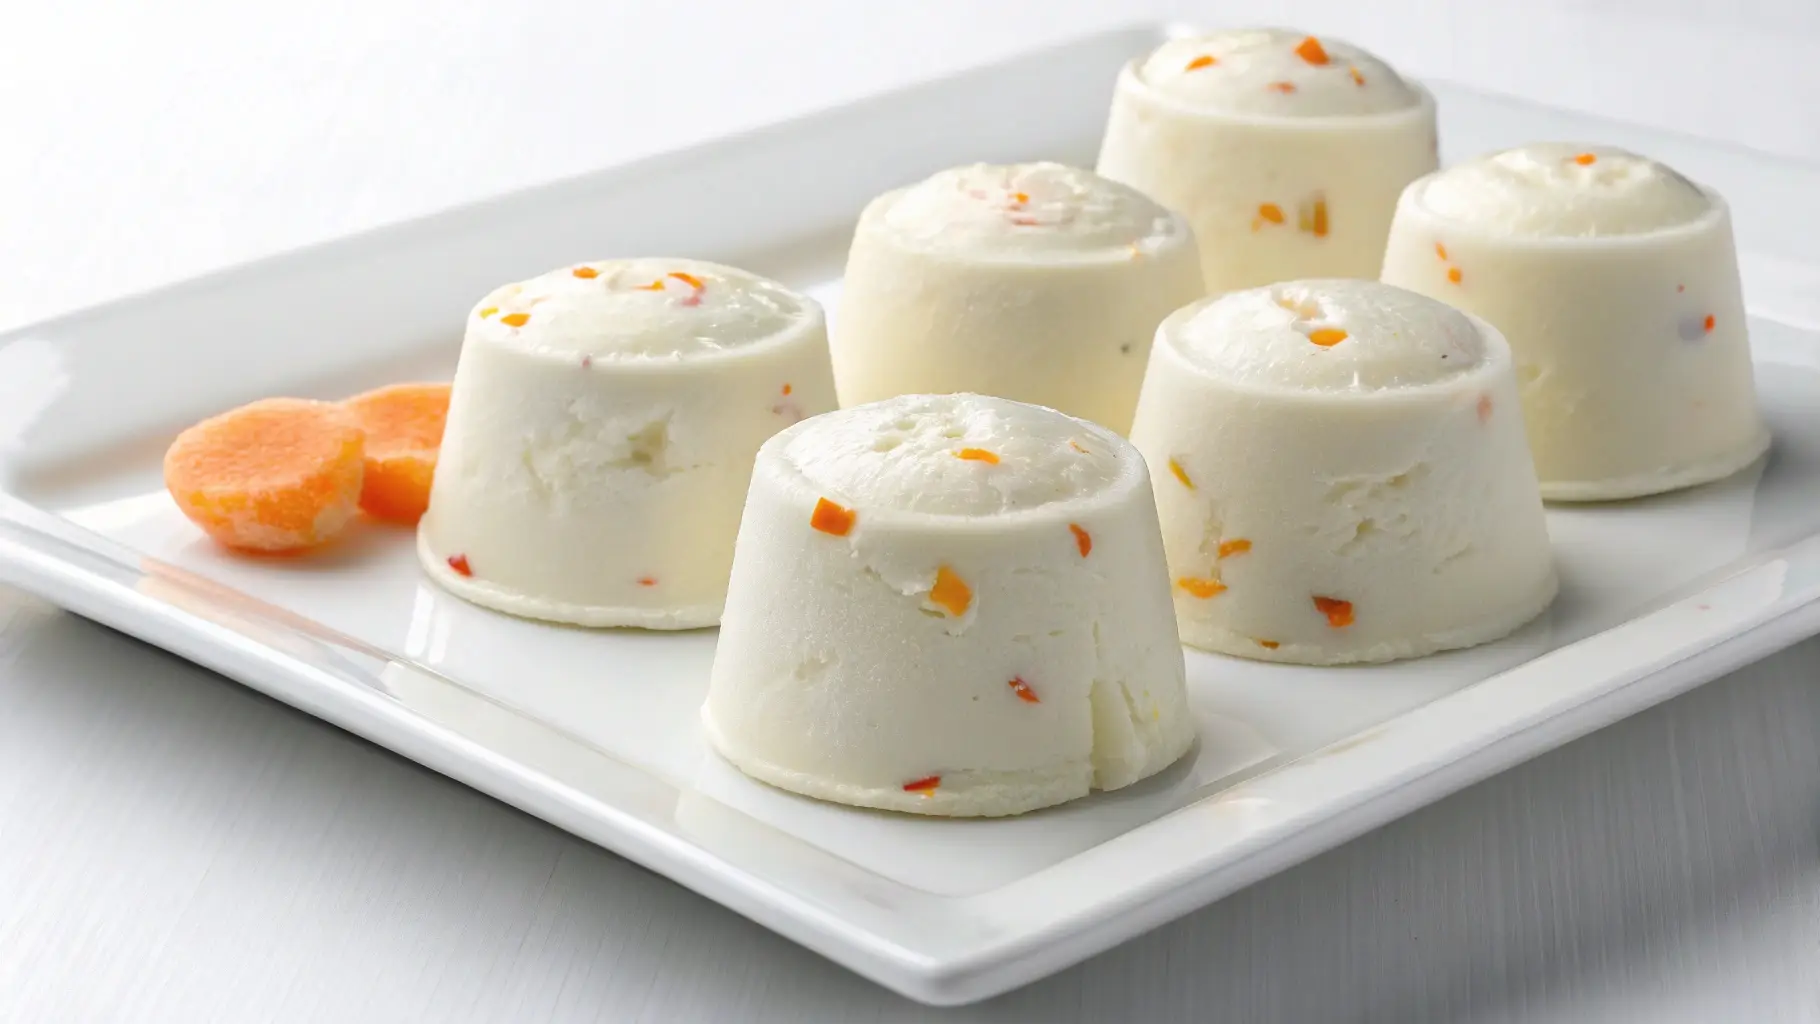
As a pet parent, I’ve always been on the lookout for healthy, homemade treats that not only make my dog’s tail wag but also support their overall well-being.
When my Labrador, Max, started showing signs of digestive discomfort, I knew I had to find a solution that was both gentle and effective.
That’s when I stumbled upon the idea of creating a dairy-free, probiotic-rich yogurt treat using coconut milk. Not only did Max absolutely love it, but I also noticed a significant improvement in his digestion and energy levels.
This recipe is perfect for dogs with sensitive stomachs or those who are lactose intolerant. It’s packed with gut-friendly probiotics, natural ingredients, and is incredibly easy to make.
Whether you’re looking for a frozen summer treat or a daily probiotic boost, this Coconut Milk Yogurt is a game-changer for your pup’s gut health.
Recipe Overview
What makes these treats special is their simplicity and versatility. They’re quick to prepare, require no baking, and can be customized to suit your dog’s preferences.
The creamy texture of coconut milk combined with the natural sweetness of bananas and carrots makes these treats irresistible to dogs. Plus, they’re packed with probiotics to support digestion and overall gut health.
These treats are perfect for training sessions, as a refreshing snack on hot days, or even as a special reward for good behavior.
The recipe is beginner-friendly and takes just 10 minutes of prep time, making it ideal for busy pet parents.
Whether you’re making a small batch for your pup or preparing a larger quantity for multi-dog households, this recipe is a winner.
Why You’ll Love This Recipe
- Cost-Effective: Homemade treats cost just a fraction of store-bought probiotic supplements.
- Ingredient Control: You know exactly what’s going into your dog’s treats—no hidden additives or preservatives.
- Storage Convenience: These treats freeze beautifully, so you can make a batch and store them for weeks.
- Training Effectiveness: The small, bite-sized portions are perfect for training sessions.
- Portion Control: Easy to adjust serving sizes based on your dog’s size and dietary needs.
Essential Information
- Prep Time: 10 minutes
- Freezing Time: 5 hours
- Total Time: 5 hours 10 minutes
- Yield: ~12 ounces (8–10 small servings)
- Shelf Life: 1–2 weeks in the freezer
- Storage: Store in airtight, freezer-safe containers
Equipment Needed
To make these treats, you’ll need a blender to mix the ingredients smoothly, a glass mixing bowl, and silicone molds or airtight containers for freezing.
If you don’t have silicone molds, an ice cube tray works just as well. Make sure all equipment is thoroughly cleaned and sanitized before use to ensure your dog’s safety.
Ingredients
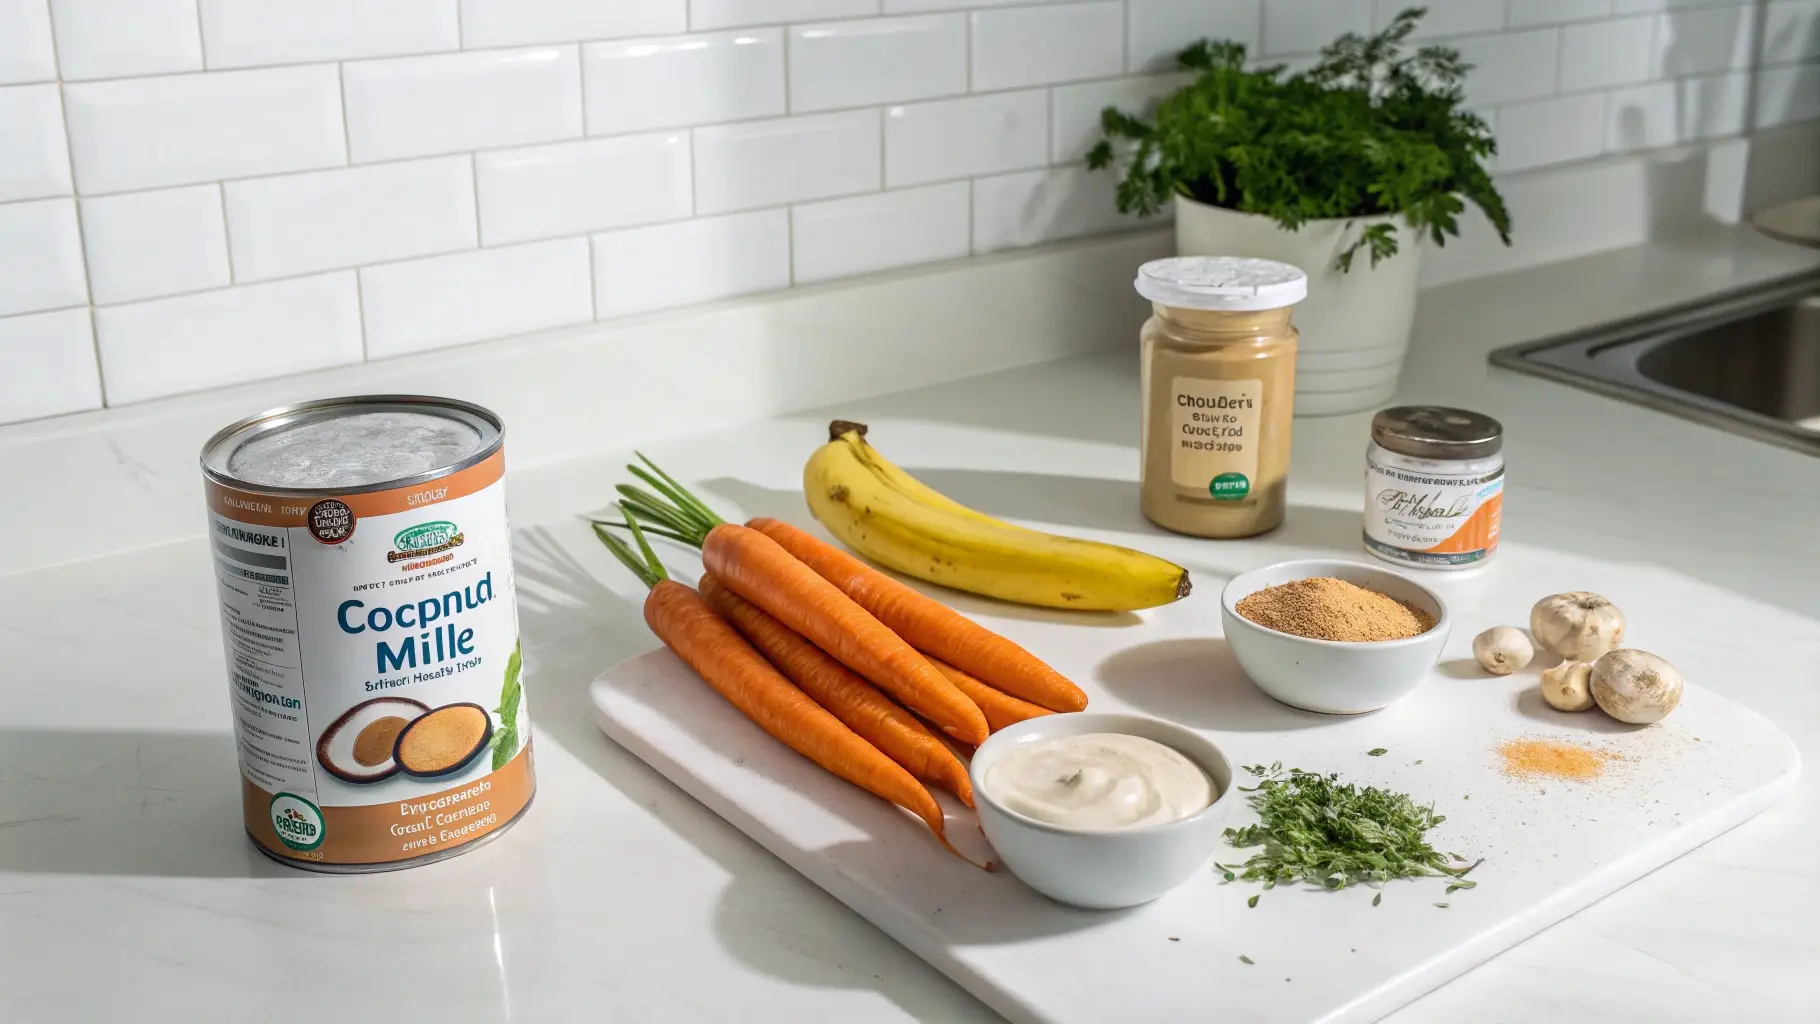
The main components of this recipe are simple and dog-friendly:
- Coconut Milk: 12 ounces (340g) of full-fat, unsweetened coconut milk for a creamy base.
- Peanut Butter: 1 cup (240g) of natural, xylitol-free peanut butter for flavor and healthy fats.
- Ripe Banana: ½ medium banana (50g), mashed, to add natural sweetness.
- Grated Carrots: 1 cup (120g) of finely shredded carrots for added nutrients and texture.
- Probiotic Powder: 1 tablespoon (15g) of vet-approved probiotic powder (e.g., Lactobacillus acidophilus) to support gut health.
Optional add-ins include a teaspoon of honey for extra sweetness or a pinch of turmeric for its anti-inflammatory properties. Always ensure all ingredients are fresh and safe for canine consumption.
Expert Tips (Before Instructions)
Before diving into the recipe, here are a few tips to ensure success:
- Ingredient Safety: Double-check that your peanut butter is xylitol-free, as xylitol is toxic to dogs.
- Texture Control: If the mixture is too thick, add a splash of water or coconut milk to achieve a smooth consistency.
- Portioning: Use silicone molds or an ice cube tray to create uniform, bite-sized treats.
- Storage: Label your containers with the date to keep track of freshness.
- Introduce Gradually: Start with small servings to ensure your dog tolerates the probiotics well.
Instructions

- Combine Ingredients: In a blender, add the coconut milk, peanut butter, mashed banana, grated carrots, and probiotic powder.
- Blend Until Smooth: Process the mixture for 2–3 minutes until it’s creamy and well-combined.
- Pour into Molds: Transfer the mixture into silicone molds or an ice cube tray.
- Freeze: Place the molds in the freezer and let them set for at least 5 hours.
- Serve: Once frozen, pop the treats out of the molds and store them in an airtight container. Thaw slightly before serving.
Variations and Substitutions
- Dietary Adaptations: For grain-free diets, skip oats if added. Substitute carrots with pumpkin puree for a different flavor profile.
- Special Needs Modifications: For senior dogs, consider adding a teaspoon of glucosamine powder for joint support.
- Puppy-Friendly Version: Reduce the portion size to 1 tsp per serving for puppies.
Pro Tips and Success Secrets
- Batch Preparation: Double the recipe and freeze in multiple containers for long-term use.
- Storage Optimization: Keep treats in the freezer and thaw only what you need for the week.
- Serving Tips: Use these treats during training sessions for a healthy, low-calorie reward.
Serving Guidelines
- Small Dogs: 1 tsp/day
- Medium Dogs: 1 tbsp/day
- Large Dogs: 2 tbsp/day
These treats are perfect for training, as a refreshing snack, or as a special reward. Always monitor your dog’s reaction and adjust serving sizes as needed.
Common Questions
Can I use regular yogurt instead of coconut milk?
Yes, but only if your dog tolerates dairy. Coconut milk is a safer option for lactose-intolerant dogs.
How long do these treats last?
They can be stored in the freezer for up to 2 weeks.
Can I add other fruits?
Yes, but avoid grapes, raisins, and other fruits toxic to dogs.
#2. Fermented Sweet Potato and Chicken Bites

As a dog owner, I’ve always been fascinated by the benefits of fermentation—not just for humans, but for our furry friends too.
When my dog, Bella, started experiencing occasional digestive issues, I decided to experiment with fermented foods to support her gut health.
That’s how these Fermented Sweet Potato and Chicken Bites came to life. Not only are they packed with probiotics, but they’re also rich in protein and fiber, making them a wholesome treat for dogs of all ages.
These bites are perfect for pet parents who want to incorporate natural, fermented foods into their dog’s diet.
The combination of sweet potatoes and chicken provides a balanced mix of nutrients, while the fermentation process enhances digestibility and nutrient absorption. Bella absolutely loves them, and I’m confident your dog will too!
Recipe Overview
These Fermented Sweet Potato and Chicken Bites are a nutritious and delicious way to support your dog’s gut health.
The fermentation process breaks down the ingredients, making them easier to digest and boosting their probiotic content.
The sweet potatoes add a natural sweetness and are rich in fiber, while the chicken provides a lean source of protein.
These treats are ideal for training, as a meal topper, or as a standalone snack. They’re soft, chewy, and packed with flavor, making them a hit with even the pickiest eaters. Plus, they’re grain-free and suitable for dogs with food sensitivities.
Why You’ll Love This Recipe
- Gut Health Boost: Fermentation increases probiotic content, promoting a healthy digestive system.
- Simple Ingredients: Made with just three main ingredients—sweet potatoes, chicken, and a starter culture.
- Versatile: Use as treats, meal toppers, or even a light meal.
- Cost-Effective: Much cheaper than store-bought probiotic supplements.
- Customizable: Add optional ingredients like parsley or turmeric for extra health benefits.
Essential Information
- Prep Time: 20 minutes
- Fermentation Time: 2–3 days
- Cook Time: 30 minutes (optional, for softer texture)
- Total Time: 2–3 days (including fermentation)
- Yield: ~20 small bites
- Shelf Life: 1 week in the fridge or 1 month in the freezer
- Storage: Store in airtight containers in the fridge or freezer
Equipment Needed
To make these treats, you’ll need a few basic tools:
- A large mixing bowl
- A fermentation jar or airtight container
- A baking sheet (if baking)
- Parchment paper (optional)
- A knife and cutting board
If you don’t have a fermentation jar, any clean, airtight container will work. Just make sure it’s thoroughly sanitized before use.
Ingredients
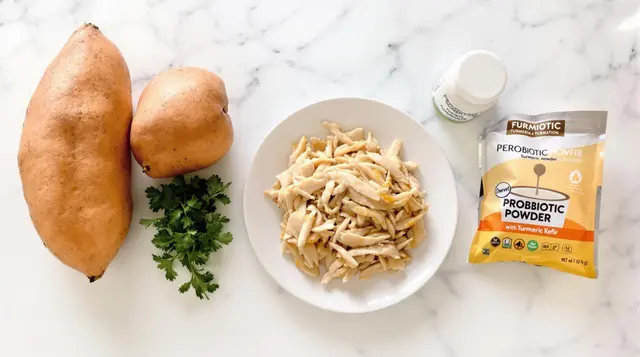
The main components of this recipe are simple and nutritious:
- Sweet Potatoes: 2 medium-sized sweet potatoes (about 400g), peeled and diced.
- Chicken Breast: 1 cup (150g) of cooked, shredded chicken breast.
- Starter Culture: 1 packet of dog-safe probiotic powder or ¼ cup of plain, unsweetened kefir.
Optional add-ins include:
- Parsley: 1 tablespoon of finely chopped parsley for fresh breath.
- Turmeric: ½ teaspoon of turmeric for its anti-inflammatory properties.
Expert Tips (Before Instructions)
Before you start, here are a few tips to ensure success:
- Ingredient Quality: Use organic sweet potatoes and free-range chicken if possible.
- Fermentation Environment: Keep the mixture at room temperature (around 70°F/21°C) for optimal fermentation.
- Texture Control: If you prefer softer treats, bake the bites after fermentation.
- Portioning: Cut the sweet potatoes into small, bite-sized pieces for easy serving.
- Safety First: Always use clean utensils and containers to prevent contamination.
Instructions

- Prepare the Sweet Potatoes: Peel and dice the sweet potatoes into small, bite-sized pieces.
- Cook the Chicken: Boil or bake the chicken breast until fully cooked, then shred it into small pieces.
- Mix Ingredients: In a large bowl, combine the diced sweet potatoes, shredded chicken, and starter culture. Mix well to ensure even distribution.
- Ferment: Transfer the mixture to a fermentation jar or airtight container. Seal the container and let it sit at room temperature for 2–3 days. Check daily for bubbles, which indicate active fermentation.
- Optional Baking: For softer treats, spread the fermented mixture on a baking sheet lined with parchment paper and bake at 350°F (175°C) for 20–30 minutes.
- Cool and Serve: Allow the bites to cool completely before serving. Store leftovers in the fridge or freezer.
Variations and Substitutions
- Dietary Adaptations: Substitute chicken with turkey or lean beef for variety.
- Grain-Free Option: This recipe is naturally grain-free, making it suitable for dogs with grain sensitivities.
- Senior Dog Version: Add a teaspoon of glucosamine powder for joint support.
- Puppy-Friendly: Cut the bites into smaller pieces for easier chewing.
Pro Tips and Success Secrets
- Batch Preparation: Double the recipe and freeze half for later use.
- Storage Optimization: Store in portion-sized containers for easy serving.
- Serving Tips: Use these bites as a high-value reward during training sessions.
Serving Guidelines
- Small Dogs: 1–2 bites per day
- Medium Dogs: 3–4 bites per day
- Large Dogs: 5–6 bites per day
These treats are perfect for training, as a meal topper, or as a standalone snack. Always monitor your dog’s reaction and adjust serving sizes as needed.
Common Questions
Can I use raw chicken instead of cooked?
No, always use cooked chicken to avoid the risk of bacterial contamination.
How do I know if fermentation is successful?
Look for bubbles and a slightly tangy smell, which indicate active fermentation.
Can I skip the fermentation process?
Yes, but you’ll miss out on the probiotic benefits.
#3. Fermented Blueberry and Quinoa Bites

As a dog lover and advocate for natural pet care, I’m always exploring ways to boost my dog’s health through wholesome, homemade recipes.
When my energetic Border Collie, Luna, started showing signs of occasional digestive discomfort, I knew I needed a treat that was both delicious and beneficial for her gut health.
That’s how these Fermented Blueberry and Quinoa Bites came to life. Packed with antioxidants, fiber, and probiotics, these bites are a powerhouse of nutrition that supports digestion and overall well-being.
Blueberries are a superfood for dogs, rich in antioxidants that support the immune system, while quinoa provides a complete protein source and is gentle on the stomach.
The fermentation process enhances the nutritional profile, making these bites a must-try for any pet parent looking to support their dog’s gut health. Luna can’t get enough of them, and I’m sure your pup will feel the same!
Recipe Overview
These Fermented Blueberry and Quinoa Bites are a unique and nutritious treat that combines the antioxidant power of blueberries with the protein-rich goodness of quinoa.
The fermentation process not only boosts the probiotic content but also makes the nutrients more bioavailable, ensuring your dog gets the most out of every bite.
These treats are soft, chewy, and bursting with flavor, making them perfect for dogs of all ages. They’re ideal for training, as a meal topper, or even as a light snack. Plus, they’re grain-free and suitable for dogs with food sensitivities.
Why You’ll Love This Recipe
- Gut Health Boost: Fermentation increases probiotic content, promoting a healthy digestive system.
- Antioxidant-Rich: Blueberries provide immune support and fight free radicals.
- Protein-Packed: Quinoa is a complete protein source, great for active dogs.
- Soft Texture: Perfect for senior dogs or puppies with sensitive teeth.
- Customizable: Add optional ingredients like chia seeds or parsley for extra health benefits.
Essential Information
- Prep Time: 20 minutes
- Fermentation Time: 2–3 days
- Cook Time: 20 minutes (optional, for softer texture)
- Total Time: 2–3 days (including fermentation)
- Yield: ~20 small bites
- Shelf Life: 1 week in the fridge or 1 month in the freezer
- Storage: Store in airtight containers in the fridge or freezer
Equipment Needed
To make these treats, you’ll need:
- A large mixing bowl
- A fermentation jar or airtight container
- A baking sheet (if baking)
- Parchment paper (optional)
- A spoon or spatula for mixing
If you don’t have a fermentation jar, any clean, airtight container will work. Just make sure it’s thoroughly sanitized before use.
Ingredients
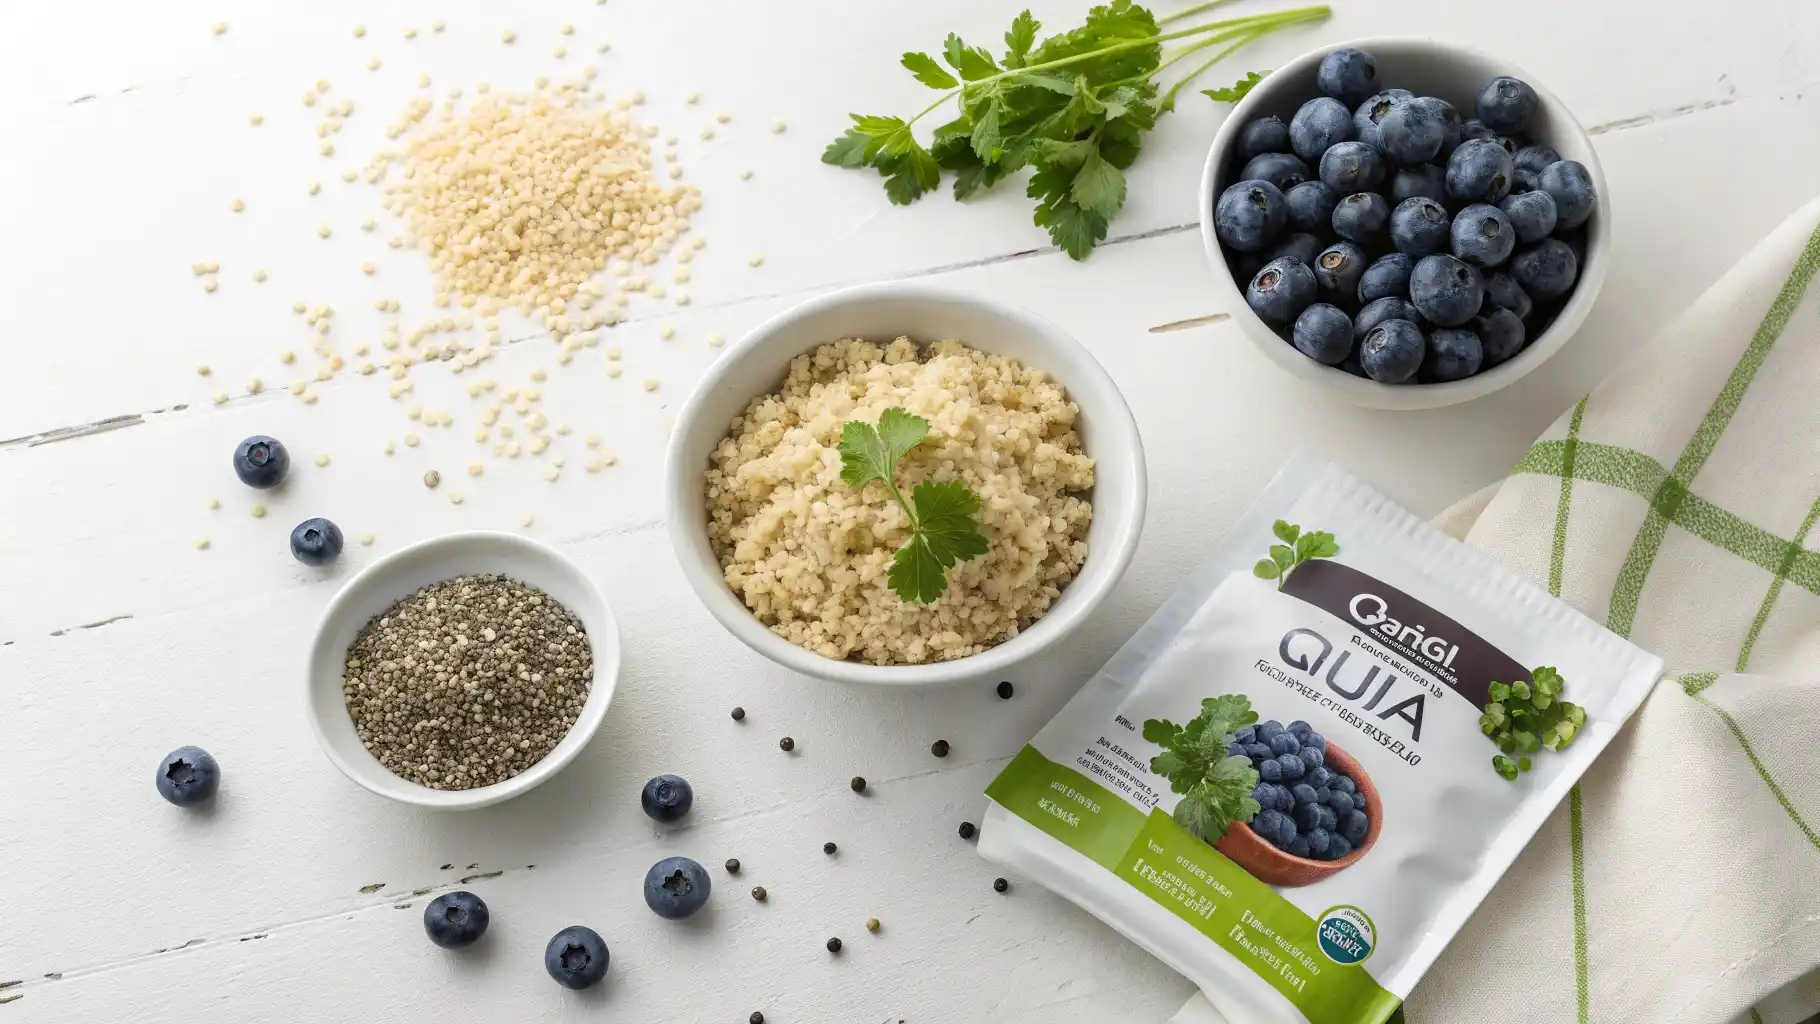
The main components of this recipe are simple and nutritious:
- Cooked Quinoa: 1 cup (185g) of cooked quinoa (ensure it’s thoroughly rinsed before cooking).
- Blueberries: ½ cup (75g) of fresh or frozen blueberries (mashed or pureed).
- Starter Culture: 1 packet of dog-safe probiotic powder or ¼ cup of plain, unsweetened kefir.
Optional add-ins include:
- Chia Seeds: 1 tablespoon for omega-3 fatty acids and added fiber.
- Parsley: 1 tablespoon of finely chopped parsley for fresh breath.
Expert Tips (Before Instructions)
Before you start, here are a few tips to ensure success:
- Ingredient Quality: Use organic blueberries and quinoa if possible.
- Fermentation Environment: Keep the mixture at room temperature (around 70°F/21°C) for optimal fermentation.
- Texture Control: If you prefer softer treats, bake the bites after fermentation.
- Portioning: Use a cookie scoop or spoon to create uniform-sized bites.
- Safety First: Always use clean utensils and containers to prevent contamination.
Instructions

- Cook the Quinoa: Rinse the quinoa thoroughly, then cook according to package instructions. Let it cool completely.
- Prepare the Blueberries: Mash the blueberries with a fork or blend them into a puree.
- Mix Ingredients: In a large bowl, combine the cooked quinoa, mashed blueberries, and starter culture. Mix well to ensure even distribution.
- Ferment: Transfer the mixture to a fermentation jar or airtight container. Seal the container and let it sit at room temperature for 2–3 days. Check daily for bubbles, which indicate active fermentation.
- Optional Baking: For softer treats, scoop the fermented mixture onto a baking sheet lined with parchment paper and bake at 350°F (175°C) for 15–20 minutes.
- Cool and Serve: Allow the bites to cool completely before serving. Store leftovers in the fridge or freezer.
Variations and Substitutions
- Dietary Adaptations: Substitute quinoa with cooked millet for a different grain-free option.
- Flavor Boosters: Add a tablespoon of unsweetened applesauce for extra sweetness.
- Senior Dog Version: Add a teaspoon of glucosamine powder for joint support.
- Puppy-Friendly: Cut the bites into smaller pieces for easier chewing.
Pro Tips and Success Secrets
- Batch Preparation: Double the recipe and freeze half for later use.
- Storage Optimization: Store in portion-sized containers for easy serving.
- Serving Tips: Use these bites as a high-value reward during training sessions.
Serving Guidelines
- Small Dogs: 1–2 bites per day
- Medium Dogs: 3–4 bites per day
- Large Dogs: 5–6 bites per day
These treats are perfect for training, as a meal topper, or as a standalone snack. Always monitor your dog’s reaction and adjust serving sizes as needed.
Common Questions
Can I use frozen blueberries?
Yes, just thaw and mash them before use.
How do I know if fermentation is successful?
Look for bubbles and a slightly tangy smell, which indicate active fermentation.
Can I skip the fermentation process?
Yes, but you’ll miss out on the probiotic benefits.
#4. Fermented Carrot and Turmeric Bites

As a pet parent, I’m always on the lookout for ways to keep my dog’s diet both nutritious and exciting. When my Golden Retriever, Max, started showing signs of joint stiffness and occasional digestive discomfort, I knew I needed a treat that could address both issues.
That’s when I discovered the magic of fermented carrots and turmeric. These bites are not only packed with gut-friendly probiotics but also feature the anti-inflammatory benefits of turmeric, making them a perfect all-around treat for dogs.
Carrots are a fantastic source of fiber and beta-carotene, while turmeric is renowned for its anti-inflammatory properties.
Combined with the probiotic boost from fermentation, these bites are a powerhouse of nutrition that supports digestion, joint health, and overall well-being. Max absolutely loves them, and I’m sure your pup will too!
Recipe Overview
These Fermented Carrot and Turmeric Bites are a soft, chewy treat that’s perfect for dogs of all ages, especially seniors or those with joint issues.
The fermentation process enhances the nutritional profile of the ingredients, making them easier to digest and more nutrient-dense.
Carrots provide a natural sweetness and are rich in fiber, while turmeric adds a powerful anti-inflammatory boost.
These treats are ideal for dogs who need a little extra support for their gut health and joint function. They’re also great for training, as a meal topper, or even as a light snack. The soft texture makes them easy to chew, which is perfect for older dogs or puppies.
Why You’ll Love This Recipe
- Gut Health Boost: Fermentation increases probiotic content, promoting a healthy digestive system.
- Joint Support: Turmeric provides natural anti-inflammatory benefits.
- Simple and Affordable: Made with just a few pantry staples.
- Versatile: Use as treats, meal toppers, or even a light meal.
- Soft Texture: Perfect for senior dogs or puppies with sensitive teeth.
- Customizable: Add optional ingredients like parsley or flaxseed for extra health benefits.
Essential Information
- Prep Time: 15 minutes
- Fermentation Time: 2–3 days
- Cook Time: 20 minutes (optional, for softer texture)
- Total Time: 2–3 days (including fermentation)
- Yield: ~20 small bites
- Shelf Life: 1 week in the fridge or 1 month in the freezer
- Storage: Store in airtight containers in the fridge or freezer
Equipment Needed
To make these treats, you’ll need:
- A large mixing bowl
- A fermentation jar or airtight container
- A baking sheet (if baking)
- Parchment paper (optional)
- A spoon or spatula for mixing
If you don’t have a fermentation jar, any clean, airtight container will work. Just make sure it’s thoroughly sanitized before use.
Ingredients
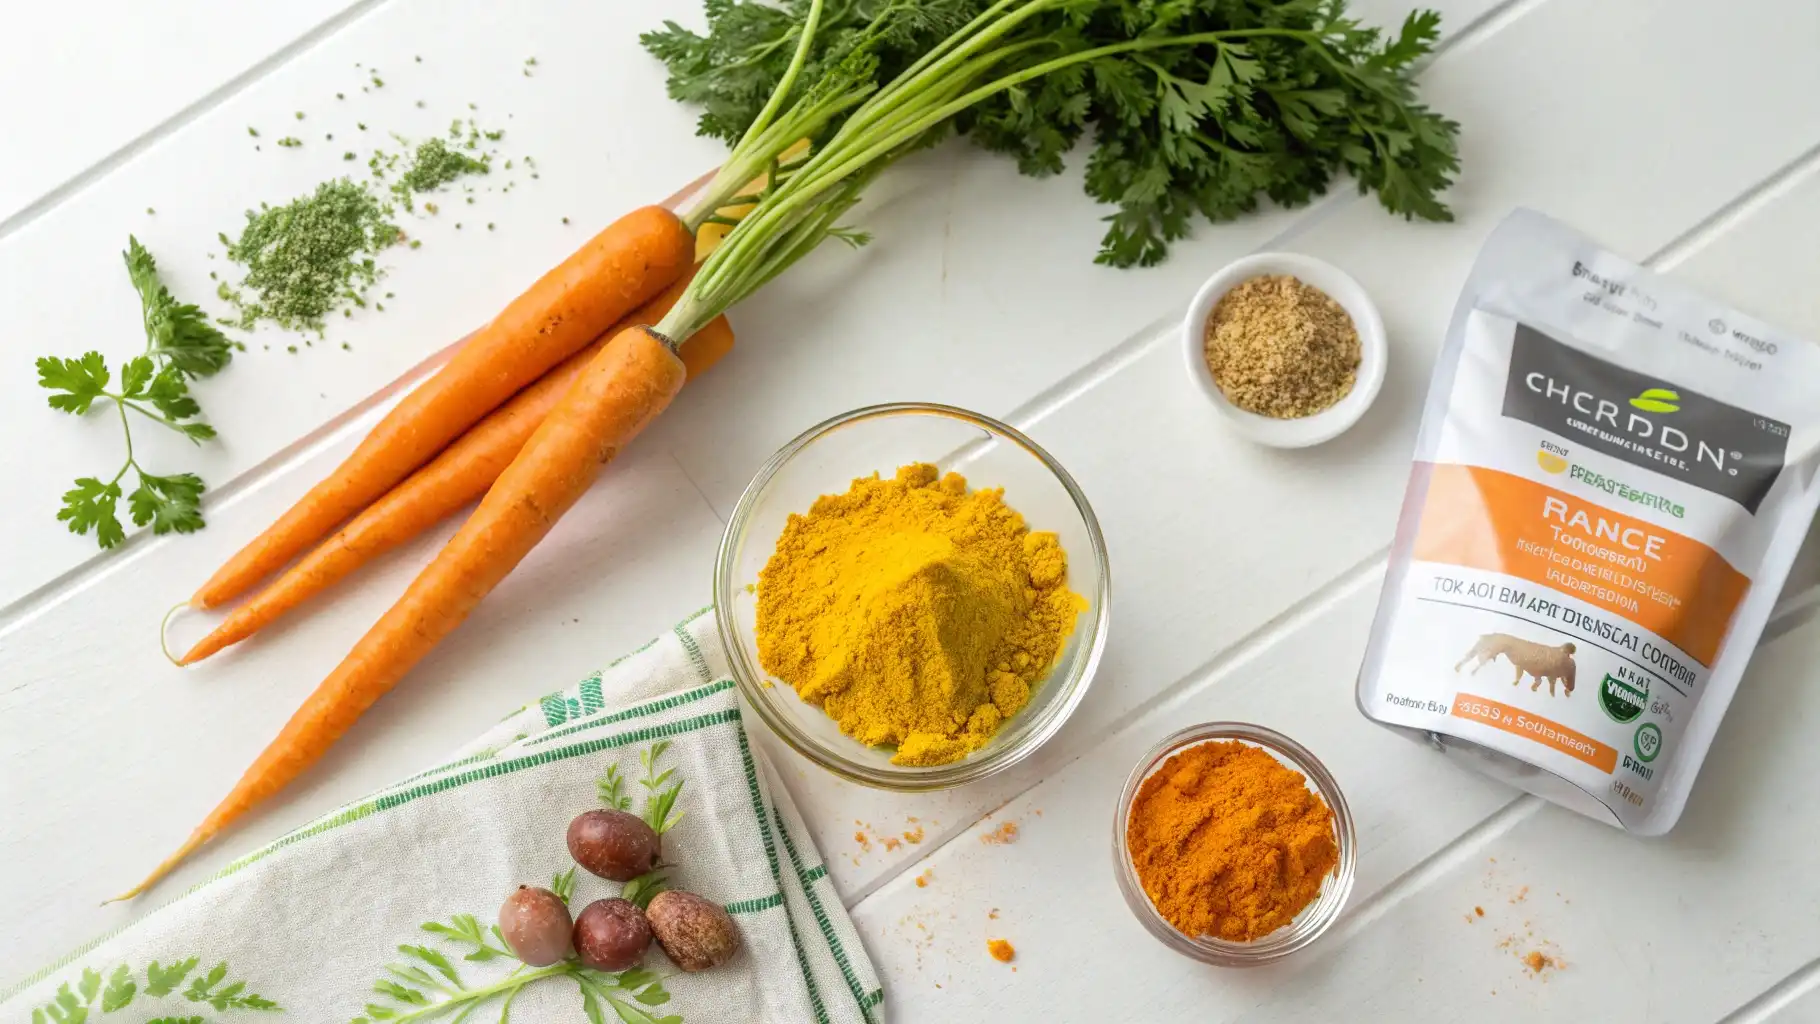
The main components of this recipe are simple and wholesome:
- Carrots: 2 medium-sized carrots (about 200g), grated.
- Turmeric: 1 teaspoon of ground turmeric (ensure it’s pure turmeric, not a spice blend).
- Starter Culture: 1 packet of dog-safe probiotic powder or ¼ cup of plain, unsweetened kefir.
Optional add-ins include:
- Parsley: 1 tablespoon of finely chopped parsley for fresh breath.
- Flaxseed: 1 tablespoon of ground flaxseed for omega-3 fatty acids.
Expert Tips (Before Instructions)
Before you start, here are a few tips to ensure success:
- Ingredient Quality: Use organic carrots and pure turmeric if possible.
- Fermentation Environment: Keep the mixture at room temperature (around 70°F/21°C) for optimal fermentation.
- Texture Control: If you prefer softer treats, bake the bites after fermentation.
- Portioning: Use a cookie scoop or spoon to create uniform-sized bites.
- Safety First: Always use clean utensils and containers to prevent contamination.
Instructions

- Prepare the Carrots: Peel and grate the carrots using a box grater or food processor.
- Mix Ingredients: In a large bowl, combine the grated carrots, turmeric, and starter culture. Mix well to ensure even distribution.
- Ferment: Transfer the mixture to a fermentation jar or airtight container. Seal the container and let it sit at room temperature for 2–3 days. Check daily for bubbles, which indicate active fermentation.
- Optional Baking: For softer treats, scoop the fermented mixture onto a baking sheet lined with parchment paper and bake at 350°F (175°C) for 15–20 minutes.
- Cool and Serve: Allow the bites to cool completely before serving. Store leftovers in the fridge or freezer.
Variations and Substitutions
- Dietary Adaptations: Substitute carrots with sweet potatoes for a different flavor profile.
- Flavor Boosters: Add a tablespoon of unsweetened applesauce for extra sweetness.
- Senior Dog Version: Add a teaspoon of glucosamine powder for joint support.
- Puppy-Friendly: Cut the bites into smaller pieces for easier chewing.
Pro Tips and Success Secrets
- Batch Preparation: Double the recipe and freeze half for later use.
- Storage Optimization: Store in portion-sized containers for easy serving.
- Serving Tips: Use these bites as a high-value reward during training sessions.
Serving Guidelines
- Small Dogs: 1–2 bites per day
- Medium Dogs: 3–4 bites per day
- Large Dogs: 5–6 bites per day
These treats are perfect for training, as a meal topper, or as a standalone snack. Always monitor your dog’s reaction and adjust serving sizes as needed.
Common Questions
Can I use baby carrots instead of regular carrots?
Yes, just grate them finely before use.
How do I know if fermentation is successful?
Look for bubbles and a slightly tangy smell, which indicate active fermentation.
Can I skip the fermentation process?
Yes, but you’ll miss out on the probiotic benefits.
#5. Fermented Green Bean and Chicken Jerky
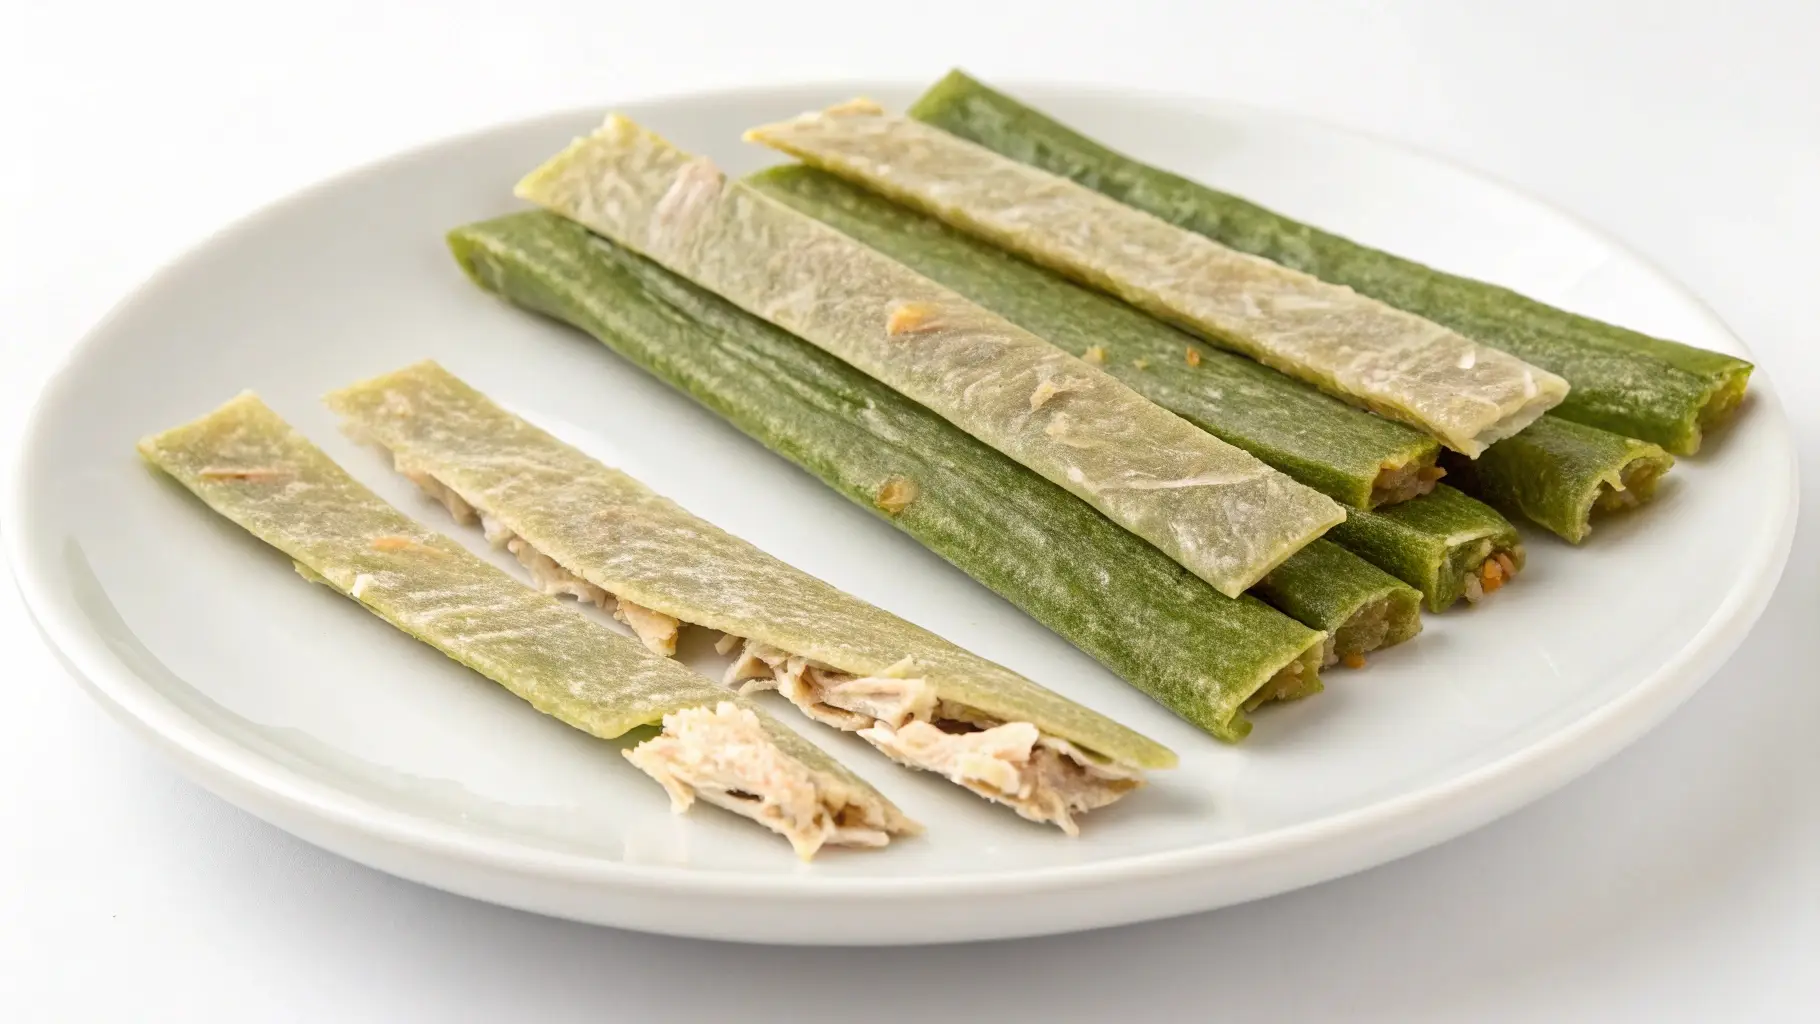
As a dog owner, I’m always looking for ways to keep my pup’s diet both nutritious and exciting. When my dog, Bella, started showing signs of occasional digestive discomfort, I knew I needed a treat that was not only delicious but also beneficial for her gut health.
That’s how these Fermented Green Bean and Chicken Jerky treats came to life. Packed with probiotics, lean protein, and fiber, these jerky strips are a wholesome snack that supports digestion and overall well-being.
Green beans are a fantastic source of fiber and low in calories, making them perfect for dogs who need a little extra digestive support.
Combined with chicken, which provides a lean source of protein, and the probiotic boost from fermentation, these jerky strips are a must-try for any pet parent looking to support their dog’s gut health. Bella absolutely loves them, and I’m sure your pup will too!
Recipe Overview
These Fermented Green Bean and Chicken Jerky strips are a unique and nutritious treat that combines the fiber-rich goodness of green beans with the protein-packed benefits of chicken.
The fermentation process not only boosts the probiotic content but also makes the nutrients more bioavailable, ensuring your dog gets the most out of every bite.
These treats are chewy, flavorful, and packed with nutrition, making them perfect for dogs of all ages. They’re ideal for training, as a meal topper, or even as a standalone snack. Plus, they’re grain-free and suitable for dogs with food sensitivities.
Why You’ll Love This Recipe
- Gut Health Boost: Fermentation increases probiotic content, promoting a healthy digestive system.
- High in Fiber: Green beans support digestion and are low in calories.
- Protein-Packed: Chicken provides a lean source of protein, great for active dogs.
- Chewy Texture: Perfect for dogs who love to chew.
- Customizable: Add optional ingredients like parsley or turmeric for extra health benefits.
Essential Information
- Prep Time: 20 minutes
- Fermentation Time: 2–3 days
- Dehydration Time: 6–8 hours
- Total Time: 2–3 days (including fermentation and dehydration)
- Yield: ~20 jerky strips
- Shelf Life: 2 weeks in the fridge or 2 months in the freezer
- Storage: Store in airtight containers in the fridge or freezer
Equipment Needed
To make these treats, you’ll need:
- A large mixing bowl
- A fermentation jar or airtight container
- A dehydrator or oven
- Parchment paper (if using an oven)
- A knife and cutting board
If you don’t have a dehydrator, an oven set to the lowest temperature will work just fine.
Ingredients
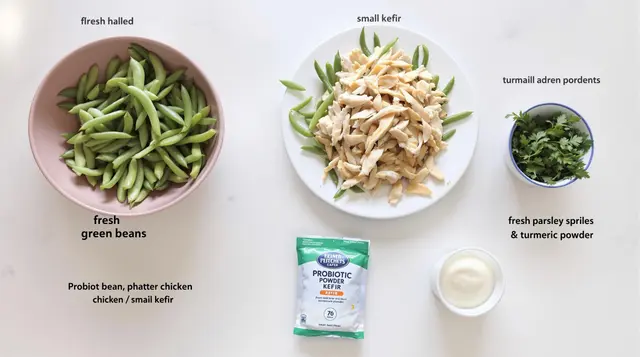
The main components of this recipe are simple and nutritious:
- Green Beans: 2 cups (200g) of fresh green beans, trimmed and halved.
- Chicken Breast: 1 cup (150g) of cooked, shredded chicken breast.
- Starter Culture: 1 packet of dog-safe probiotic powder or ¼ cup of plain, unsweetened kefir.
Optional add-ins include:
- Parsley: 1 tablespoon of finely chopped parsley for fresh breath.
- Turmeric: ½ teaspoon of turmeric for its anti-inflammatory properties.
Expert Tips (Before Instructions)
Before you start, here are a few tips to ensure success:
- Ingredient Quality: Use organic green beans and free-range chicken if possible.
- Fermentation Environment: Keep the mixture at room temperature (around 70°F/21°C) for optimal fermentation.
- Texture Control: If you prefer softer treats, reduce the dehydration time.
- Portioning: Cut the green beans and chicken into uniform strips for even dehydration.
- Safety First: Always use clean utensils and containers to prevent contamination.
Instructions
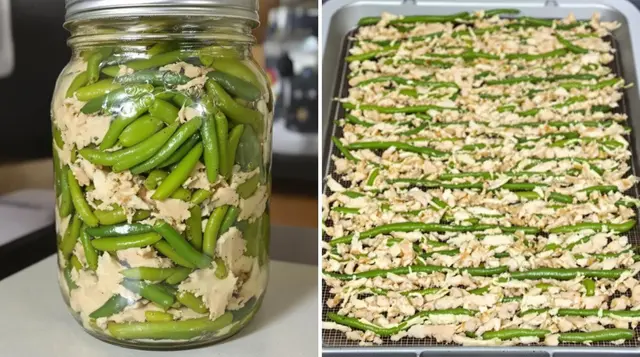
- Prepare the Green Beans: Trim and halve the green beans.
- Cook the Chicken: Boil or bake the chicken breast until fully cooked, then shred it into small pieces.
- Mix Ingredients: In a large bowl, combine the green beans, shredded chicken, and starter culture. Mix well to ensure even distribution.
- Ferment: Transfer the mixture to a fermentation jar or airtight container. Seal the container and let it sit at room temperature for 2–3 days. Check daily for bubbles, which indicate active fermentation.
- Dehydrate: Spread the fermented mixture on dehydrator trays or a baking sheet lined with parchment paper. Dehydrate at 165°F (74°C) for 6–8 hours, or until the jerky strips are dry and chewy.
- Cool and Serve: Allow the jerky strips to cool completely before serving. Store leftovers in the fridge or freezer.
Variations and Substitutions
- Dietary Adaptations: Substitute chicken with turkey or lean beef for variety.
- Flavor Boosters: Add a tablespoon of unsweetened applesauce for extra sweetness.
- Senior Dog Version: Add a teaspoon of glucosamine powder for joint support.
- Puppy-Friendly: Cut the jerky strips into smaller pieces for easier chewing.
Pro Tips and Success Secrets
- Batch Preparation: Double the recipe and freeze half for later use.
- Storage Optimization: Store in portion-sized containers for easy serving.
- Serving Tips: Use these jerky strips as a high-value reward during training sessions.
Serving Guidelines
- Small Dogs: 1–2 strips per day
- Medium Dogs: 3–4 strips per day
- Large Dogs: 5–6 strips per day
These treats are perfect for training, as a meal topper, or as a standalone snack. Always monitor your dog’s reaction and adjust serving sizes as needed.
Common Questions
Can I use frozen green beans?
Yes, just thaw and trim them before use.
How do I know if fermentation is successful?
Look for bubbles and a slightly tangy smell, which indicate active fermentation.
Can I skip the fermentation process?
Yes, but you’ll miss out on the probiotic benefits.


